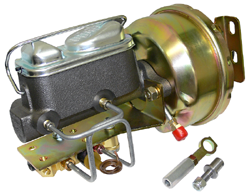
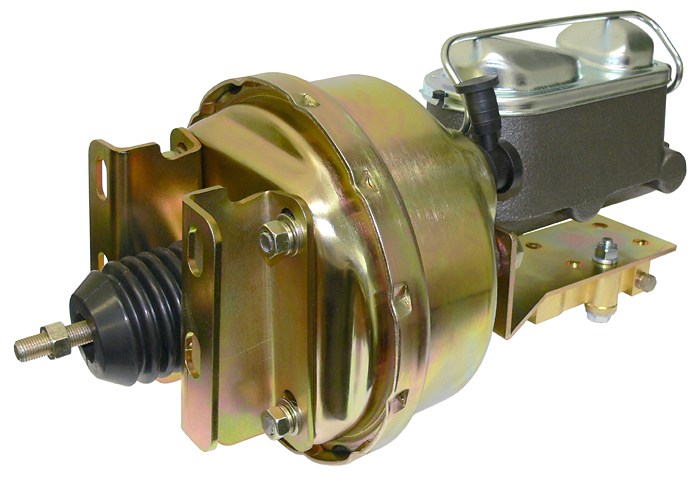
NOTE: Read these instructions carefully! Important: This kit is assembled for shipping purposes only! Be sure to check all nuts and bolts for adequate torque prior to use. Don’t forget!
MOUNTING INSTRUCTIONS
-
Remove old clevis and brake light switch from brake pedal.
-
Remove original master cylinder and/or booster assembly.
-
Remove original brake pedal.
-
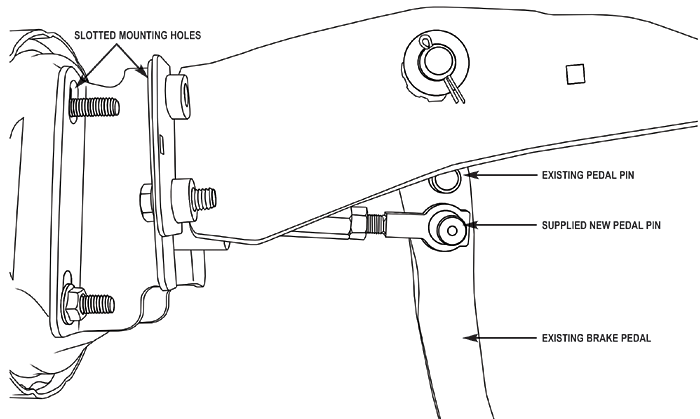
Drill (2) – 3/8” holes, (1) – 1/2” lower and (1) -1” lower in brake pedal from original pedal pin. (These 2 locations will allow you to change your pedal ratio to fit your needs. Note: OE pedal pin may need to be removed.
-
Mount booster to existing firewall holes. Note: Booster mounting brackets are slotted to allow push rod alignment when positioning pedal pin.
-
Install new pedal pin into the hole you had drilled into the pedal.
-
Reinstall brake light switch onto pedal clevis.
-
Reuse all plastic pedal bushings and install pedal clevis onto brake pedal pin.
-
Make sure there is no preload on booster pushrod/clevis.
-
Plumb brake lines accordingly.
-
Bleed brakes. Enjoy!


