We’re over at Orange County Hot Rods showing you a step by step installation of POL’s Chevy C10 Coilover Conversion Kit. This kit will give huge performance increases, ready for the street or track. You can also view this article on HotRod.com
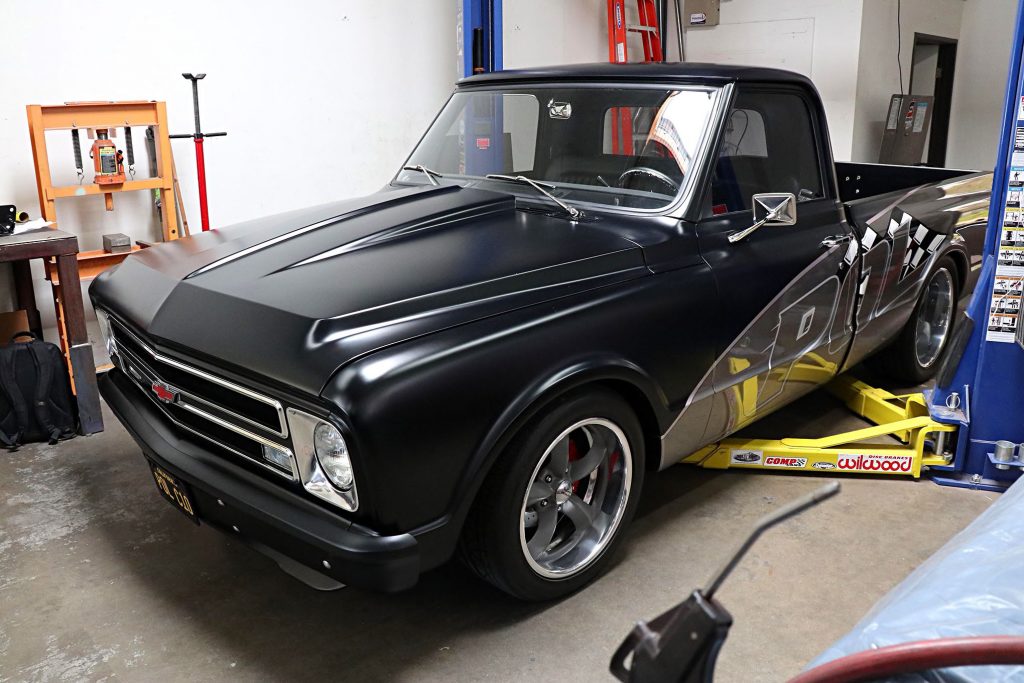
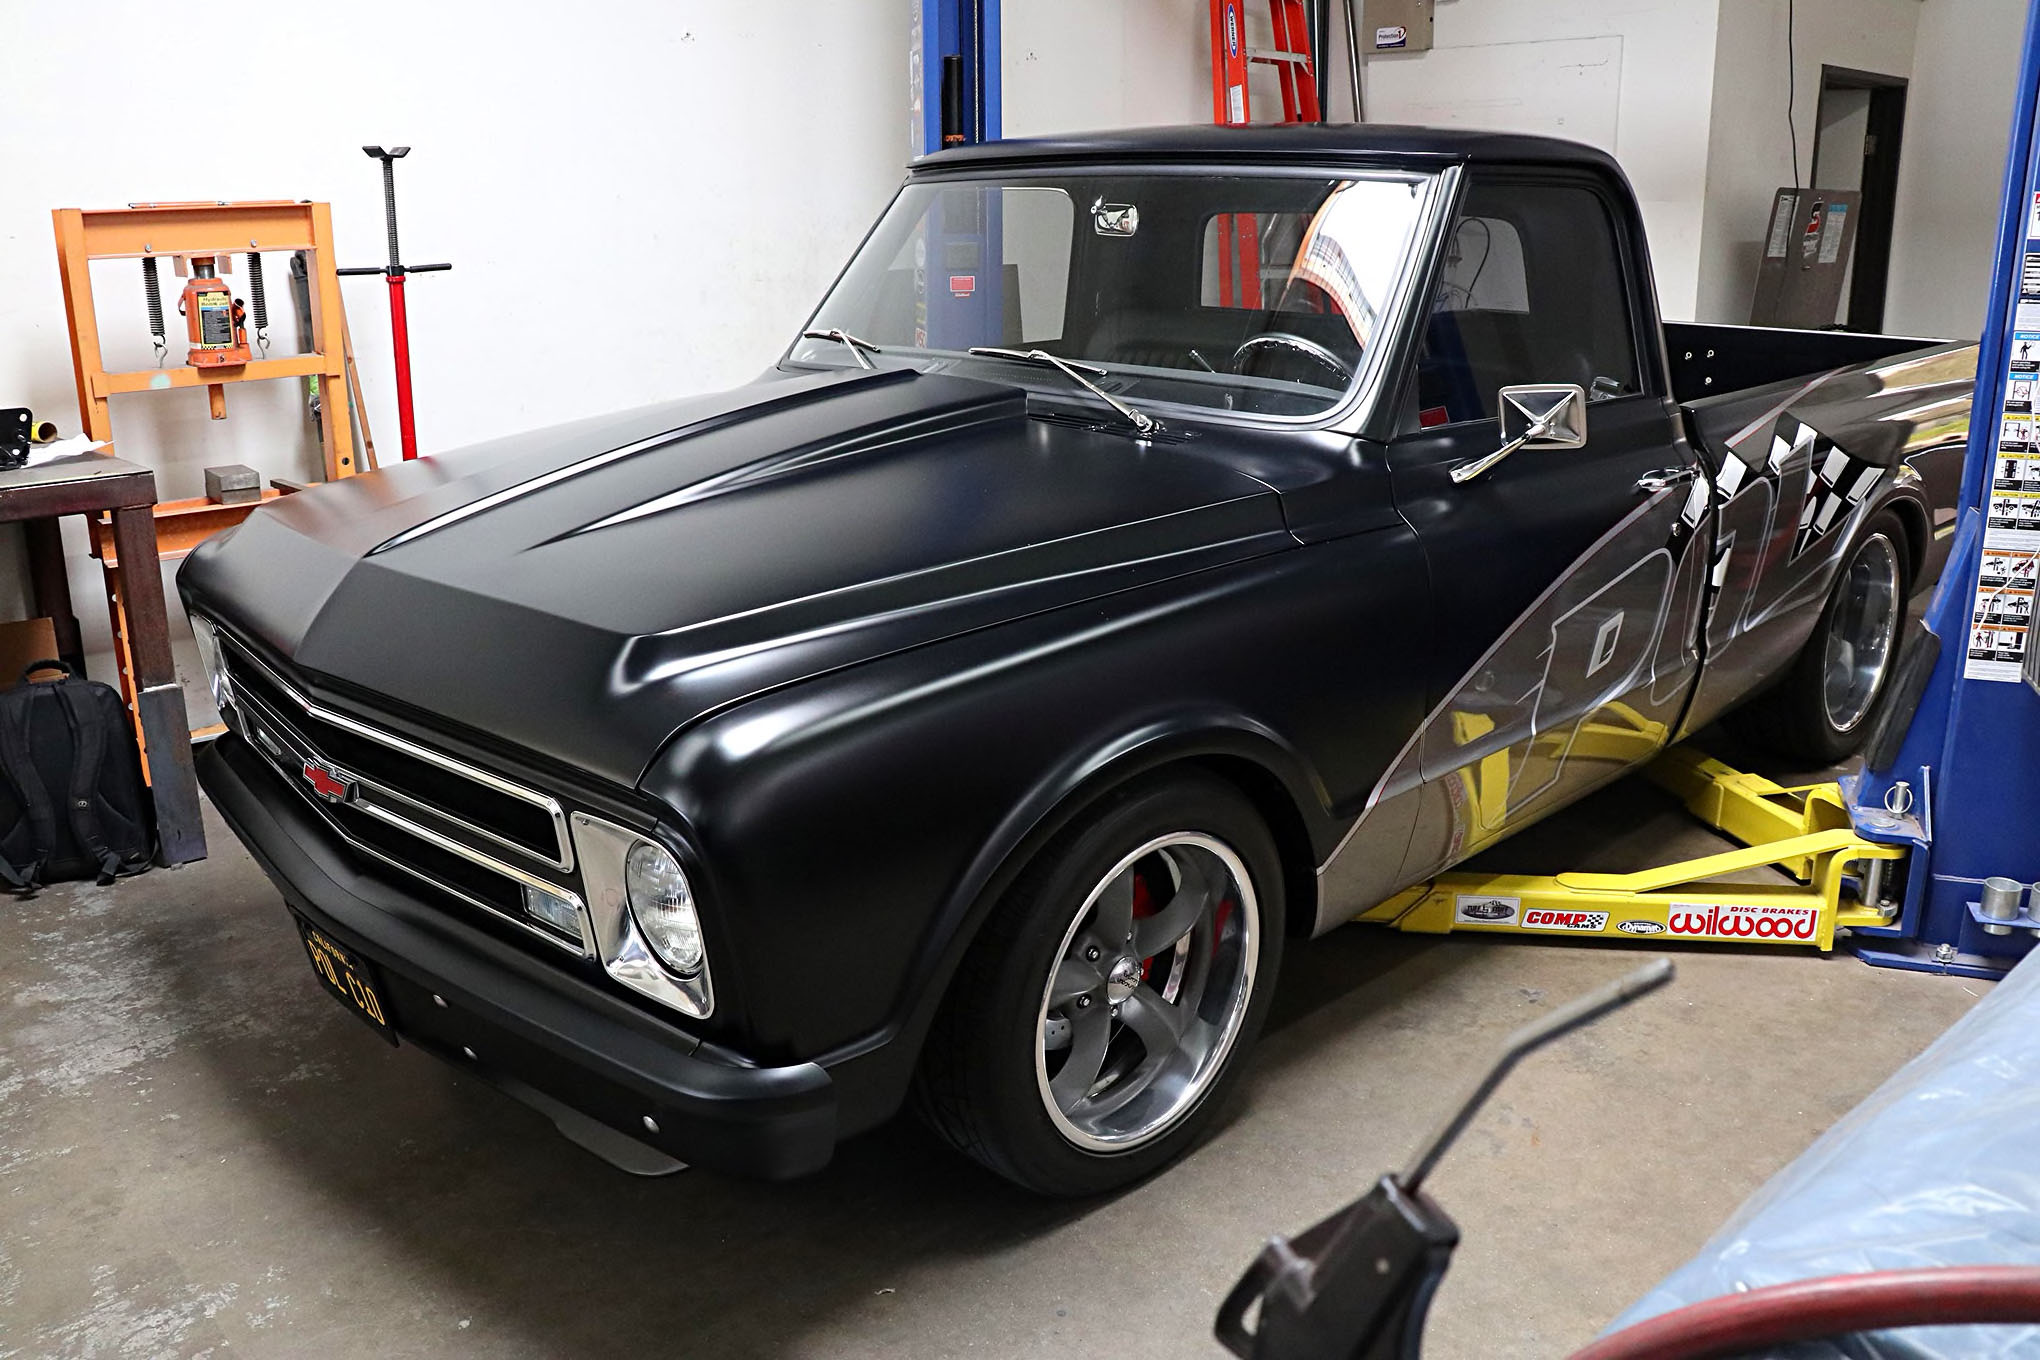
The subject of Orange County Hot Rods’ coilover suspension installation was POL’s workhorse C10. Previously it was equipped with lowered coil spring control arms and a disc brake conversion. 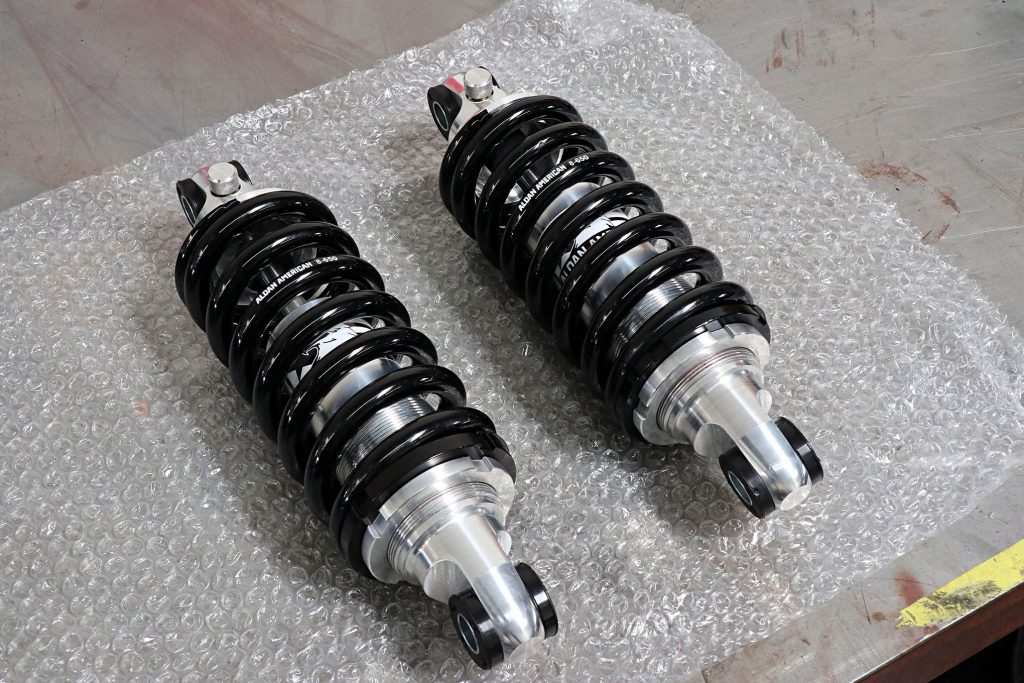
At the center of the conversion are the Aldan Phantom series coilovers. For small-block applications, 450-pound springs are recommended; big-blocks use 550 pound. Note the damping adjustment knobs at the top of the shocks. 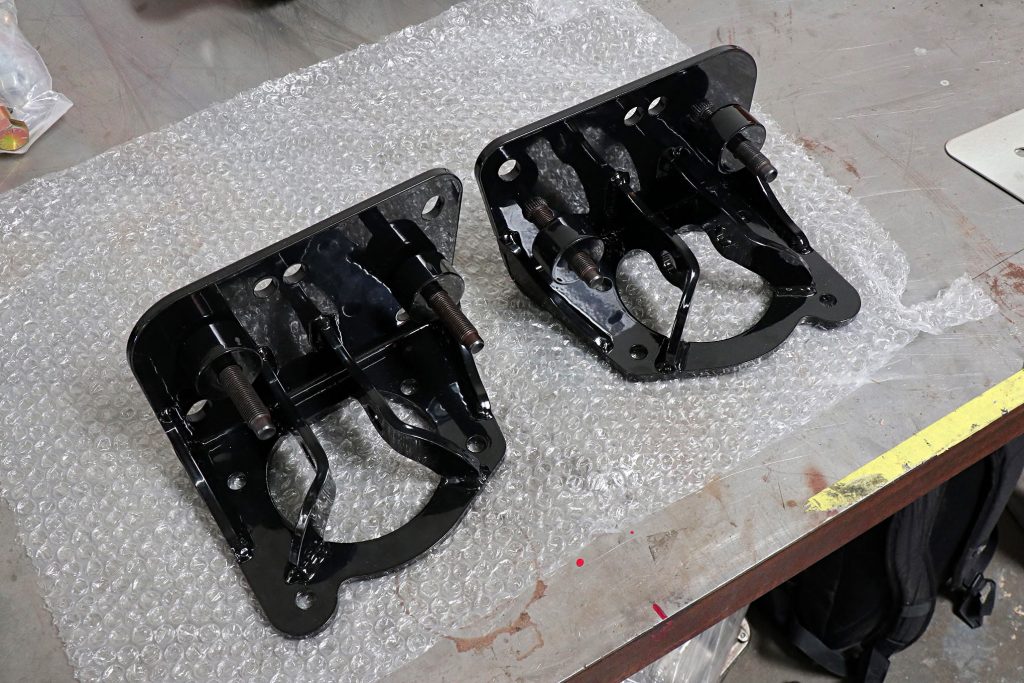
Included in the POL kit are these bolt-on upper coilover mounts. They come powdercoated gloss black. 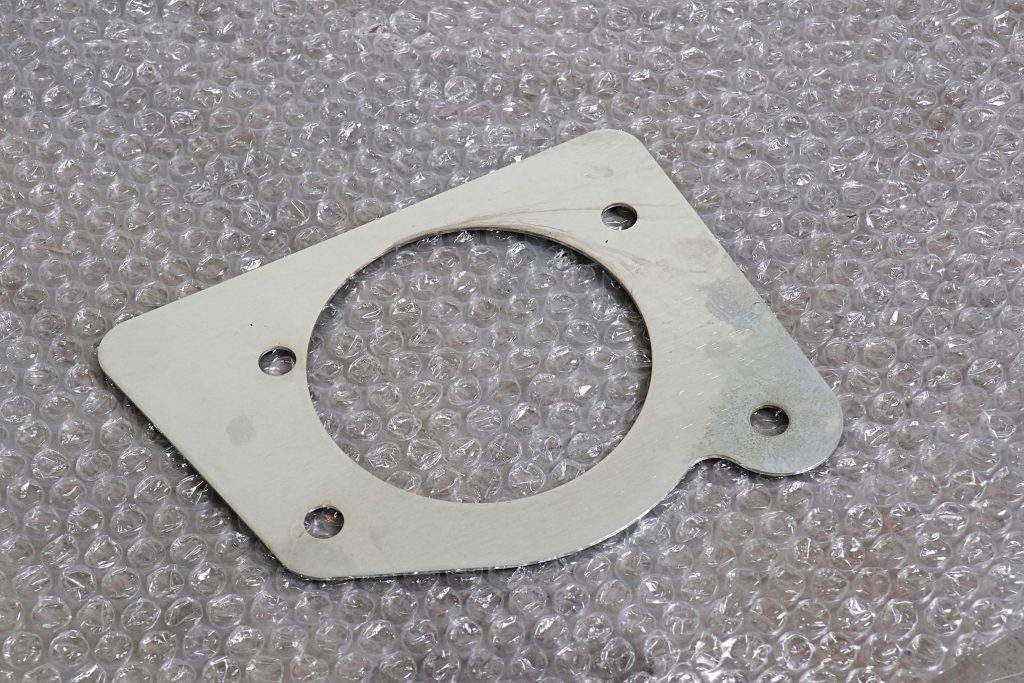
This flat plate is a guide used for cutting holes in the upper spring pockets that the coilovers will pass through. 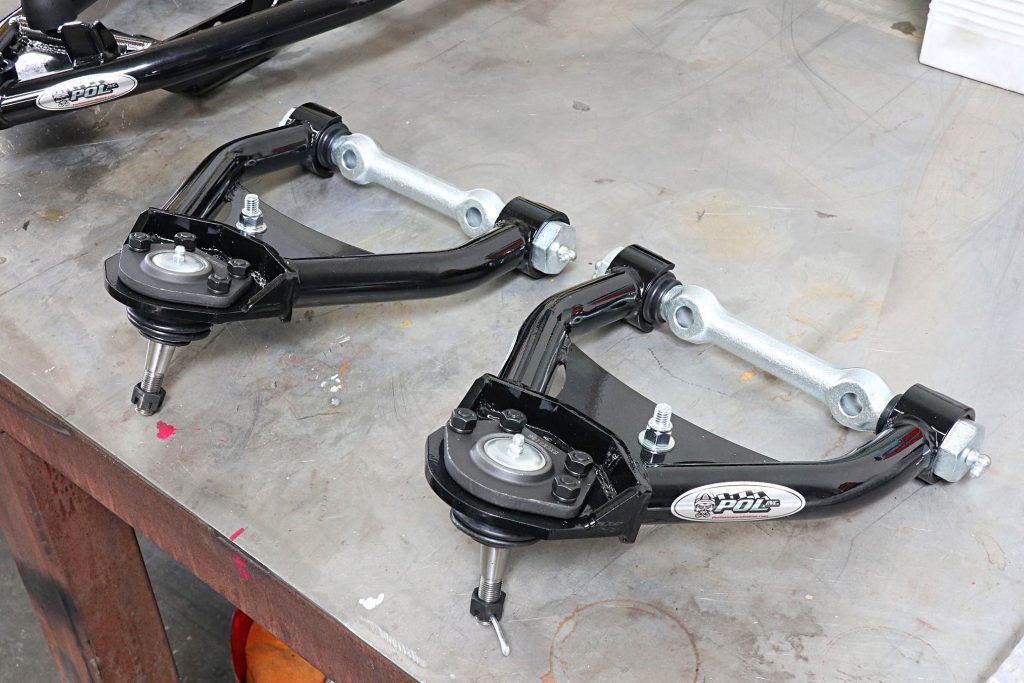
POL’s upper control arms come with new ball joints, bumpstops, and cross shafts. They’re designed to add caster to increase straight line stability. 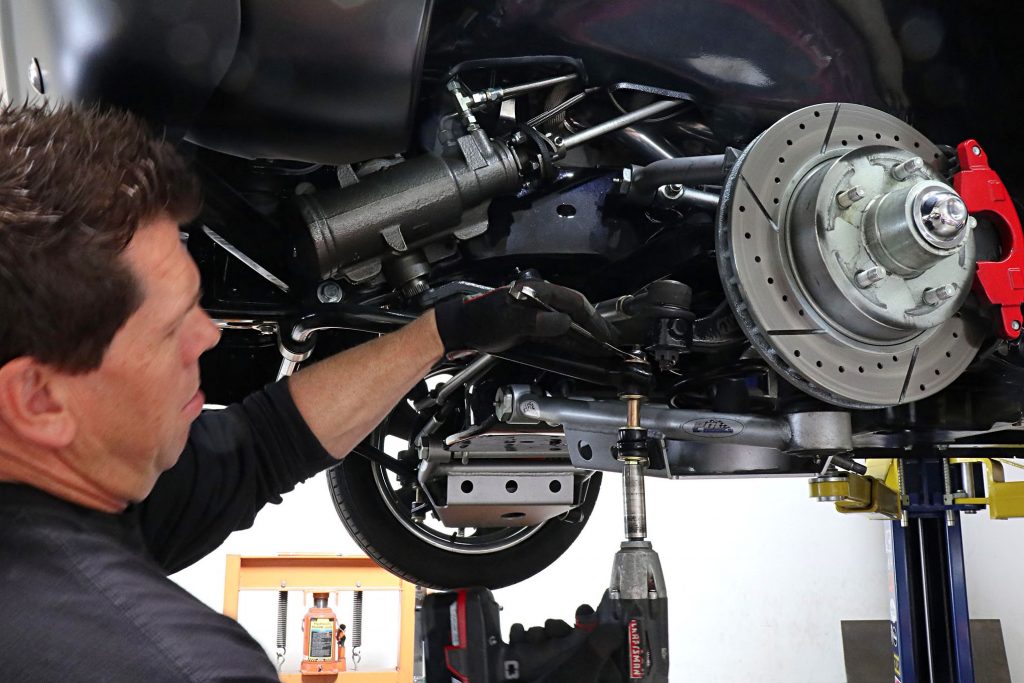
Aaron Hamusek began disassembly of the front suspension by removing the sway bar endlinks. 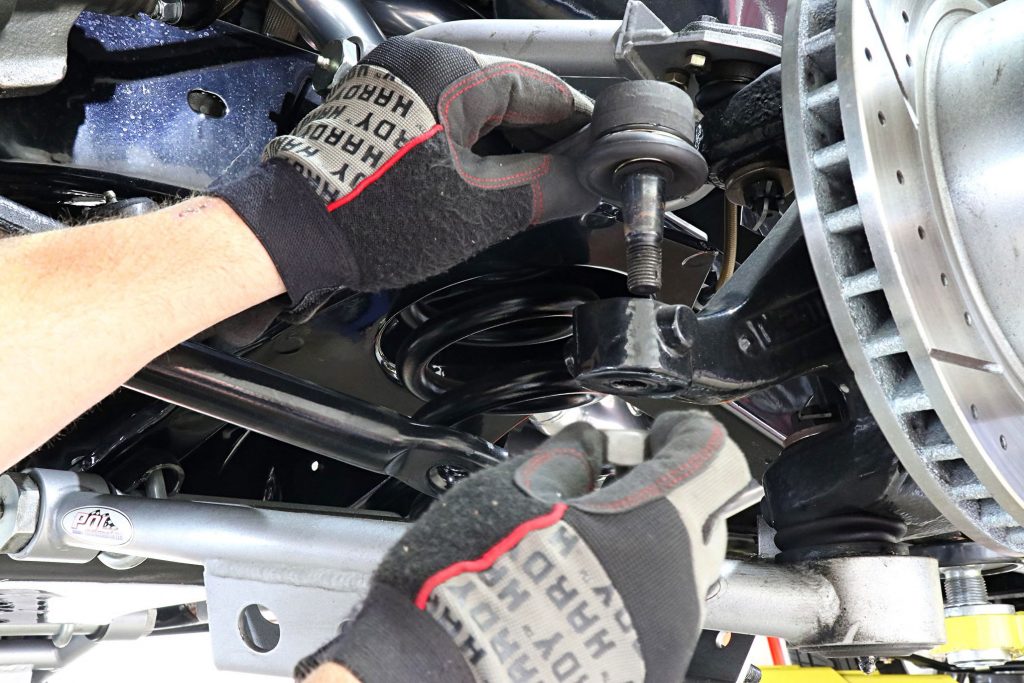
Next the tie-rod ends are removed from the steering arms. This is a good time to replace them if any wear is evident. 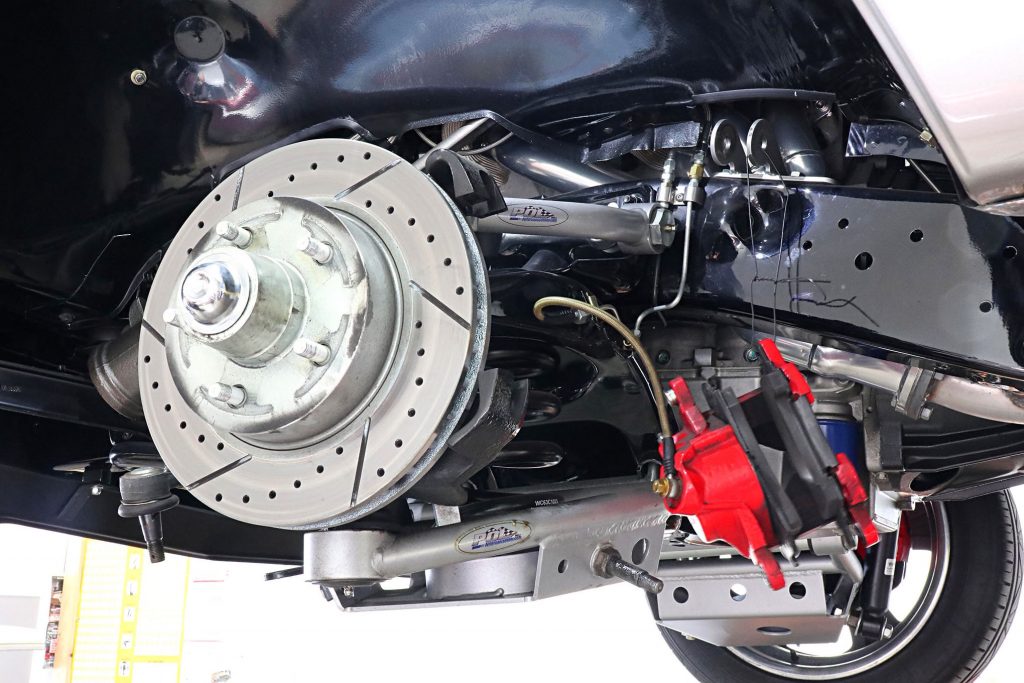
The disc brake calipers were removed and hung from the frame with mechanics wire. Never let them hang by the hose. Note the brackets for the shock (arrows) that was removed earlier. 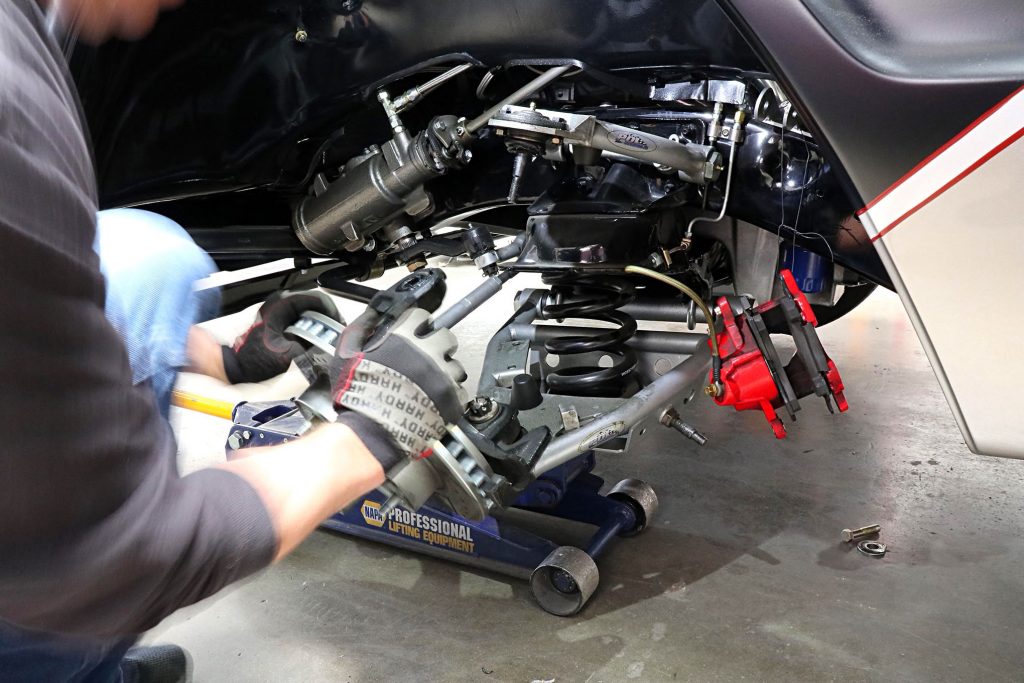
To remove each coil spring the lower control arm is supported by a floorjack, the upper ball joint is separated from the spindle, then the lower control arm is slowly lowered to allow removal of the coil spring. 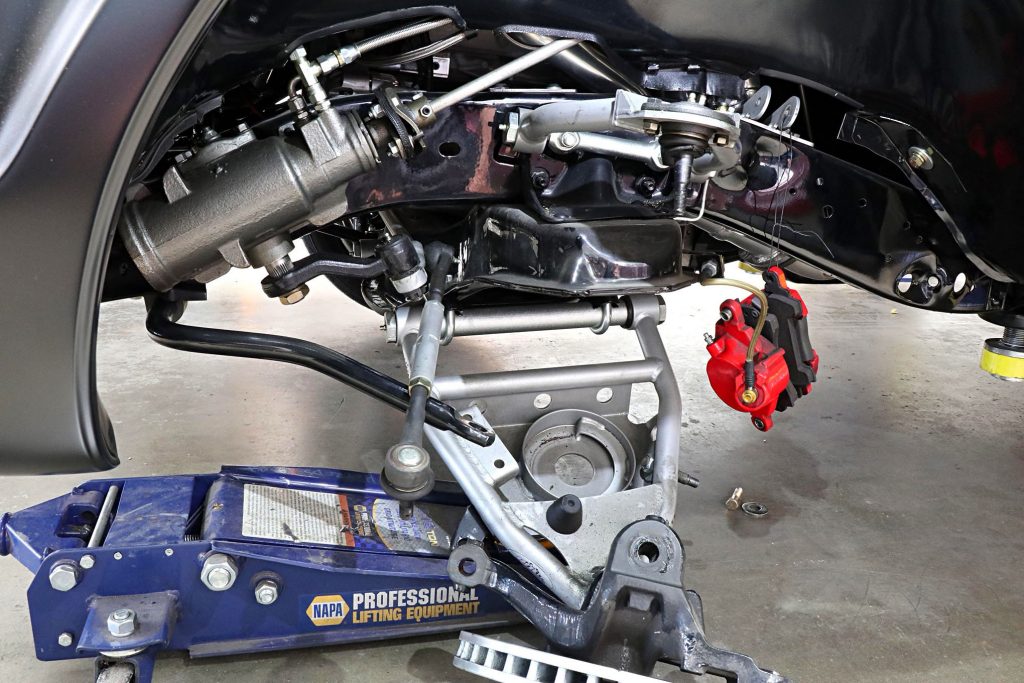
With the spring removed the spindle can be separated from the lower control arm. 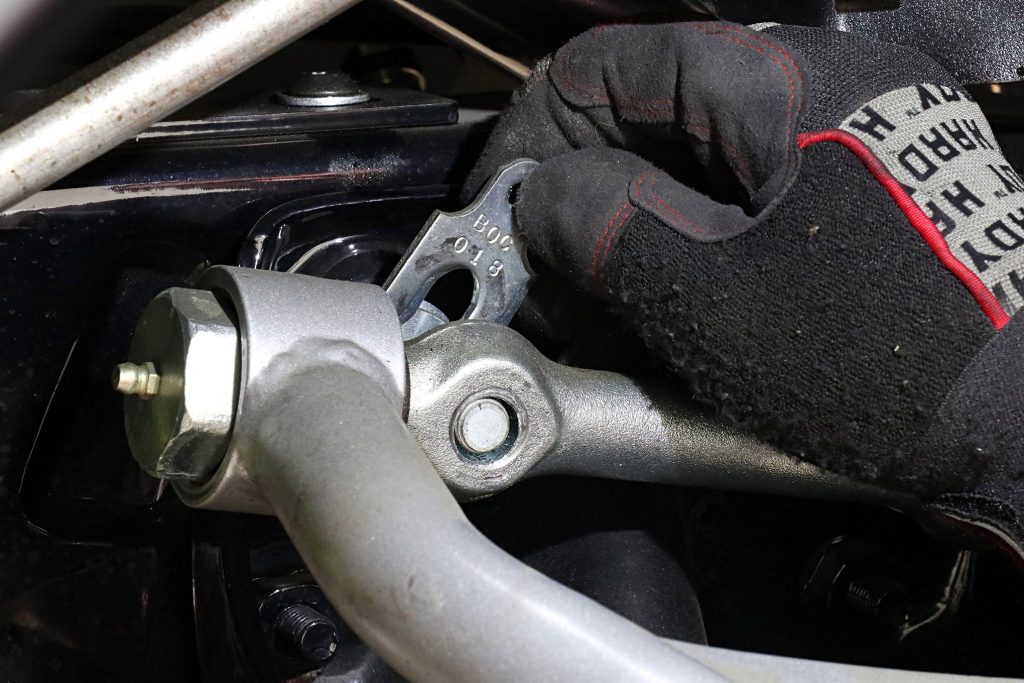
Hamusek kept track of the alignment shims in the upper control arms. While the alignment will need to be checked when the installation is complete, replacing the original shims should be close to correct. 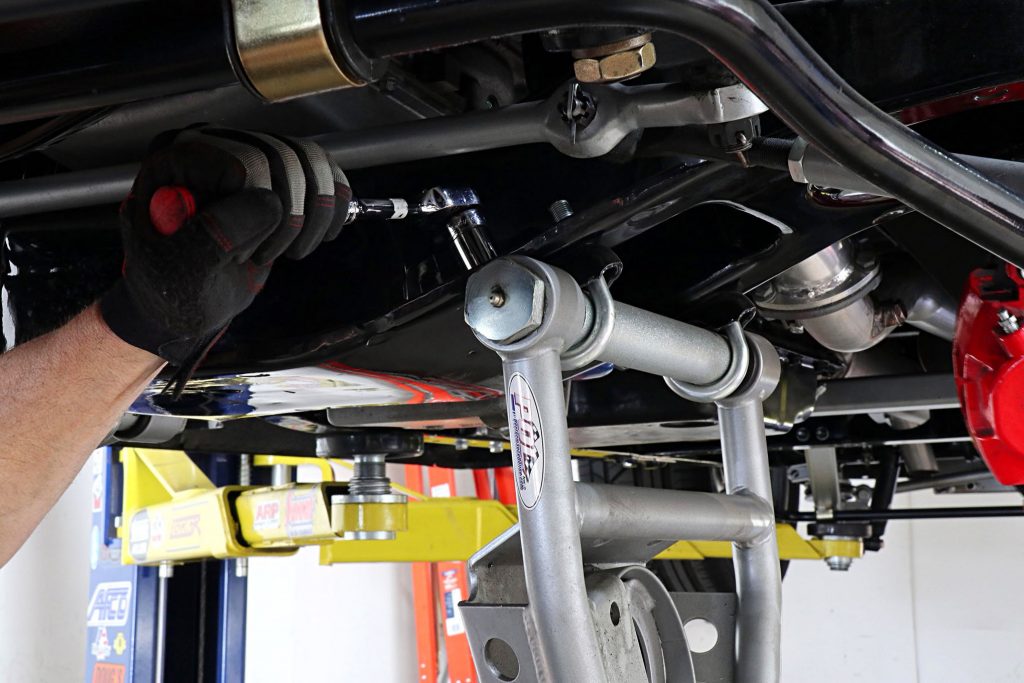
With the spindle disconnected the U-bolts holding the lower control arms to the crossmember are removed. 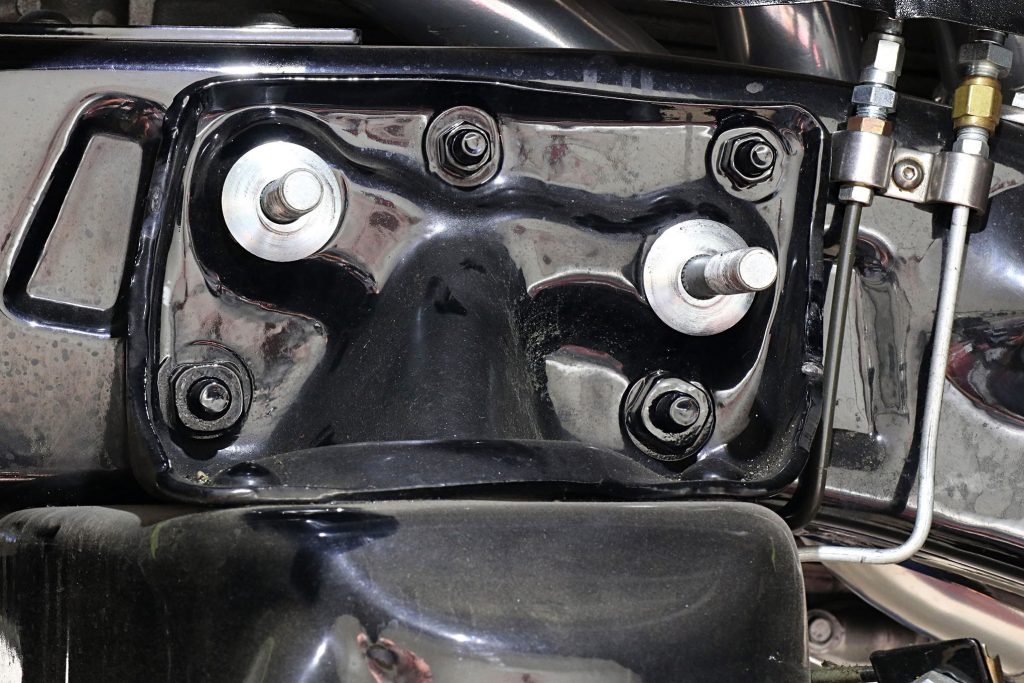
This is the original mount for the upper control arm cross shaft. It will be removed. 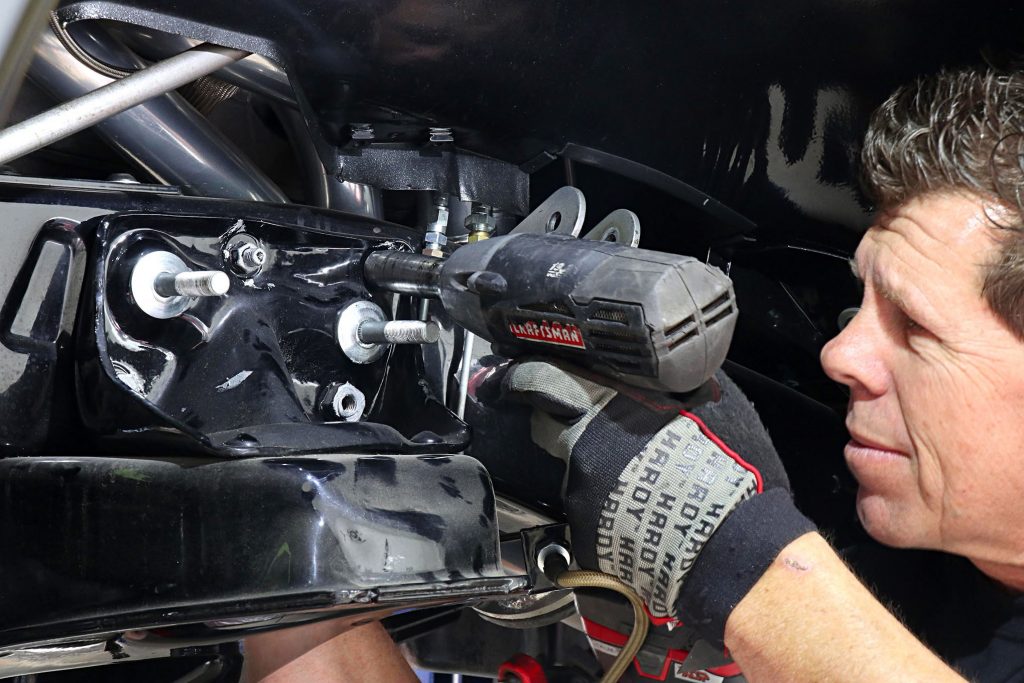
Hamusek removed the bolts that attach the front crossmember assembly to the framerails; that was the easy part. 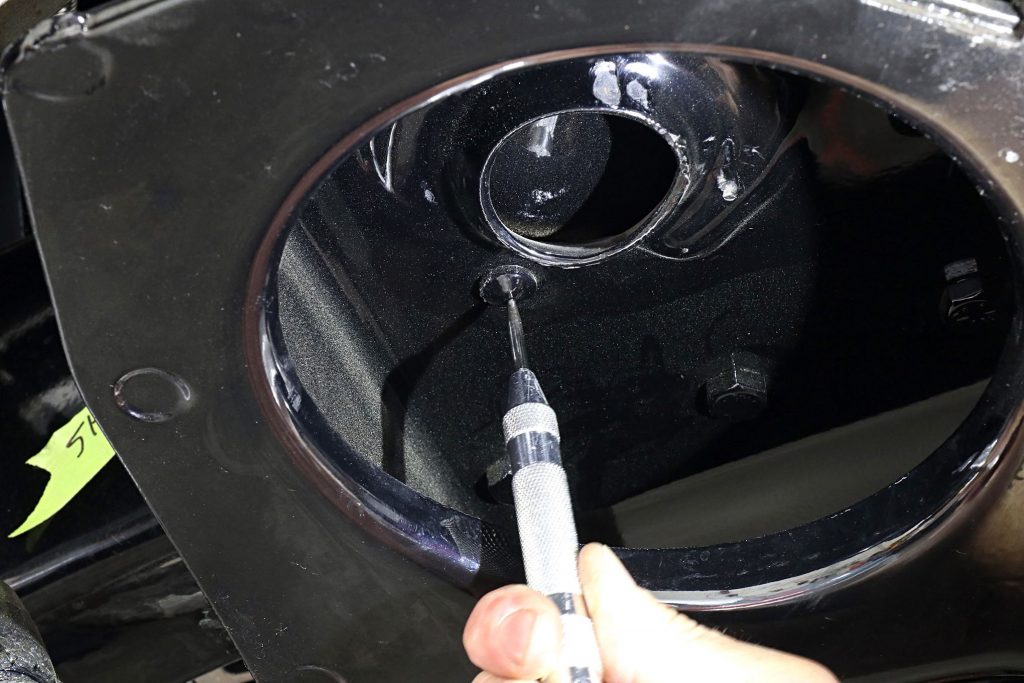
A little more challenging is removing the rivets inside the spring pockets that go through the crossmember and into the upper control arm bracket. 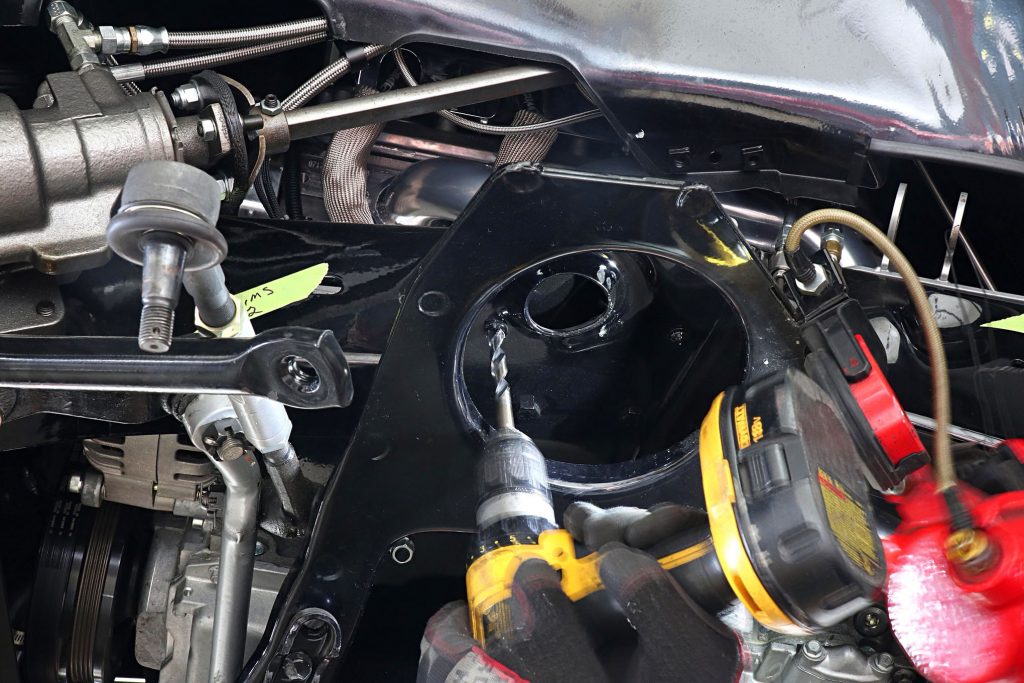
Hamusek center-punched the center of each rivet, then drilled through them with a small-diameter bit. 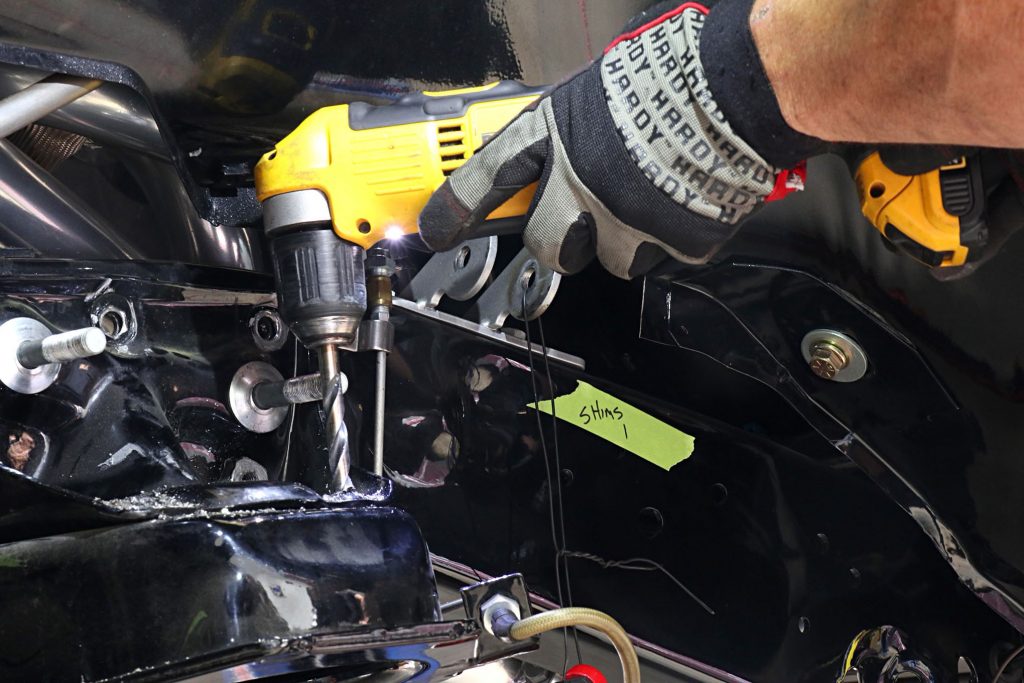
After pilot holes were drilled, Hamusek followed up with a larger drill bit. The rivets toward the center of the truck were drilled from the bottom. 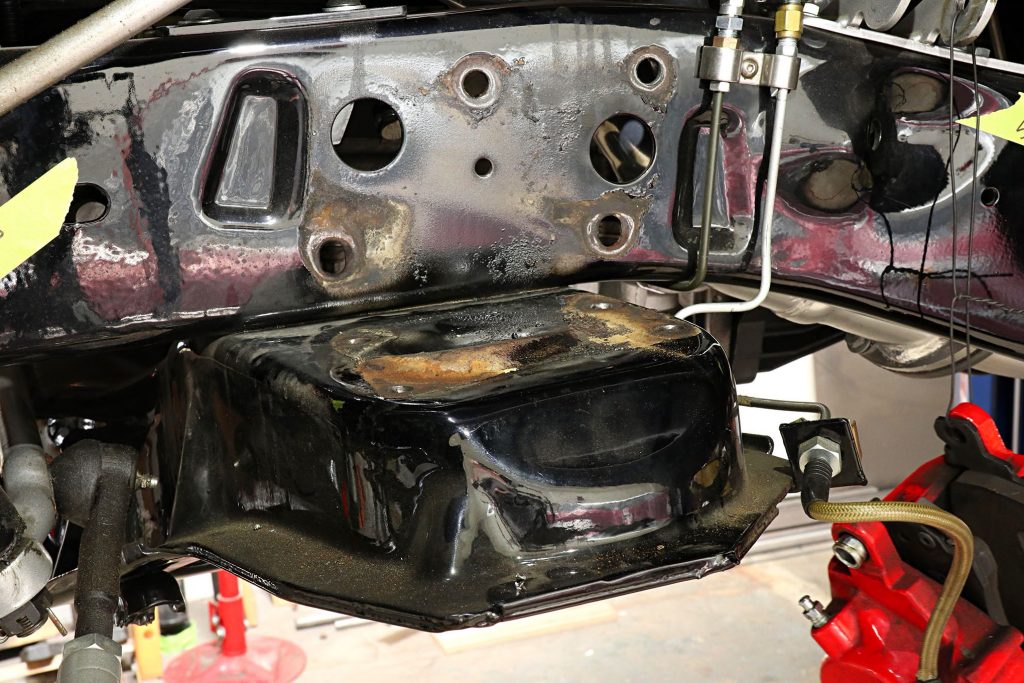
Hamusek was able to drill the outer rivets from the top, which was much easier. 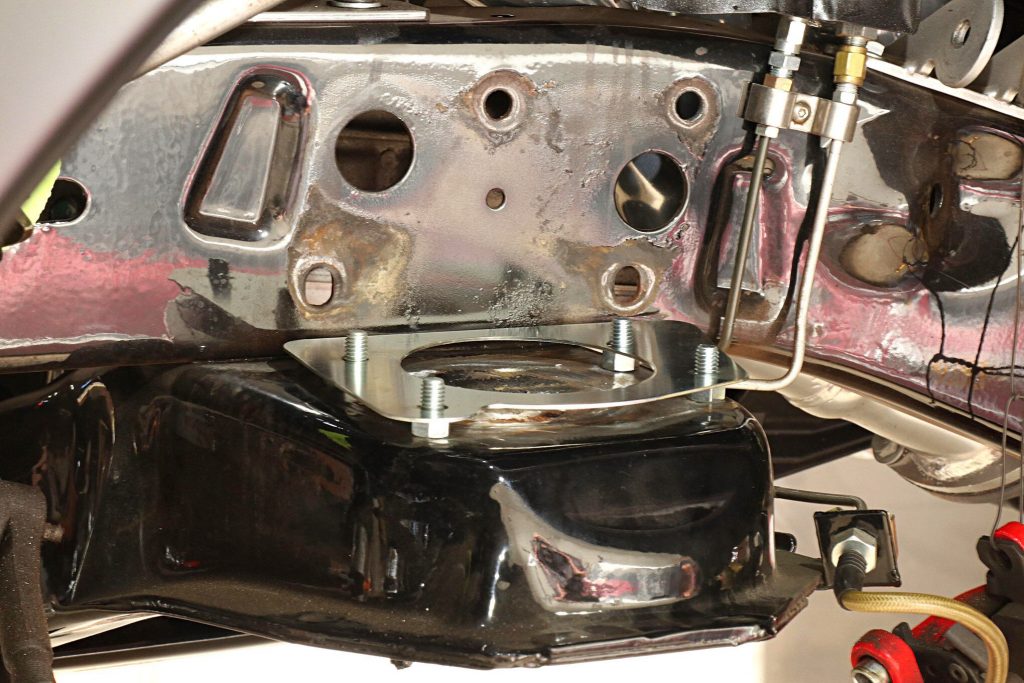
With the rivets removed, the existing holes were used to attach the cutting guide shown earlier. 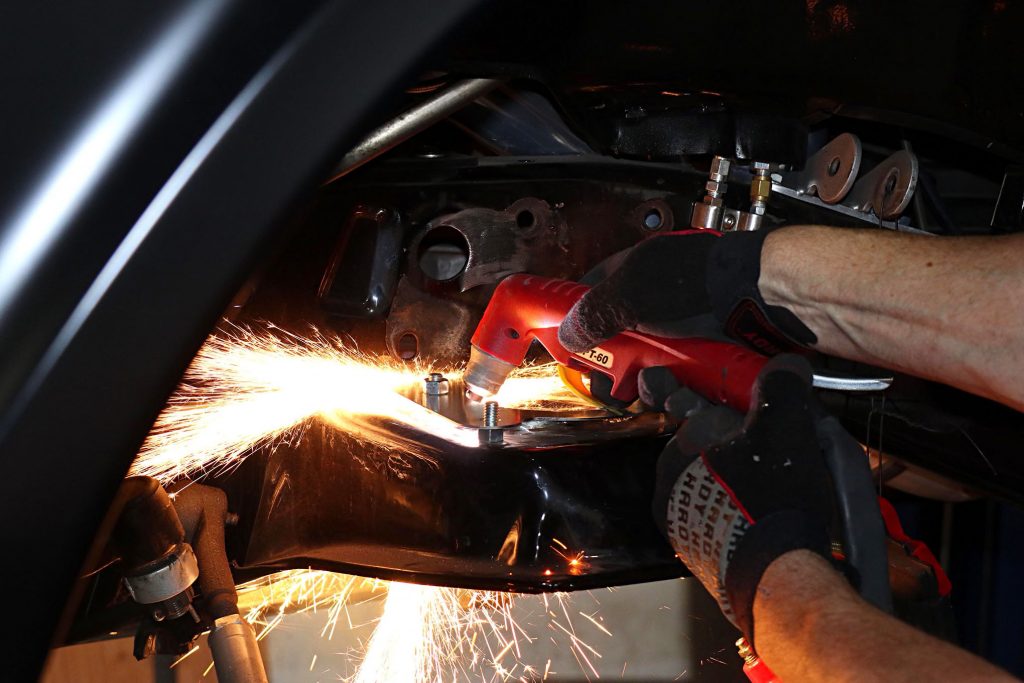
Hamusek chose to use a plasma cutter to make the necessary hole in the upper spring pocket. 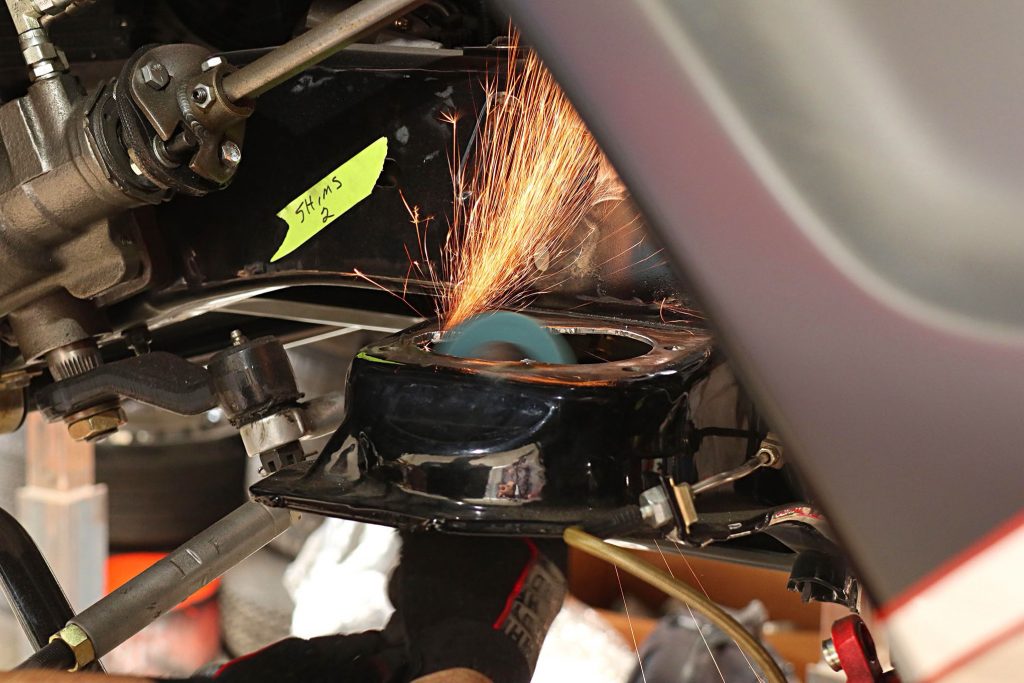
The edge of the cut was smoothed with a large-diameter sanding roll and an abrasive disc on a small, right-angle air grinder. 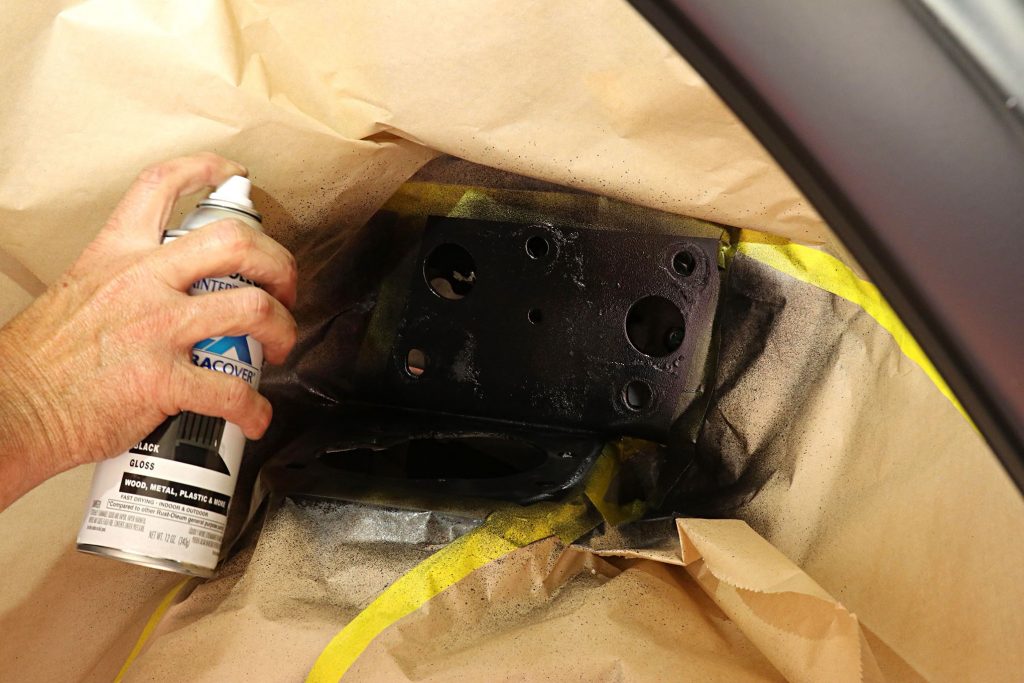
Before the replacement control arm bracket was installed the bare metal area of the frame was cleaned and painted. 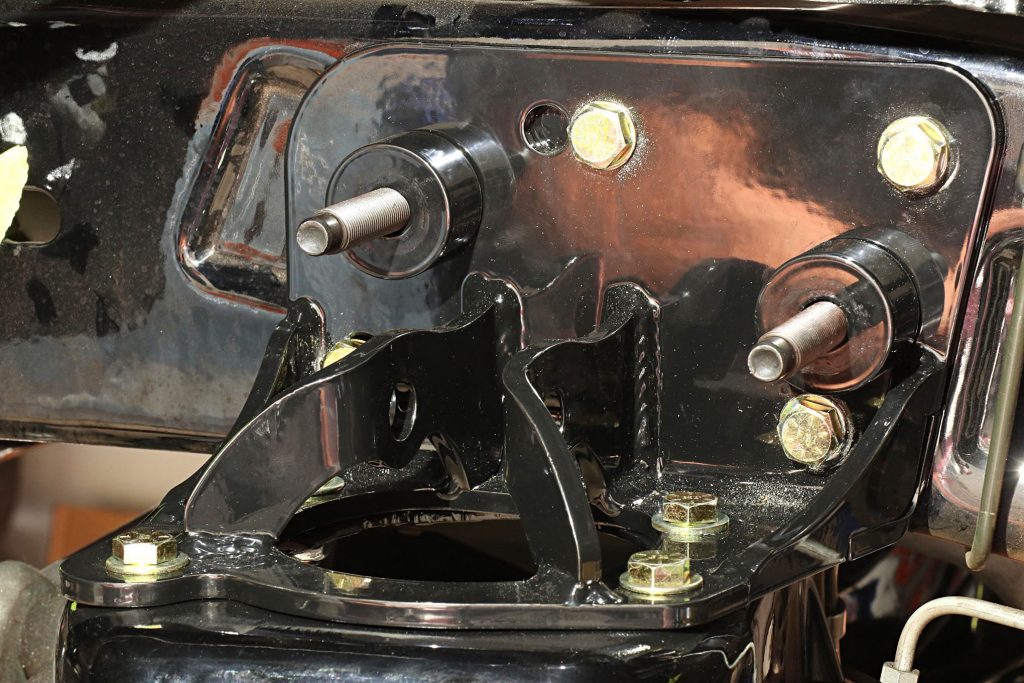
Here the new upper control arm mounts have been bolted in place. Note the spacers on the studs. These are necessary due to the new upper control arms and revised frontend geometry. 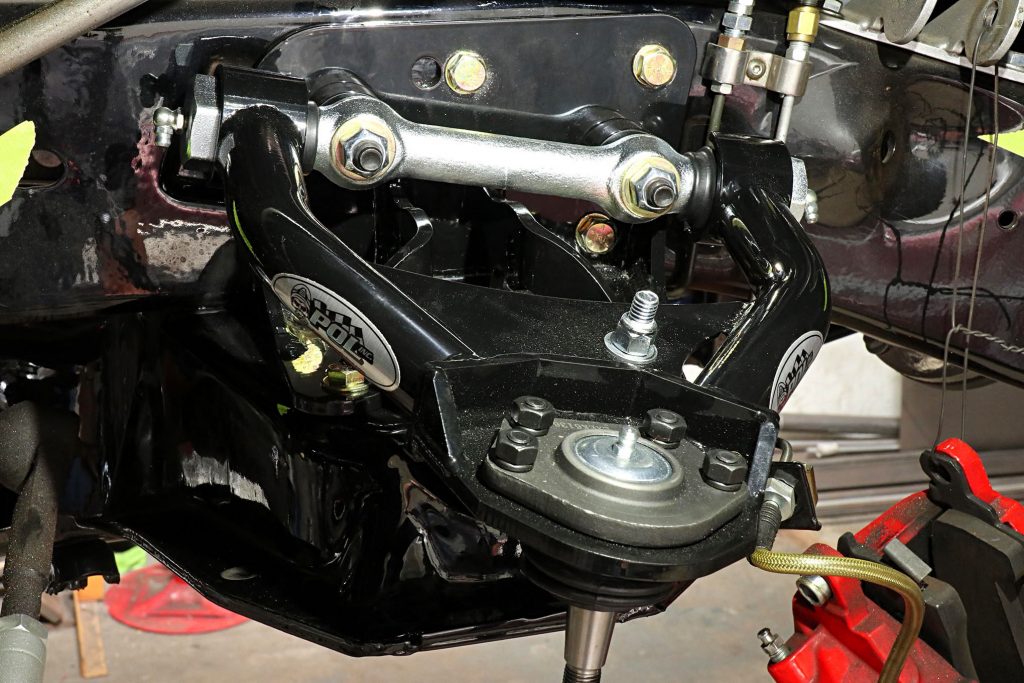
Reassembly of the suspension begins with installing the upper control arms. 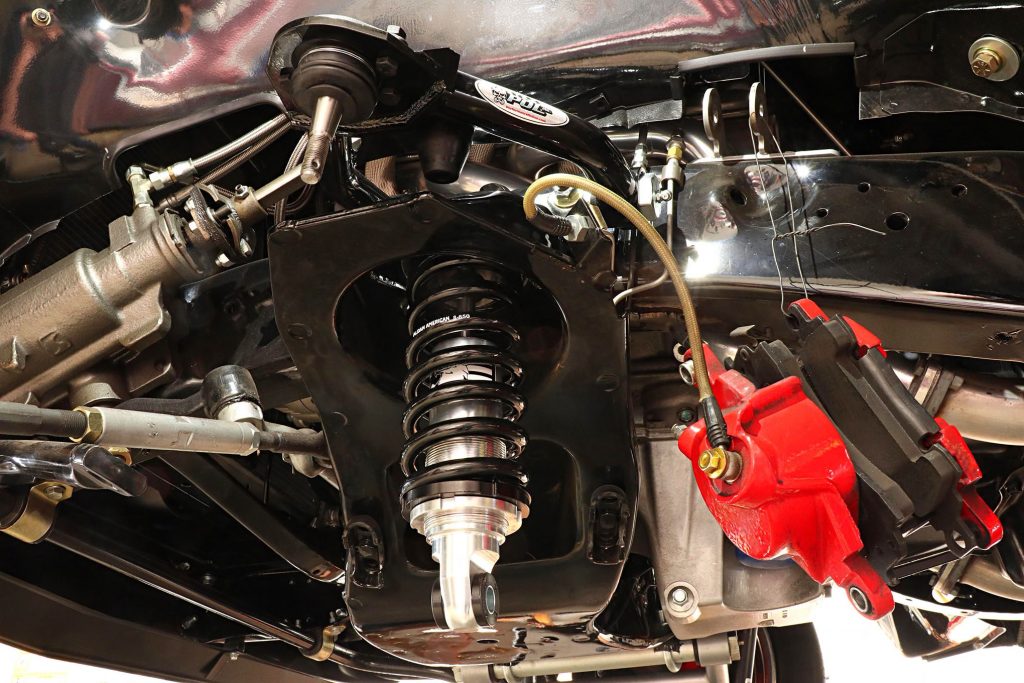
With the hole cut in the spring pocket the coilover can be put in place and secured to the new upper bracket with the supplied hardware. 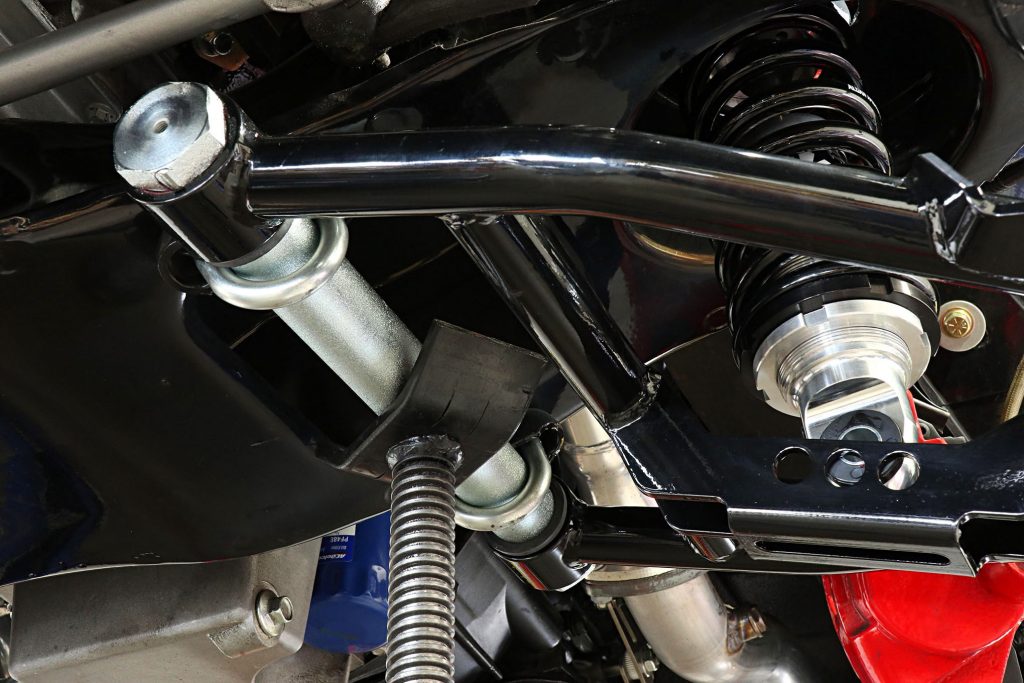
The new lower control arm is put in place with the new U-bolts in the kit. Note how the coilover fits into the bracket on the control arm. 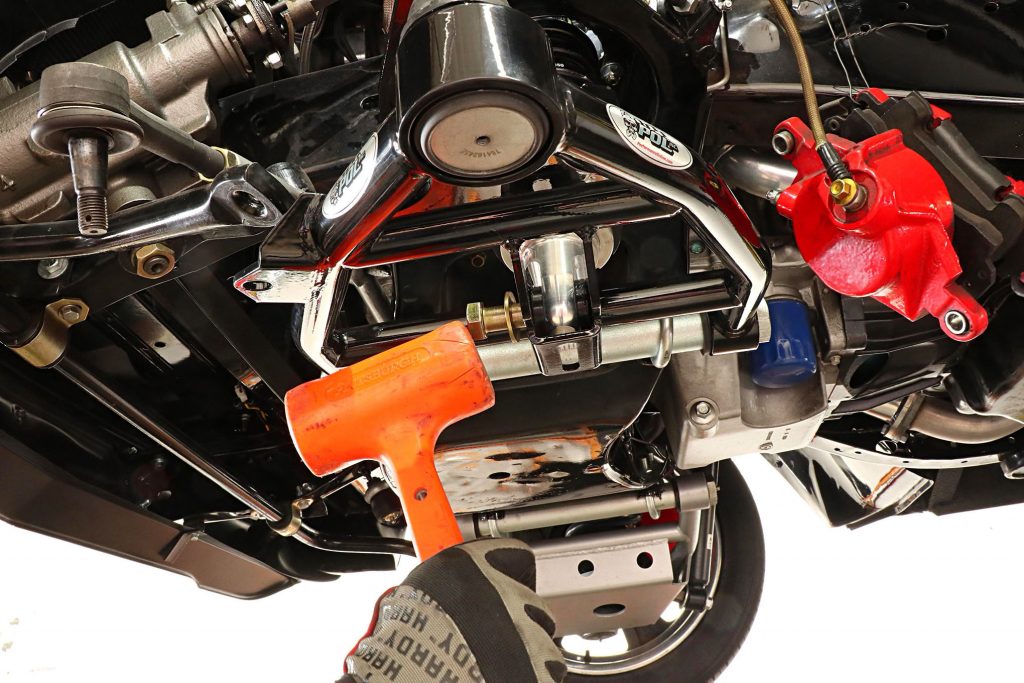
With a little persuasion the lower coilover bolt was put in place. All the bolts included are grade 8. 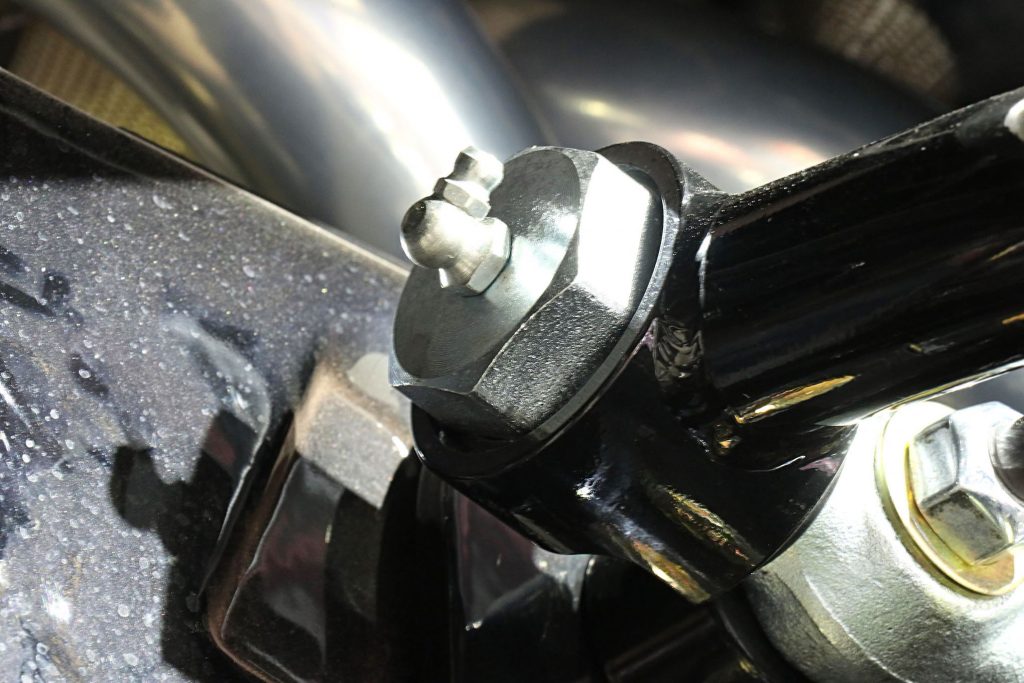
For a long, squeak-free life, the upper and lower control arm bushings have zerk fitting to allow periodic lubrication. 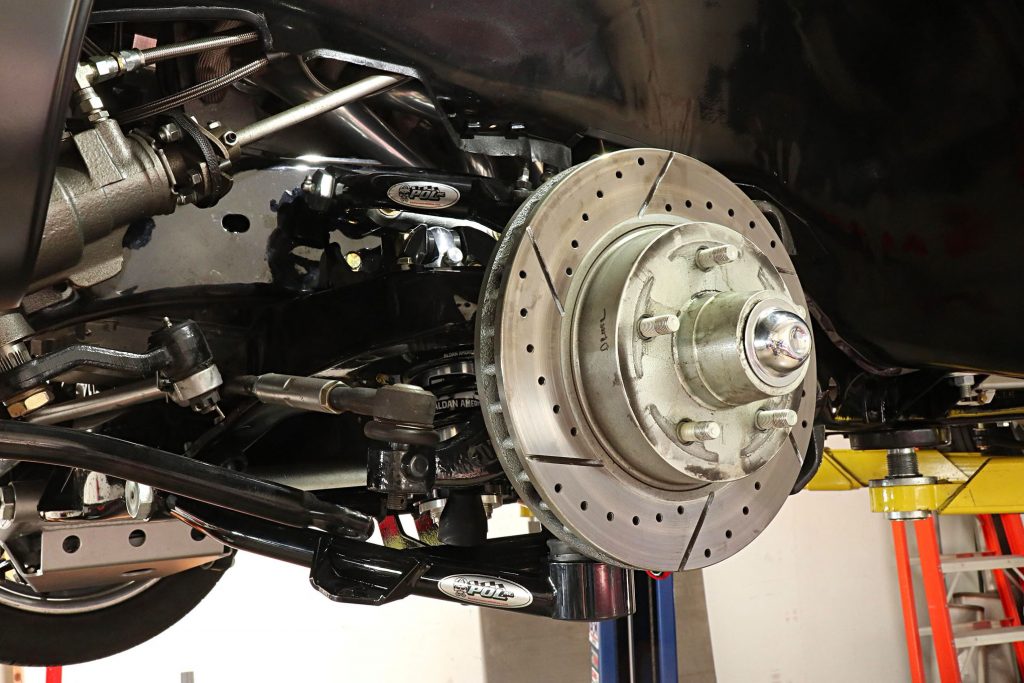
After the control arms are secured the spindle and rotor assembly is reinstalled. Of course new cotter pins were used in the castellated ball joint nuts. 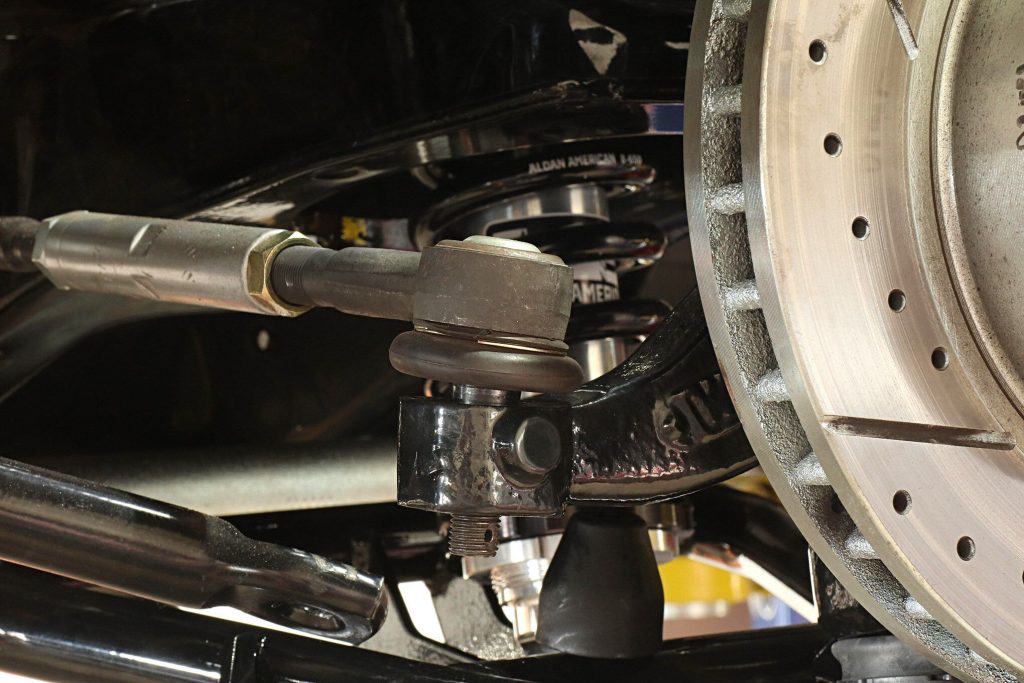
The tie-rod nut also gets cotter pins. While everything should be close, an alignment shop should set the caster, camber, and toe. 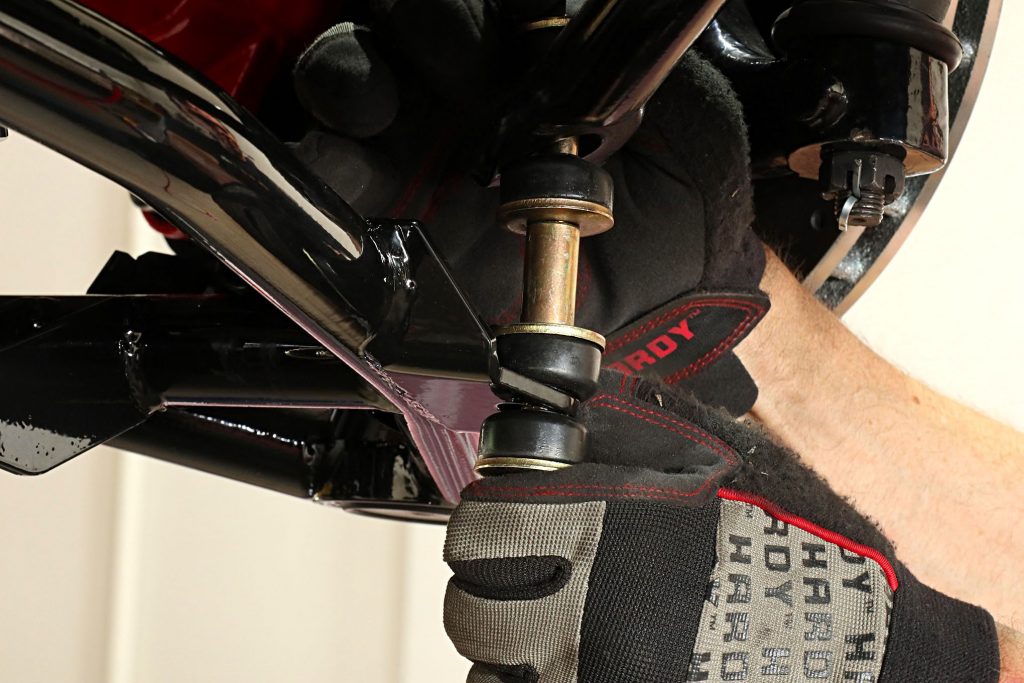
POL’s sway bars are designed to work with this kit and attach to brackets on the lower control arm. Made from 4140 heat-treated steel, these 1963-1972 Chevy and GMC truck sway bars are designed to minimize body roll without affecting ride quality. 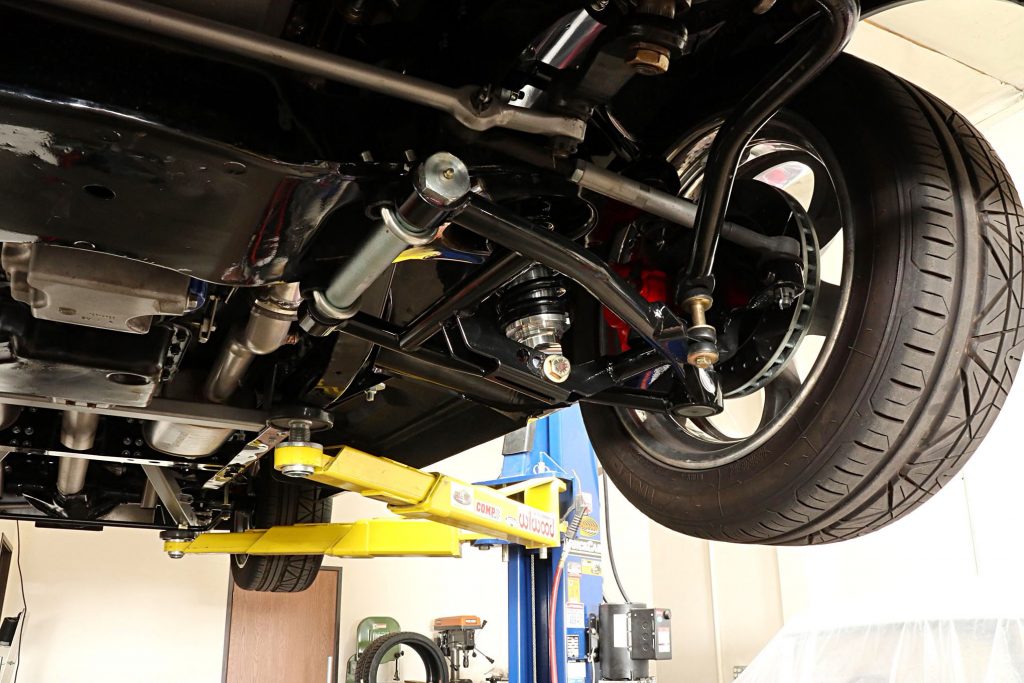
The finished installation. Performance Online’s 1963-1970 Chevy and GMC truck Stage 3 suspension kits are designed specifically for lowered trucks and are matched to the specific vehicle. These kits will work with stock height or drop spindles.
