The crew over at SuperChevy.com are doing a make-over on this Chevy Camaro’s suspension & brakes. This will be a huge performance improvement with all around better handling, not to mention a much safer ride. When looking for parts and advice on the project, they knew to call us at Performance Online. We’re the suspension & brake parts specialists, and knew exactly what they would need to get this Classic Camaro driving smooth. Below is an excerpt from the article. Check out the full version on SuperChevy.com.
Performance Online (POL) has affordable solutions for enthusiasts who want more from their vintage and late-model Chevy powerhouses. The key to having it all is how you spend your money getting there. You want the best handling and braking you can get without selling off the farm. POL has an extensive, and affordable, product line that enables you to build performance into your ride without spending a lot of money.
Here’s a gallery with step by step instructions describing the parts installation. You can find these Tubular Control arms made to fit your Classic Chevrolet Camaro on our website. Enjoy!
-

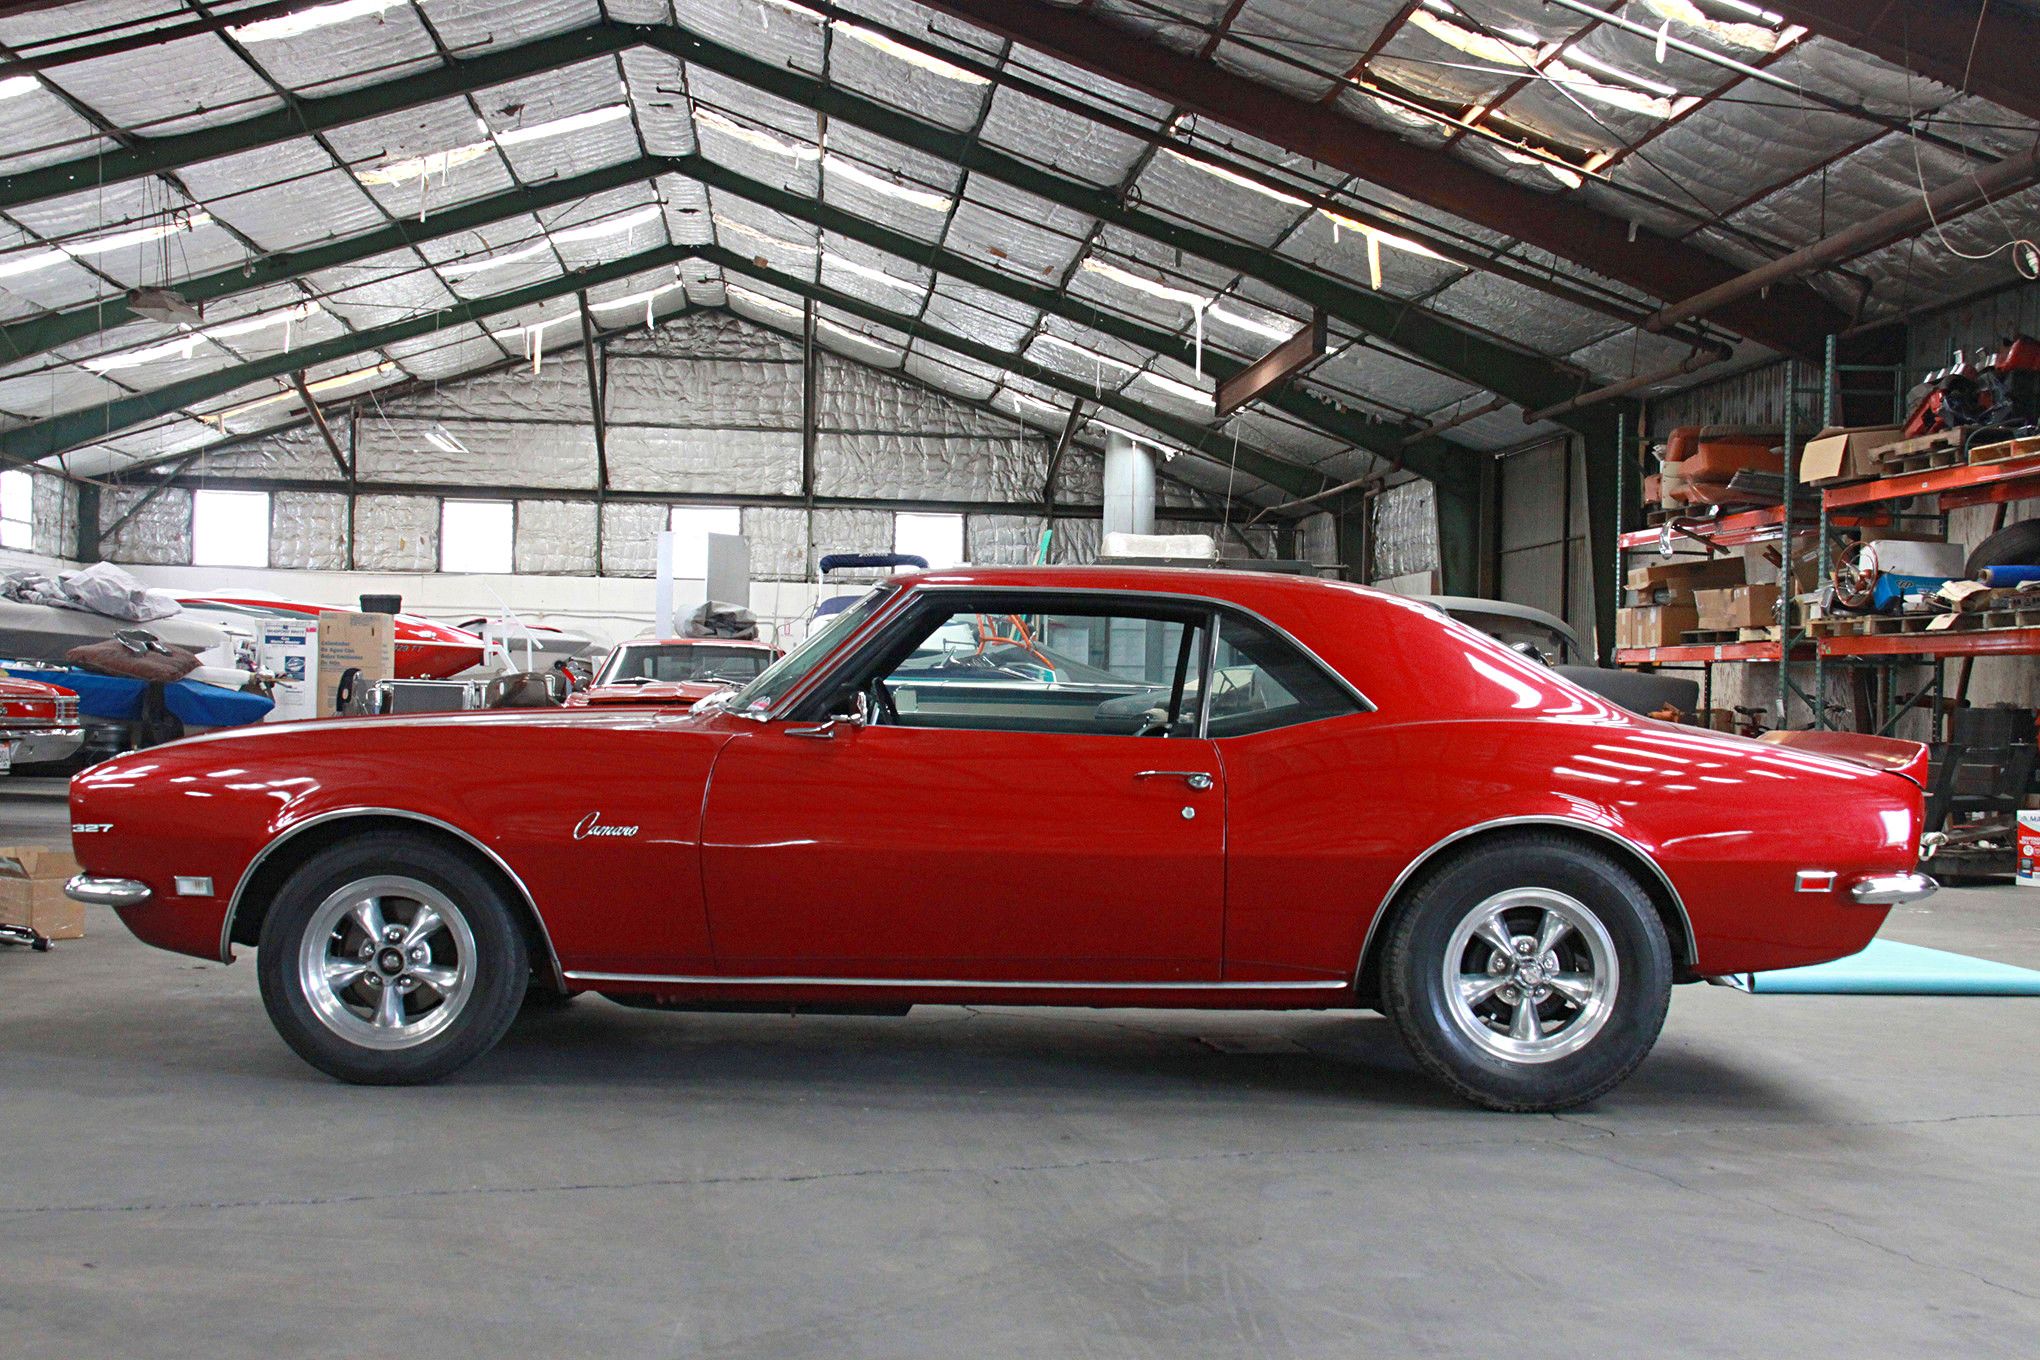
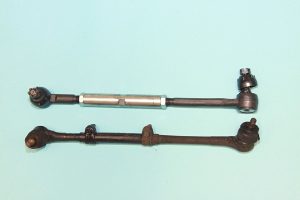
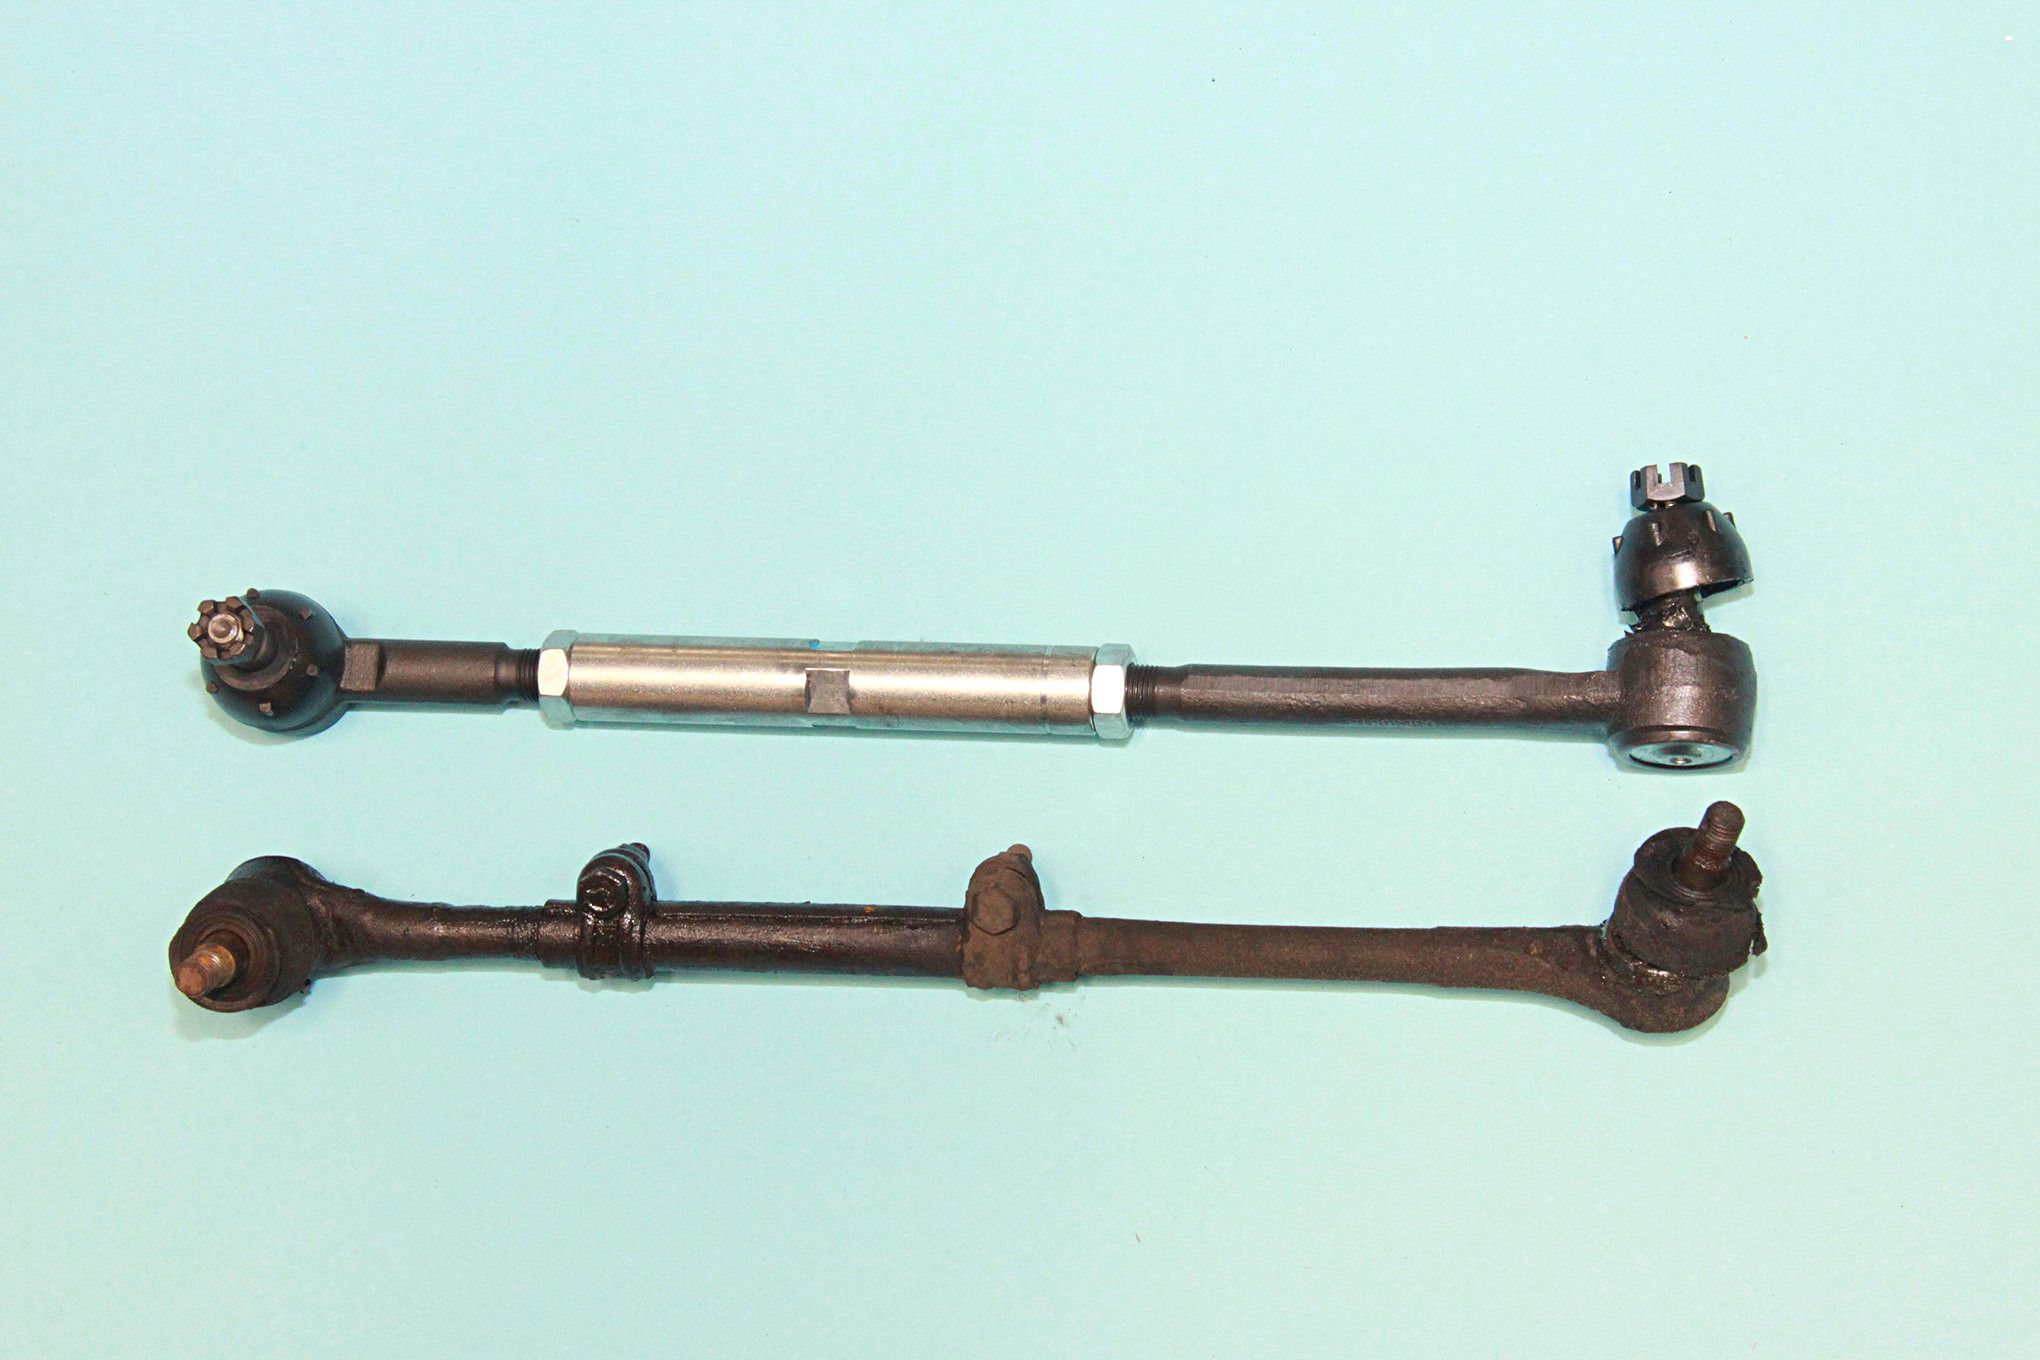
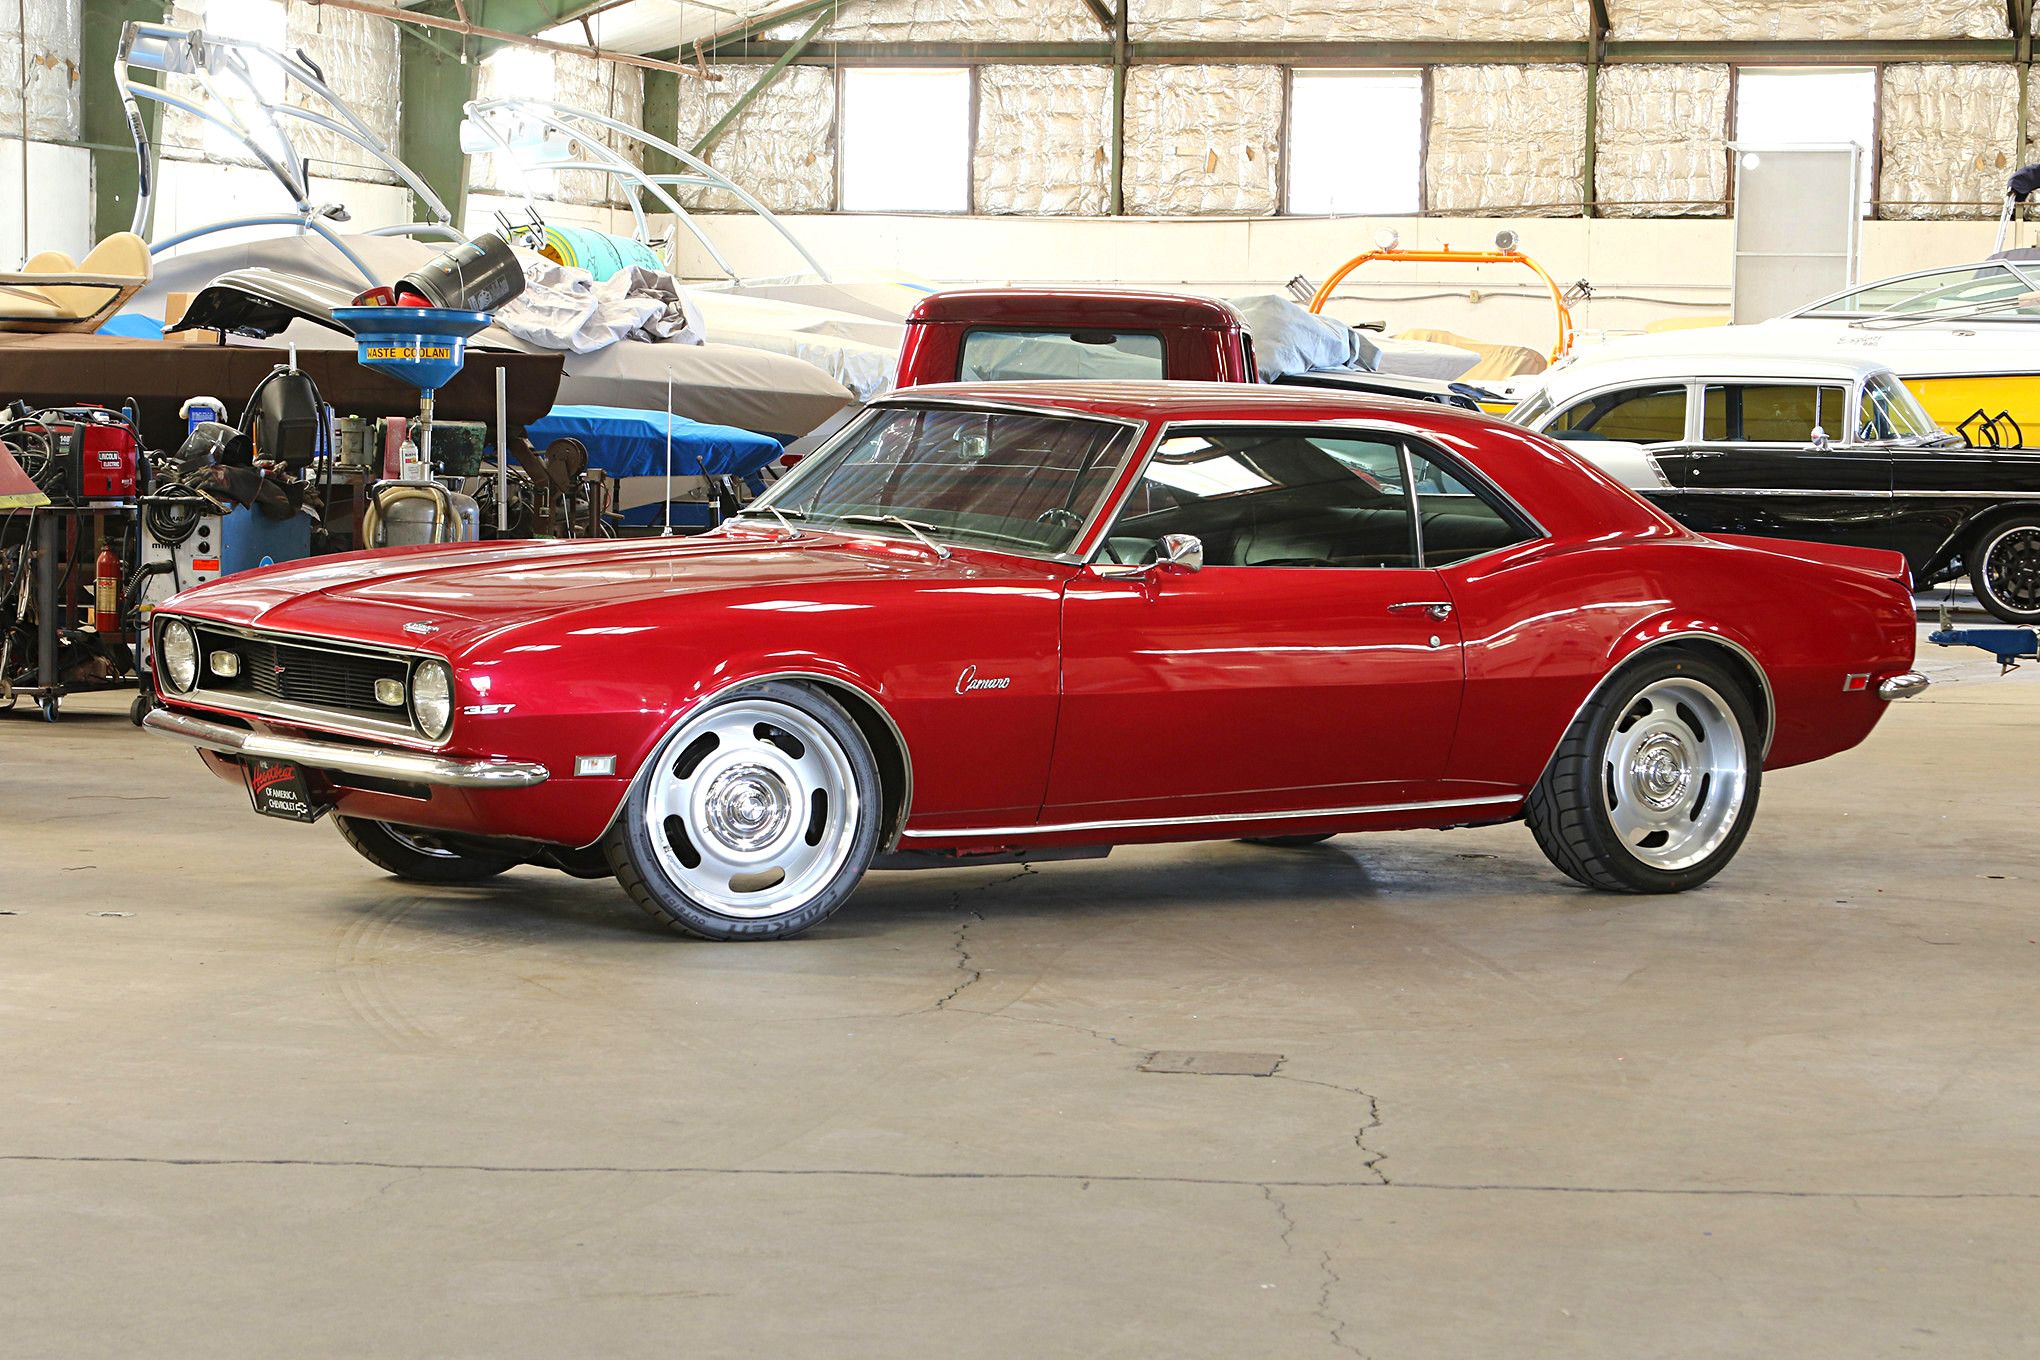
- The Super Chevy ’68 Camaro Project sports its original suspension system with a stock ride height. We’re going to change all of that with a complete Performance Online (POL) suspension system, which will lower the ride height; improve the handling; and give our first-gen Camaro a down-low, road-hugger stance
-

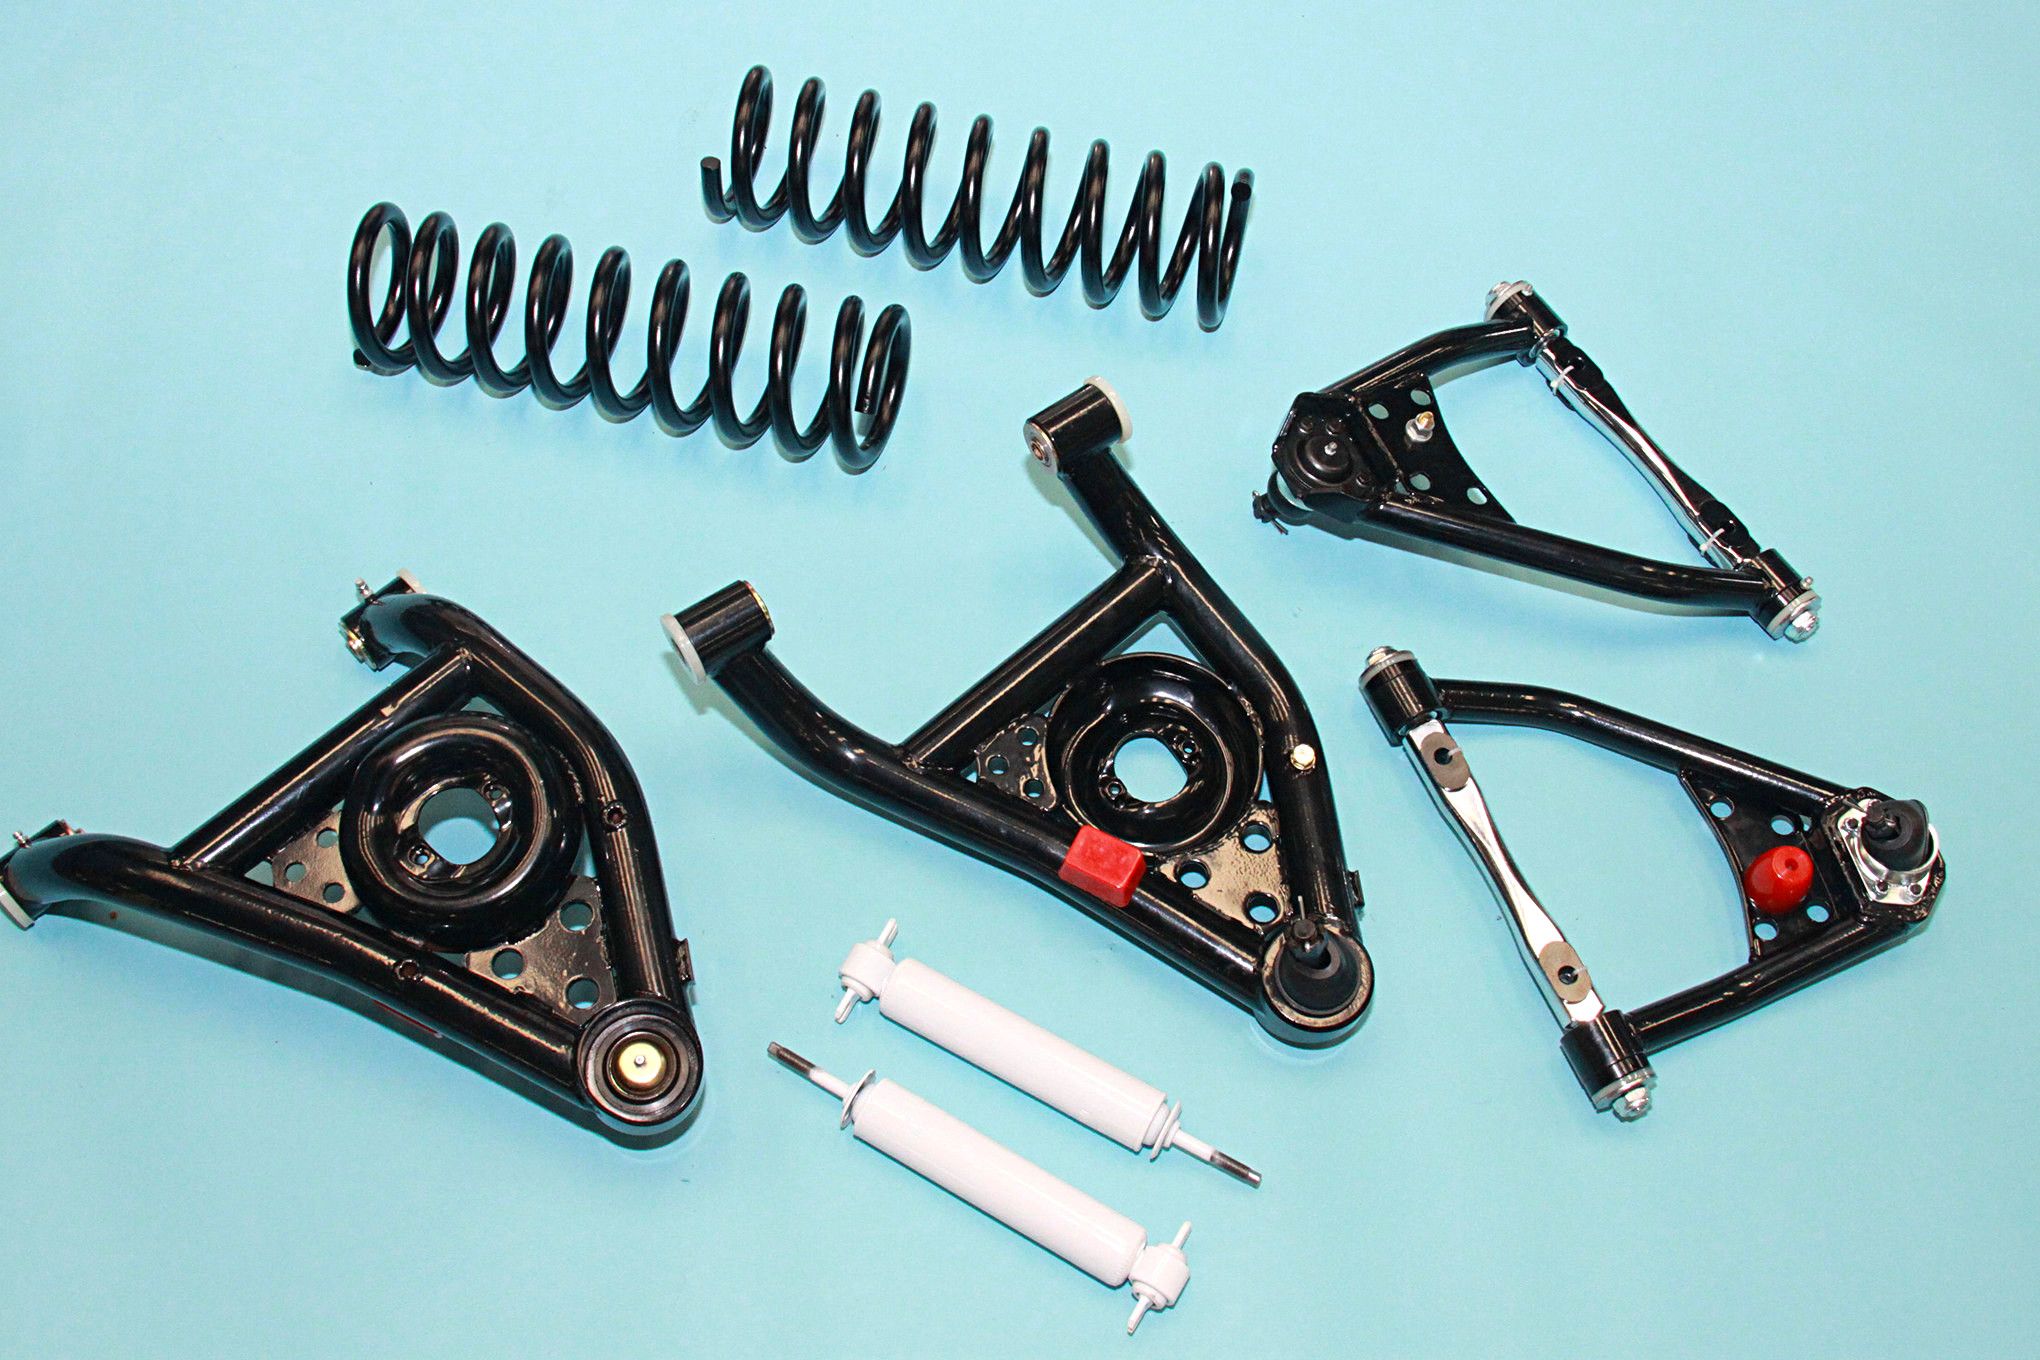
- These 1967-’69 Chevrolet Camaro tubular control arms from POL are powdercoated for extreme durability and good looks. They include bumpstops and have improved ball joint clearances. These guys improve frontend geometry and, as a result, handling. They work with stock coil springs or coilover shocks. The lower control arms feature a dropped spring pocket
-

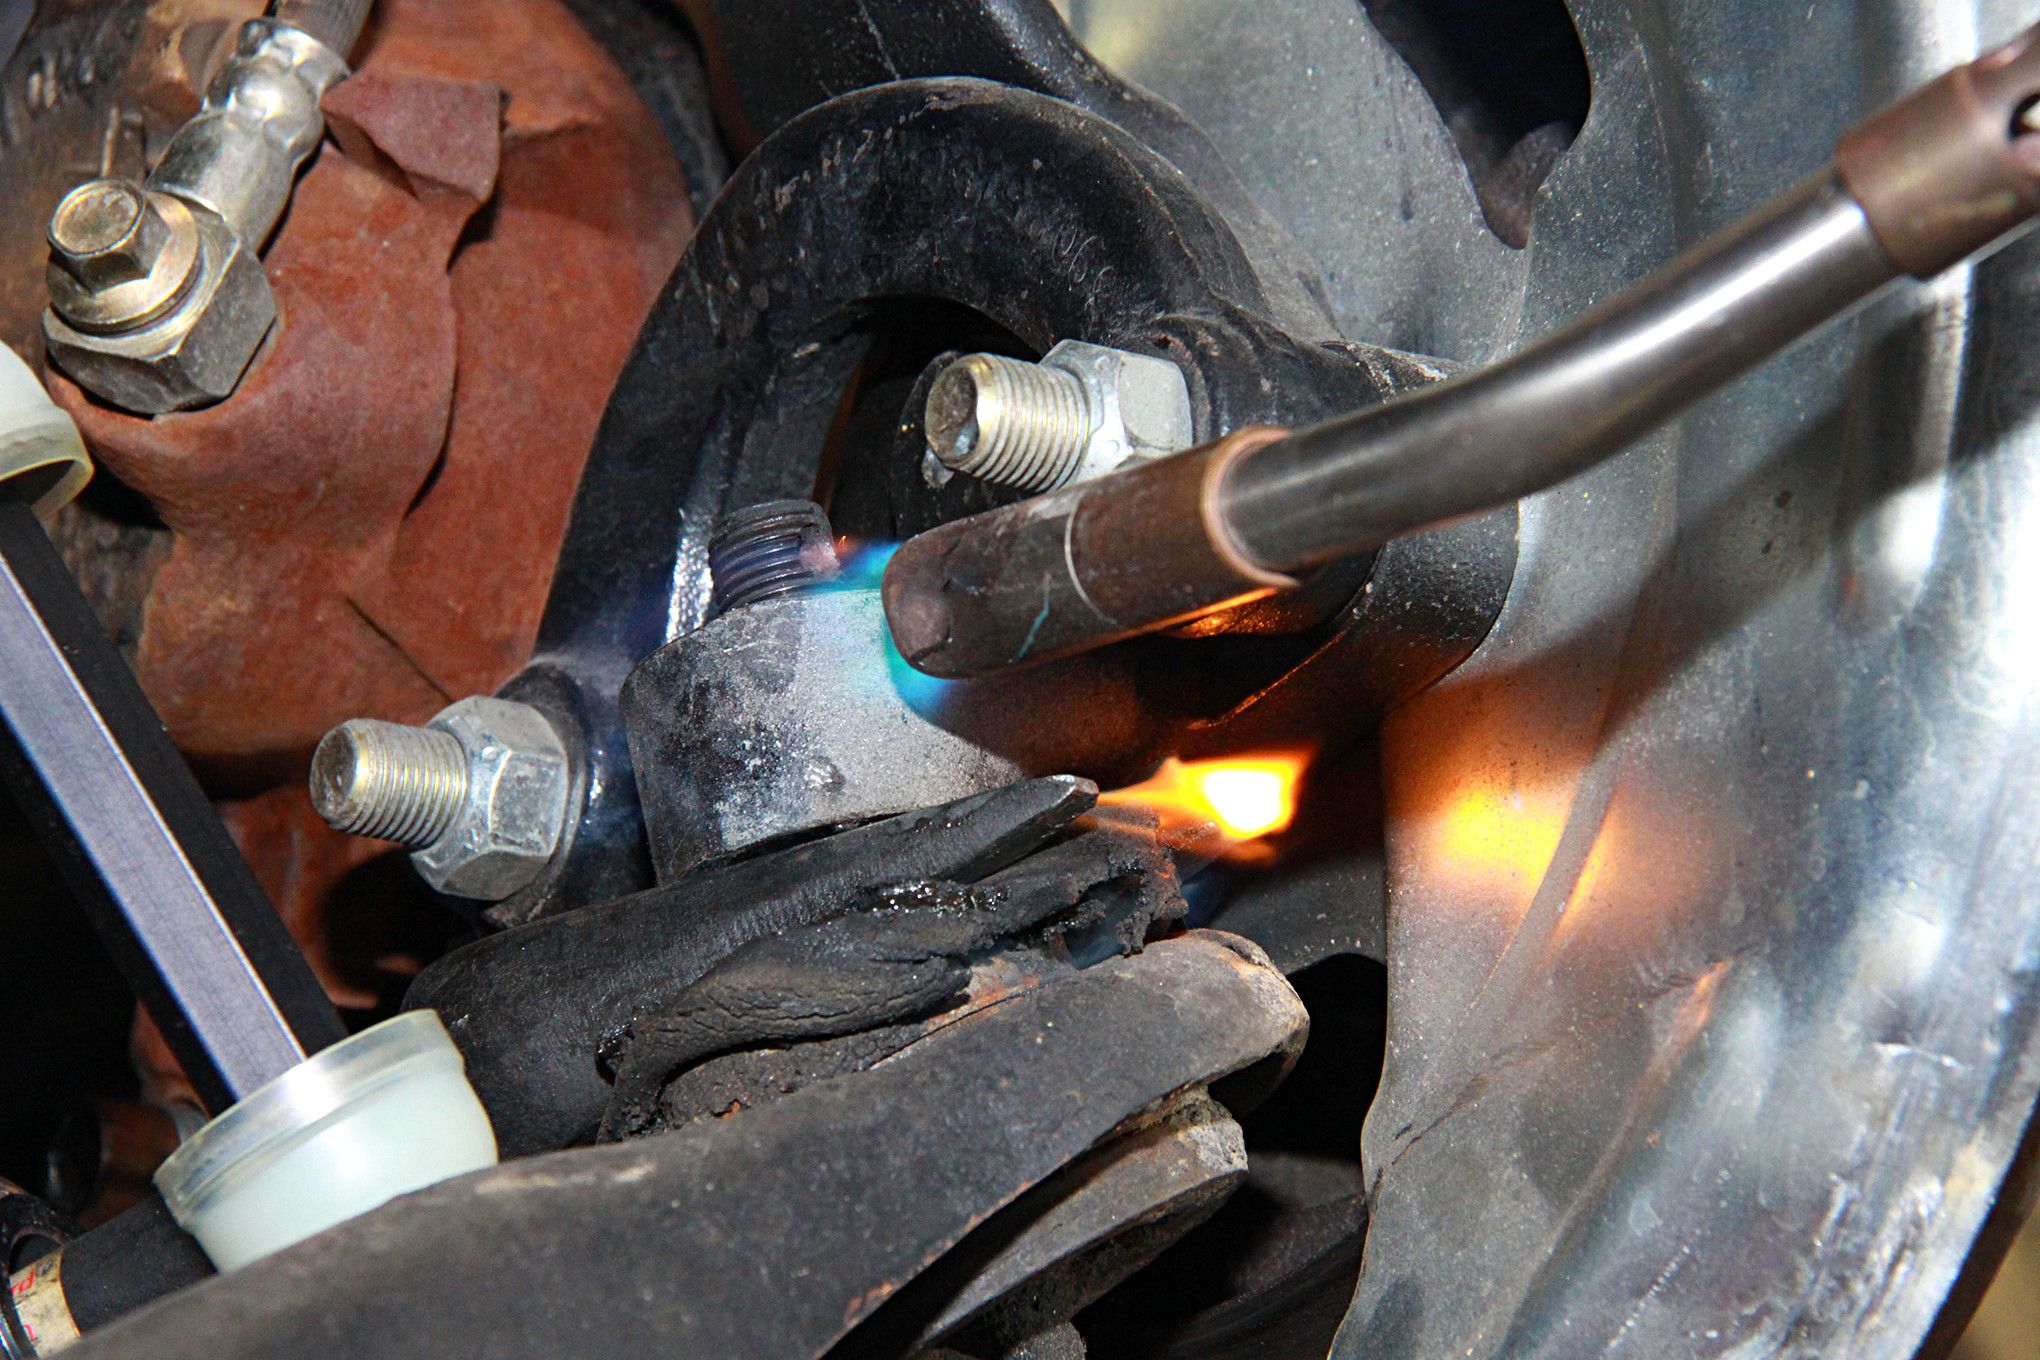
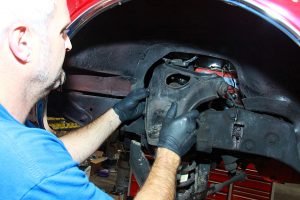
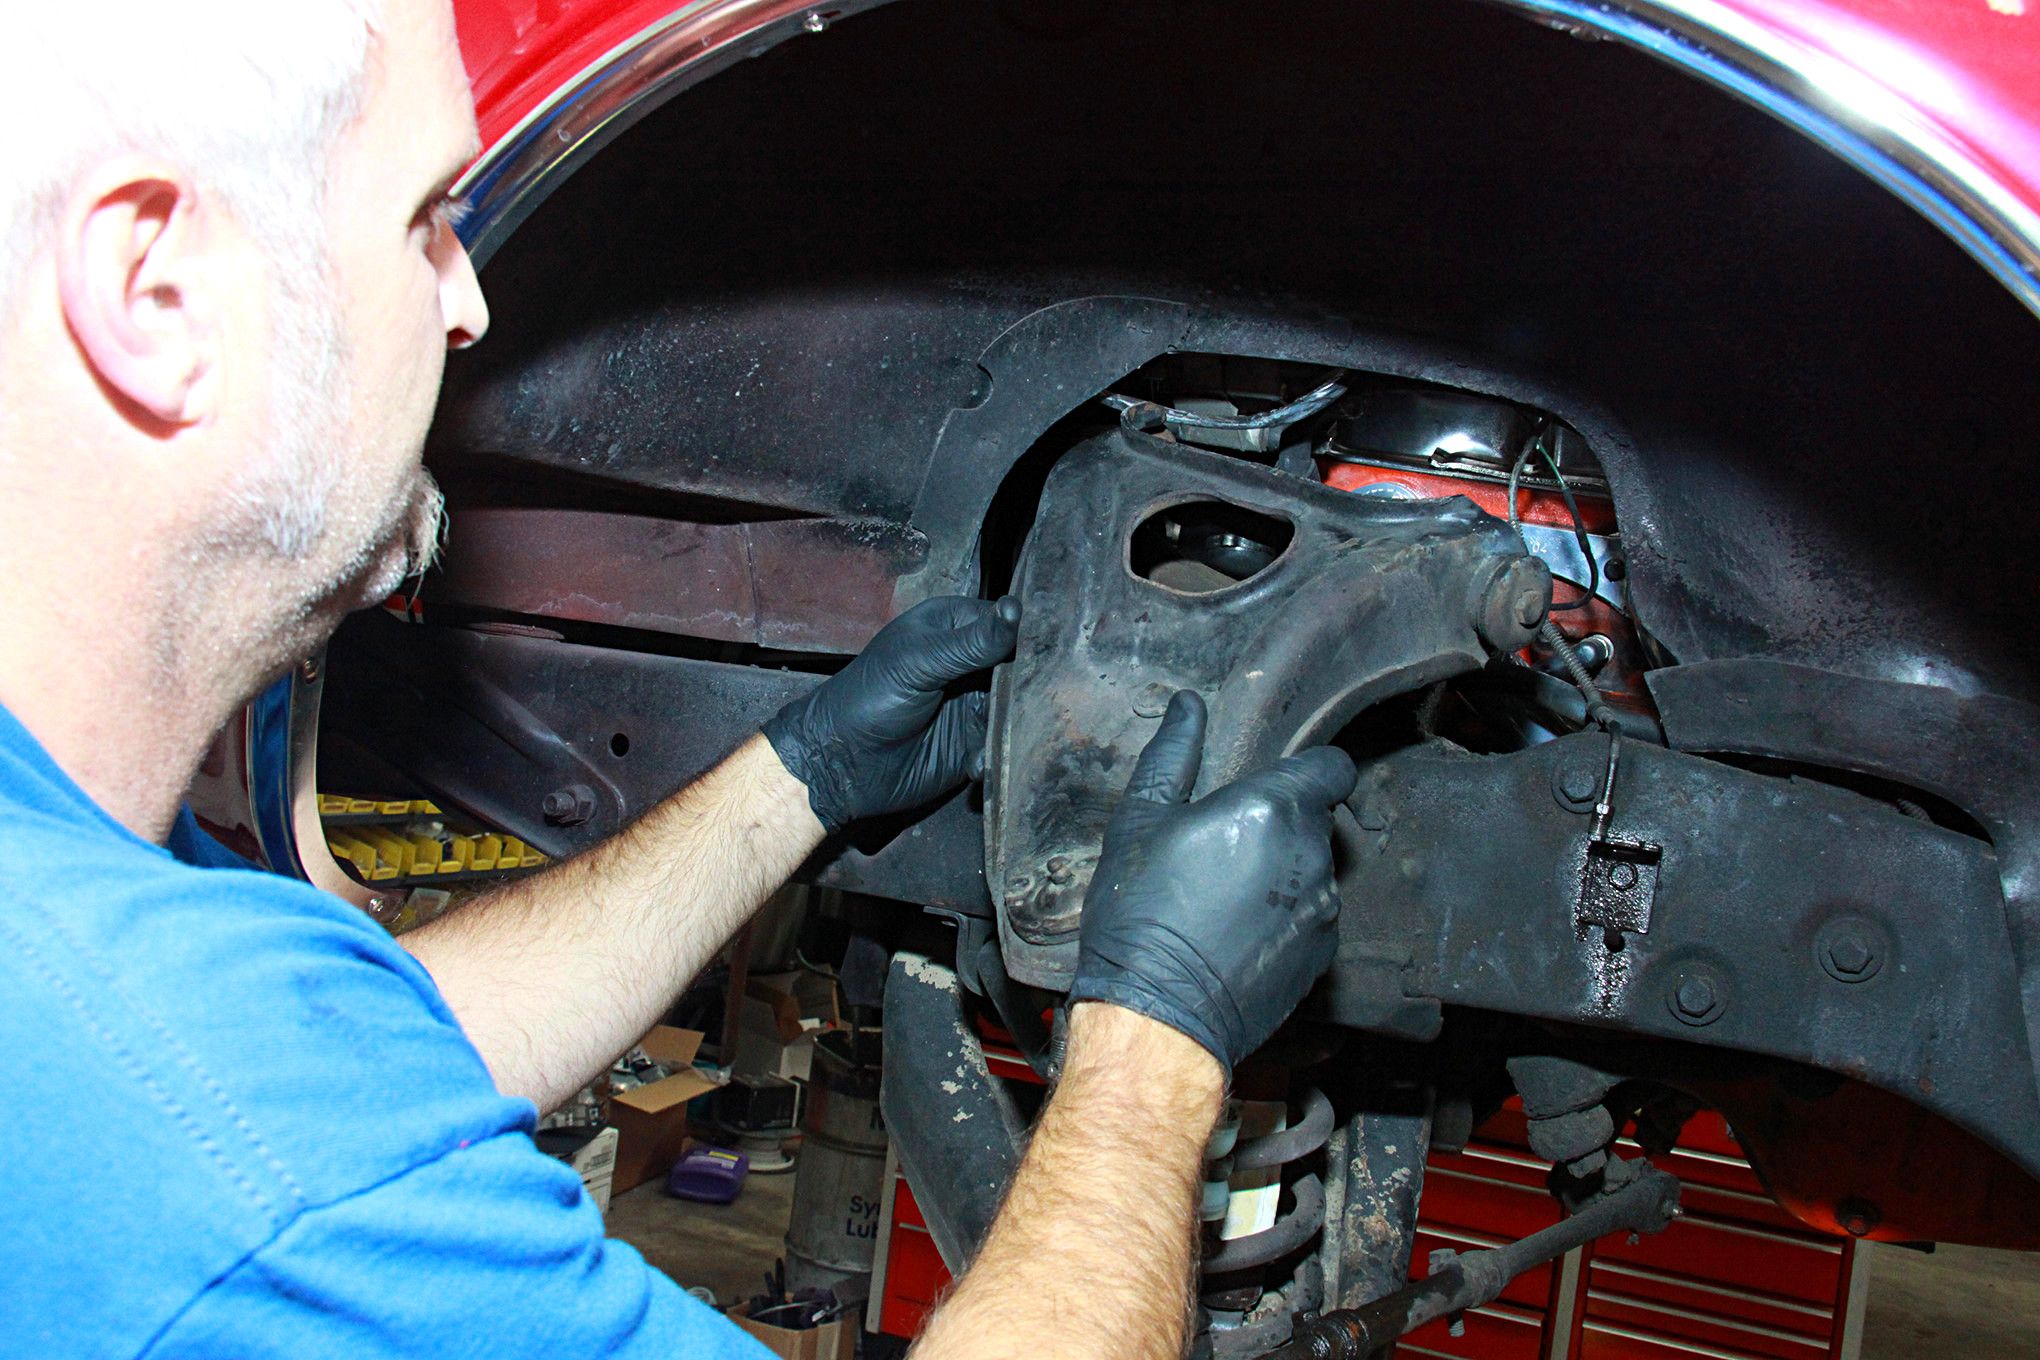
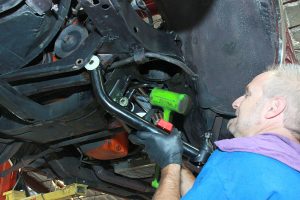
- Stubborn ball joints can be motivated with heat. Do not overdo it with excessive heat, which can damage the spindle or at the least weaken it. Once hot, whack the spindle with a five-pound sledge, which should jar the ball stud loose. Of course, a ball joint fork would work as well
-

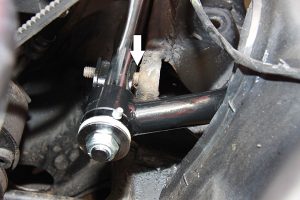
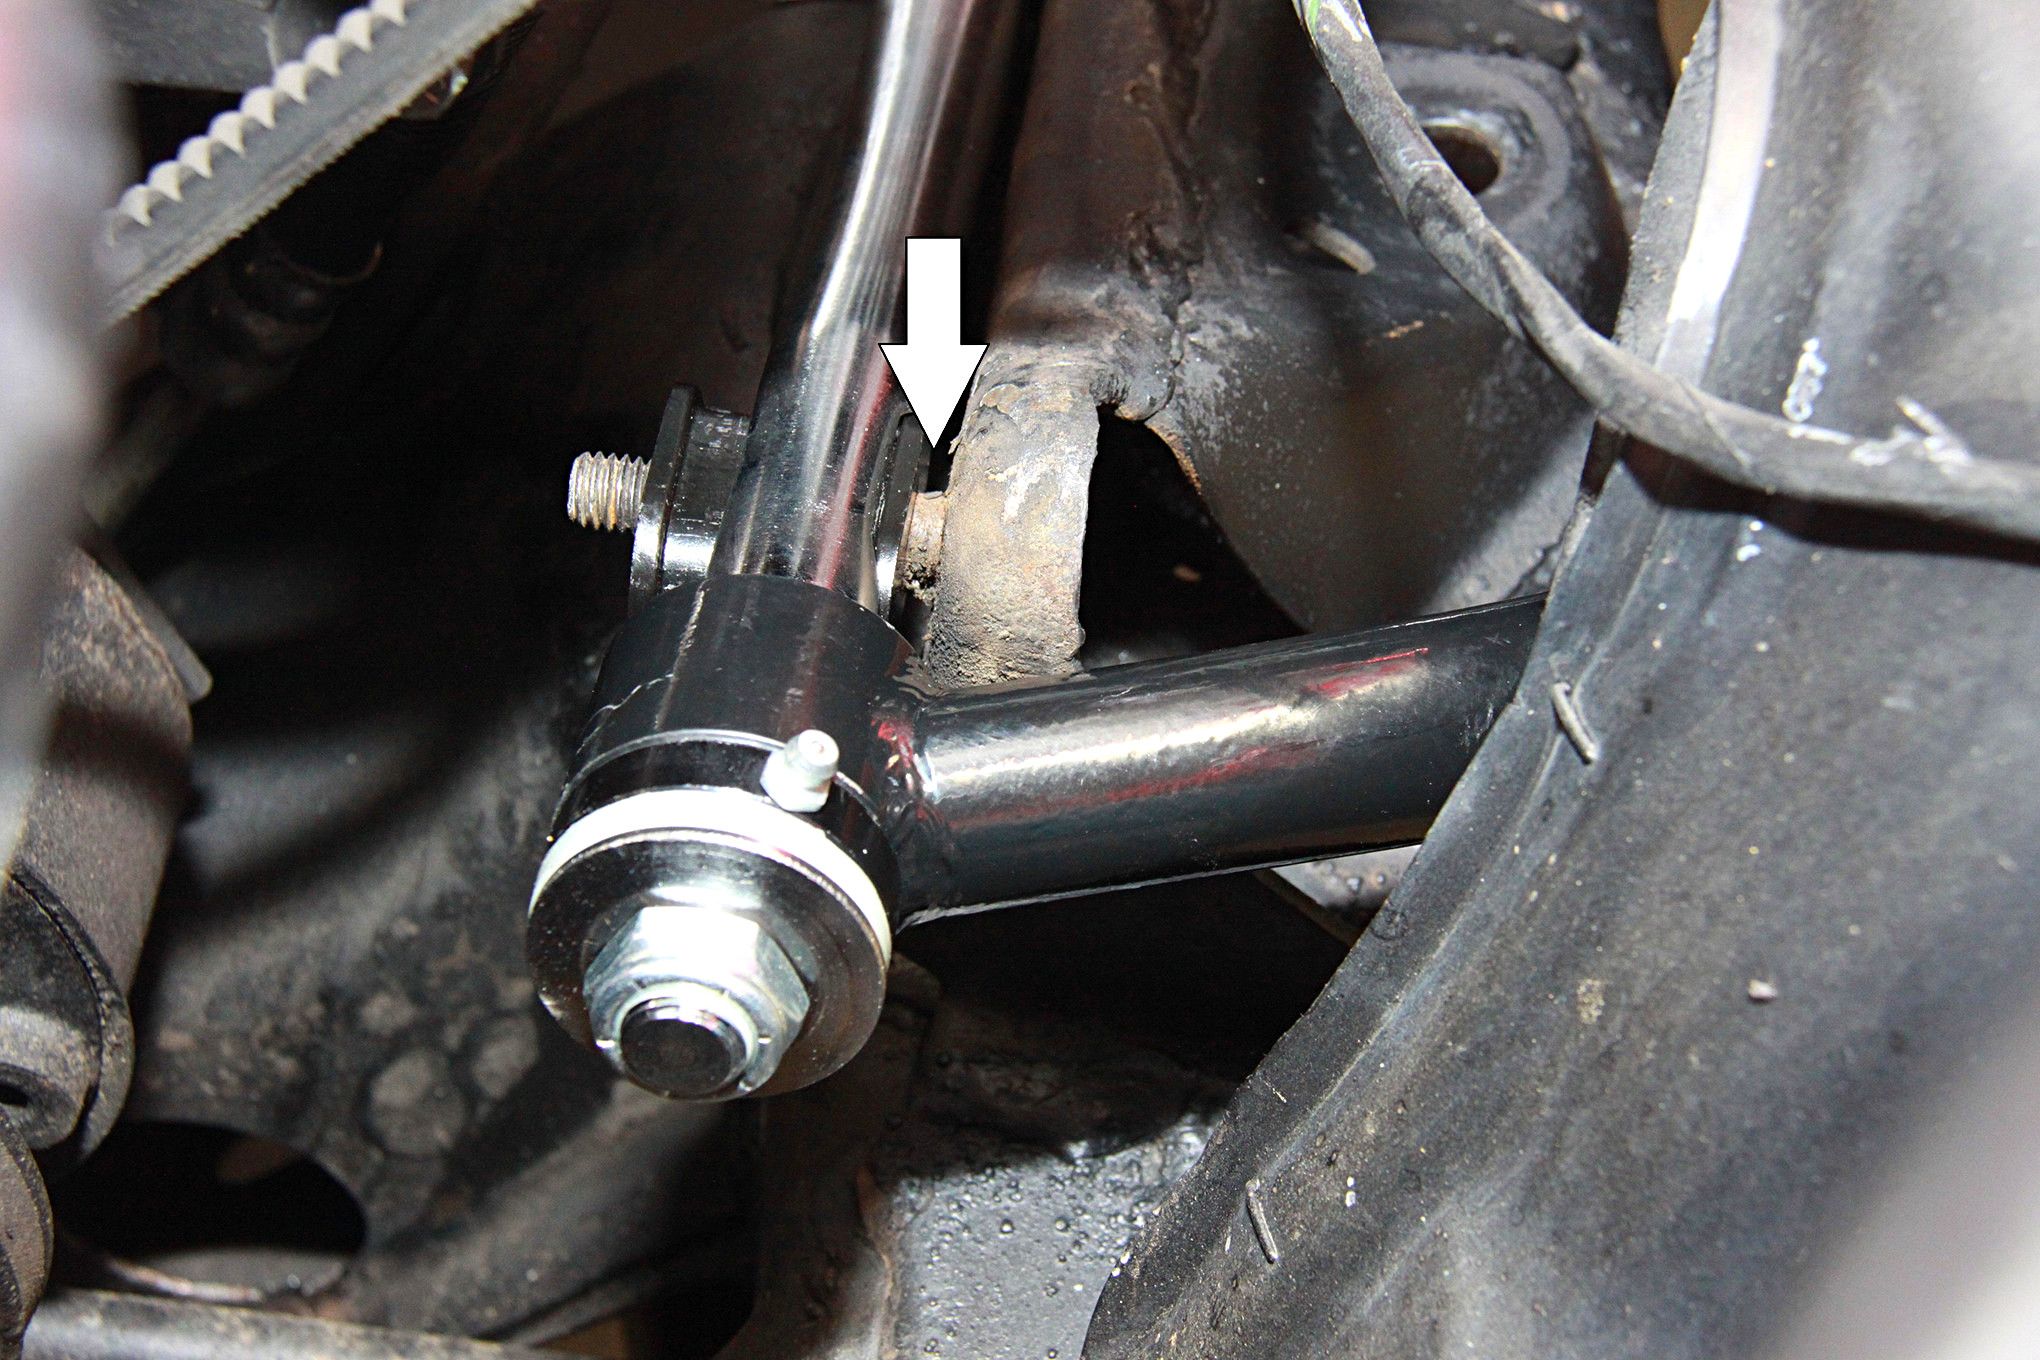
- The upper control arm attachment point is loosened as shown. Take an accounting of the number of alignment shims and where they are positioned. We had plenty of clearance, but sometimes this part can be challenging if headers are involved

-
- We could then remove the upper control arm. Always recycle steel suspension components such as upper control arms. Hey, a few bucks from the scrap guy is better than nothing
-
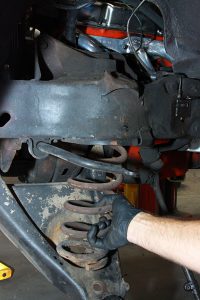
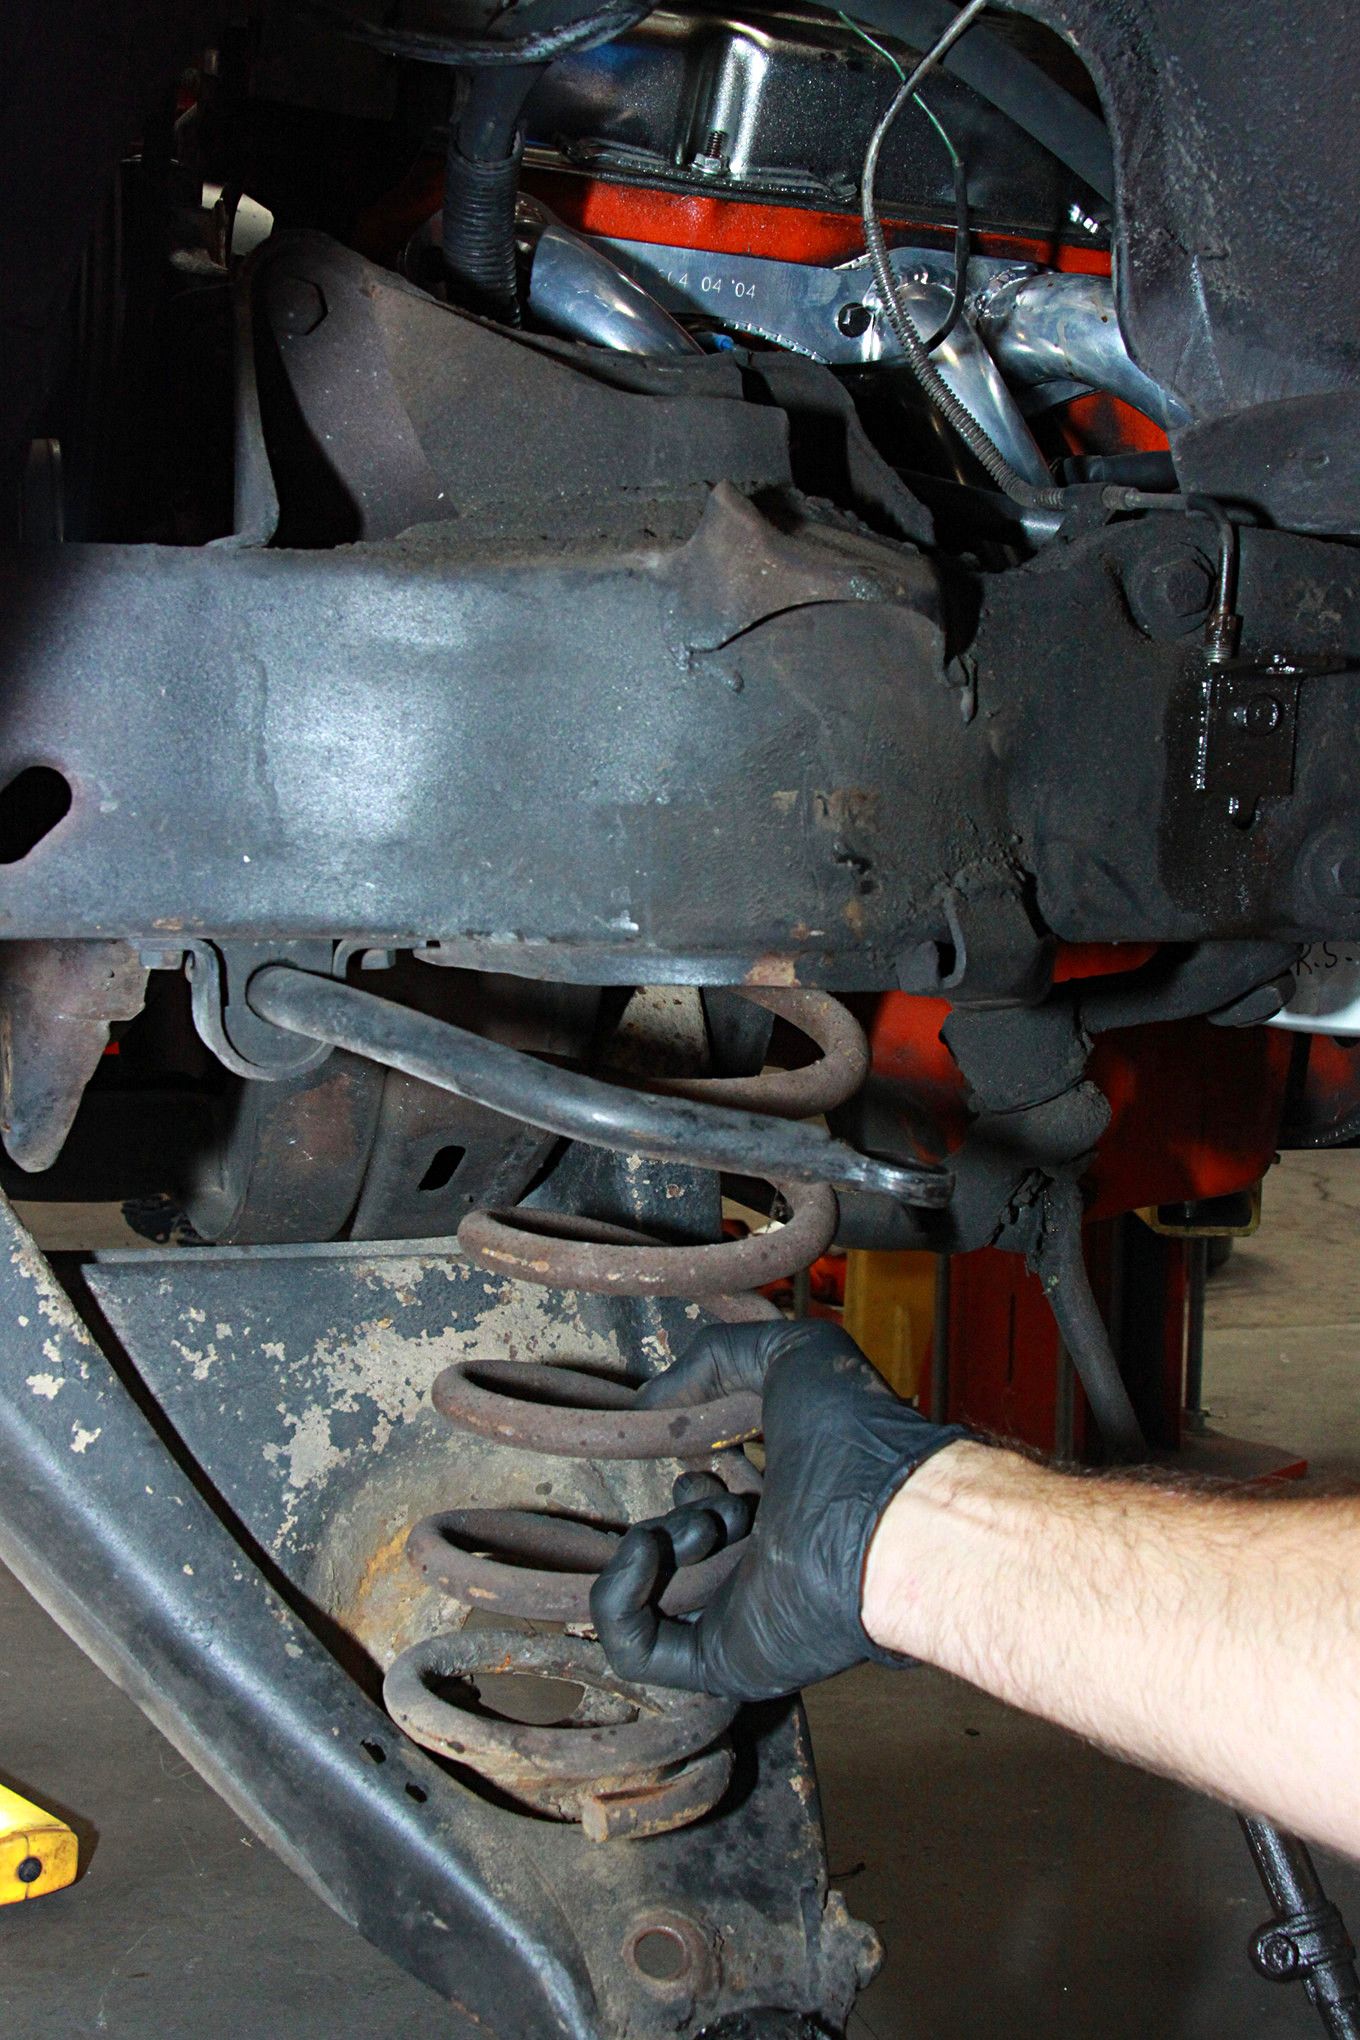
- Place some sort of support beneath the ball joint of the lower control arm. The shocks are removed next using a 5/8-inch deep well socket on tip and 9/16-inch bottom. Front shock absorbers come out through the bottom once the fasteners are removed. Slowly lower the support under the ball joint to release the tension on the coil spring until it can be safely removed. Always pay very close attention to coil springs under pressure, which can cause serious injuries if the proper precautions are not taken
-
- POL tubular lower control arms are installed like this. Be advised that these bushings can be very stubborn, making it hard to seat the arm. This is normal. The bushings should be lubricated with the provided lubricant. Always use protective gloves when using this stuff since it tends to get everywhere and make a mess of things

-
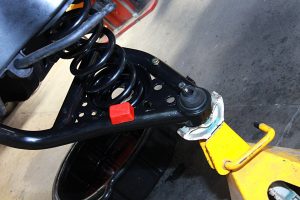
- The new POL lowering coil spring is installed next. We’re using a jack stand for lower control arm support. In your home garage, safely position your Camaro on jack stands and use a floor jack for control arm support

-
- The POL tubular upper control arm is installed next. Be sure to use the same complement of shims as used on the factory arms. Tighten the fasteners to GM specifications. We will still need to get a full alignment, but this should get us close enough to be able to drive to the shop
-
- The POL tubular upper control arm is installed next. Be sure to use the same complement of shims as used on the factory arms. Tighten the fasteners to GM specifications. We will still need to get a full alignment, but this should get us close enough to be able to drive to the shop
-
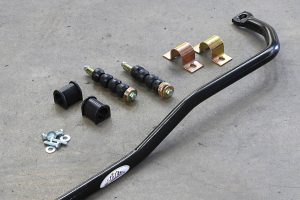
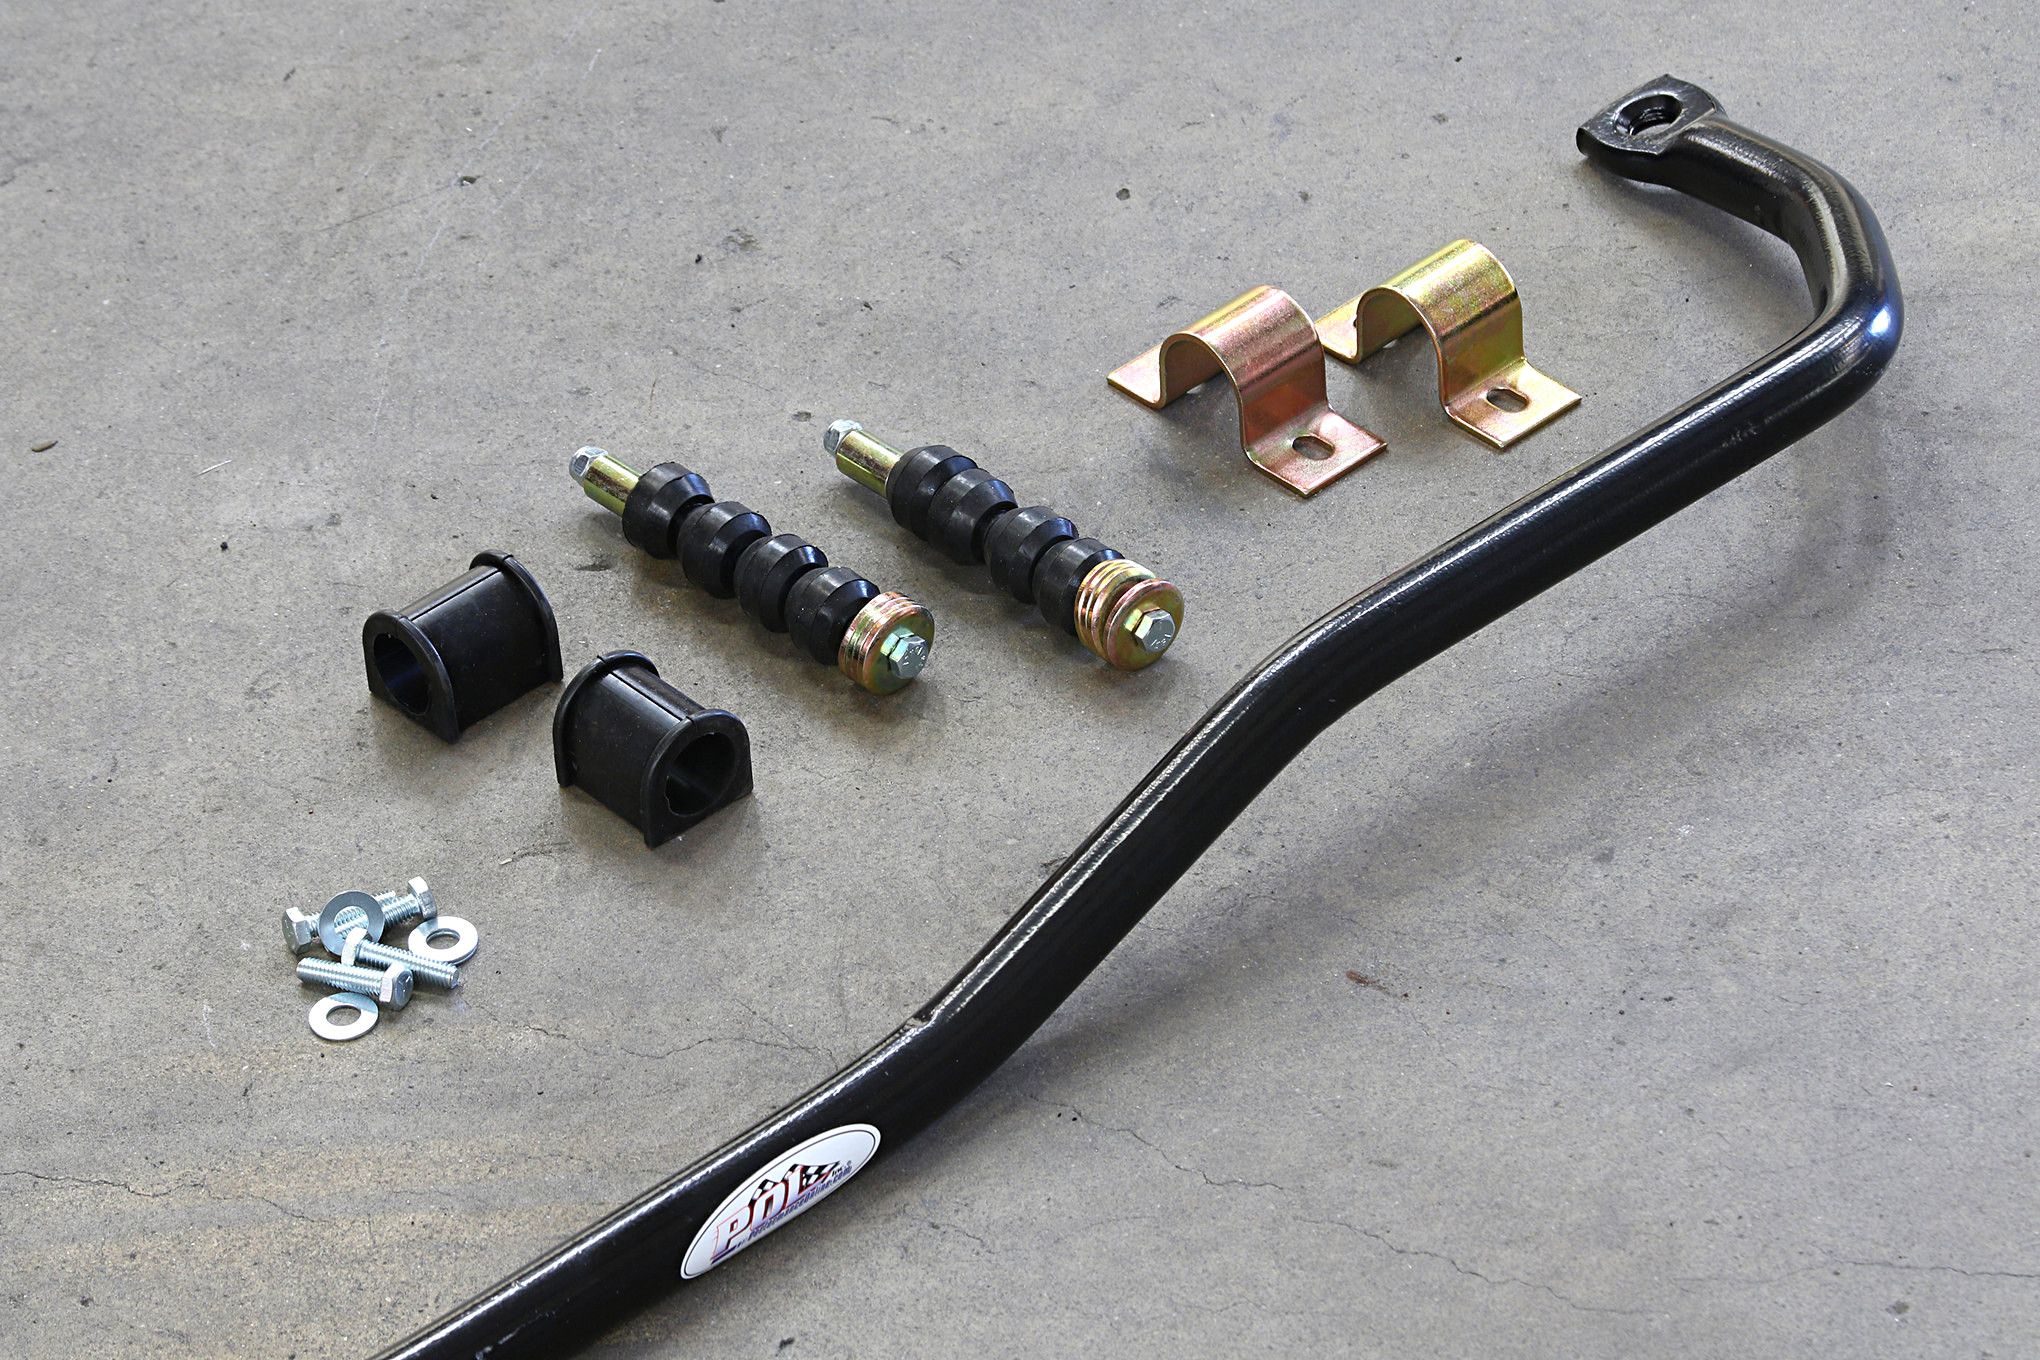
- Also included in the stack of parts from POL was a heavy-duty front sway bar and polyurethane bushings to stiffen up the handling and reduce body roll
-

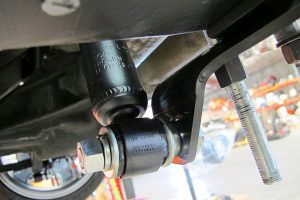
- The old shocks were pretty time-tired and as a bonus the bushings were dried-out, cracked, and not really bringing anything to the handling party

-

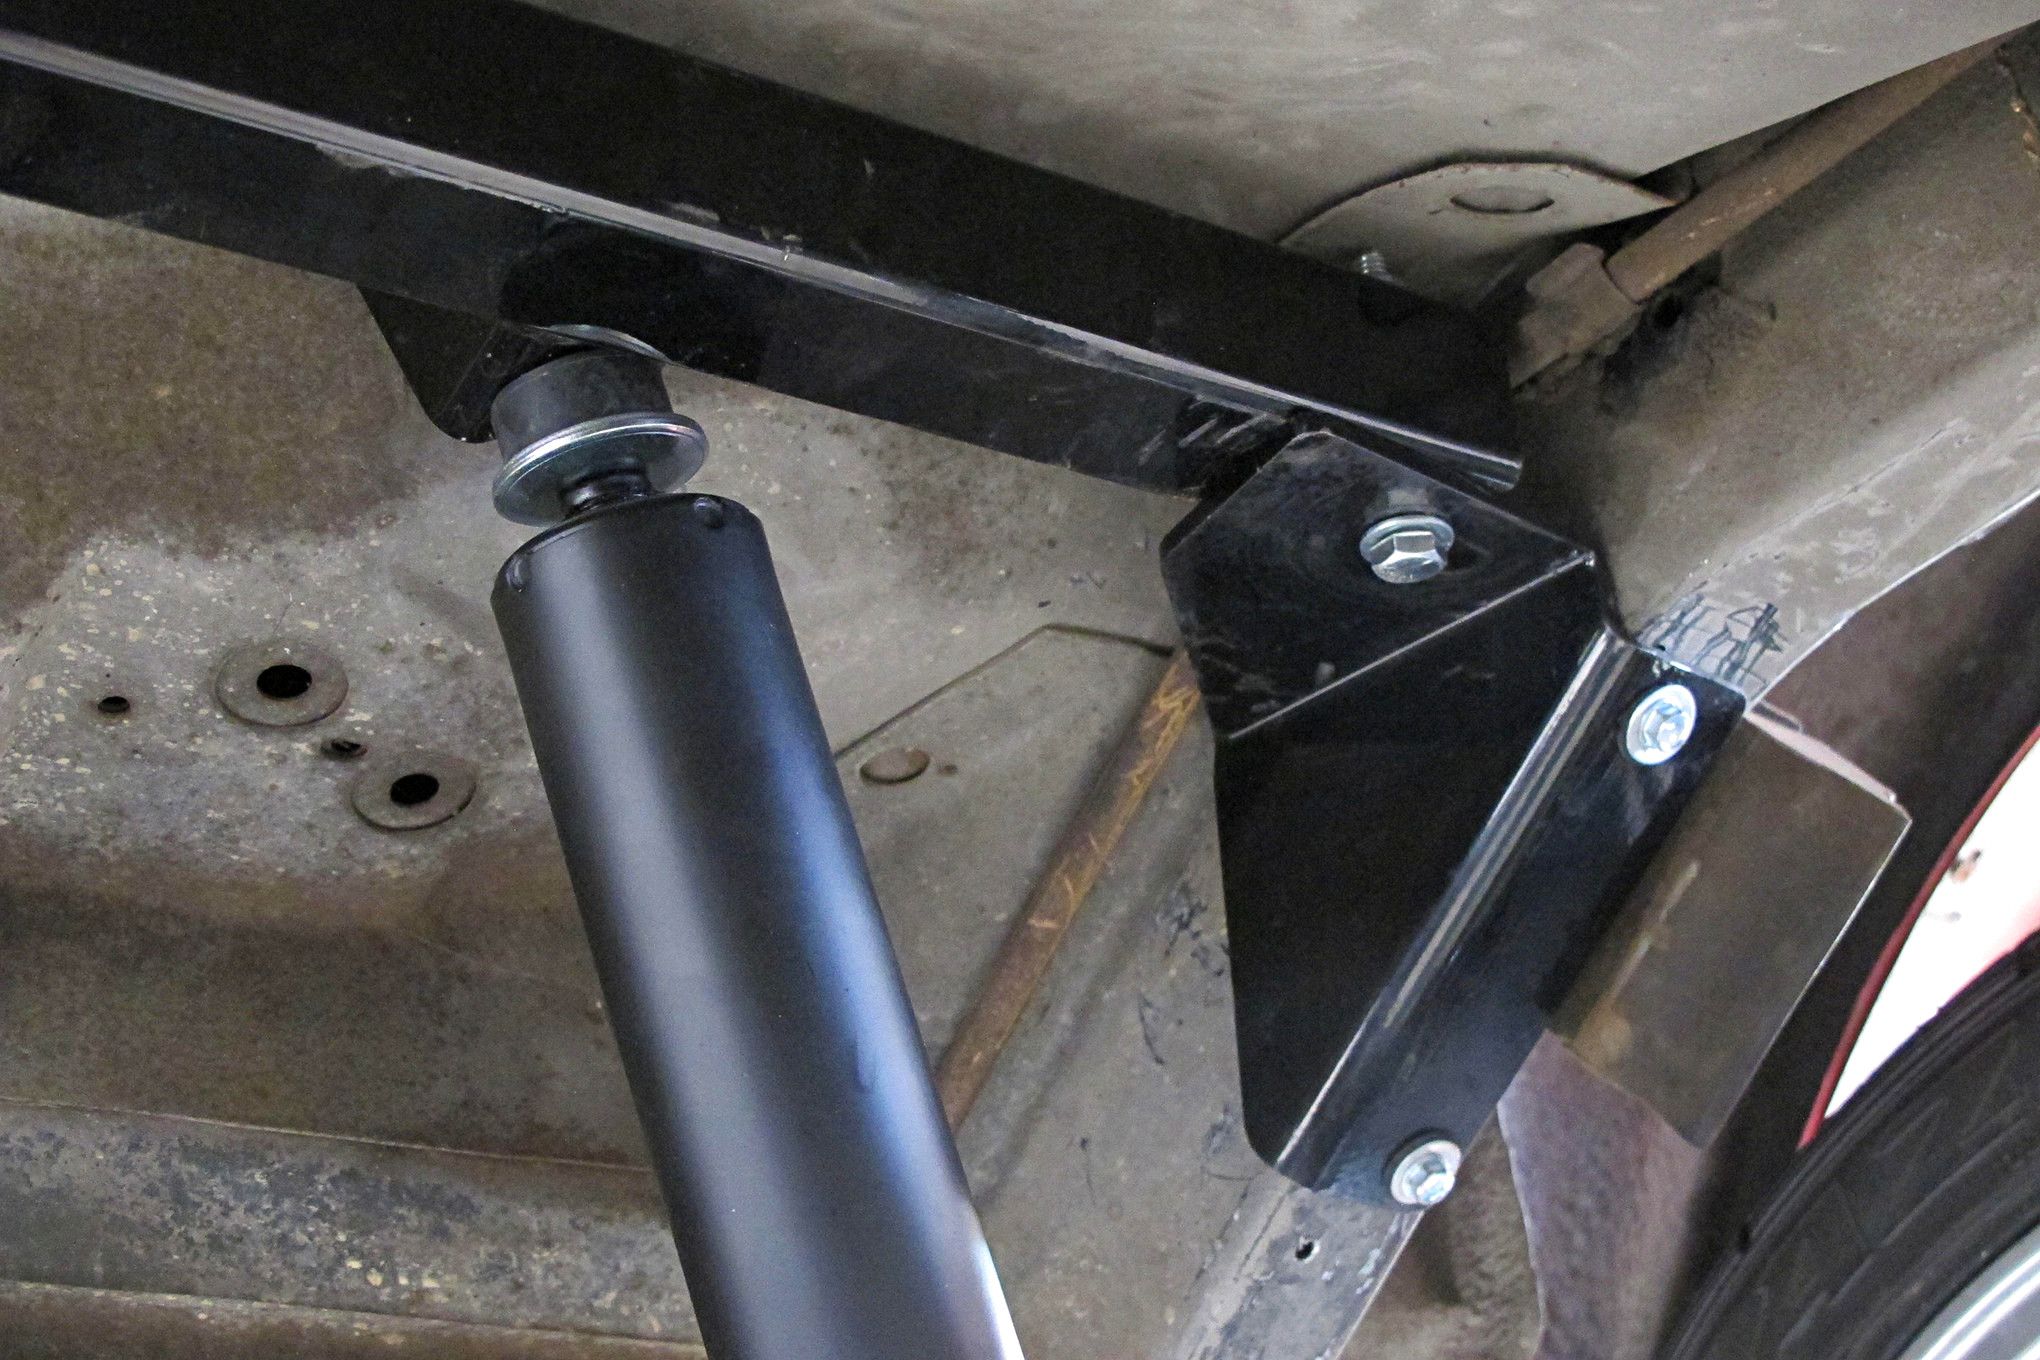
- POL got us into new rear suspension components, including multileaf springs, Western Chassis gas shocks, and shock relocation brackets (top and bottom). The kit also included the necessary hardware and new U-bolts.

-

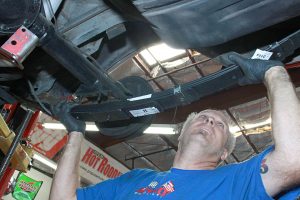
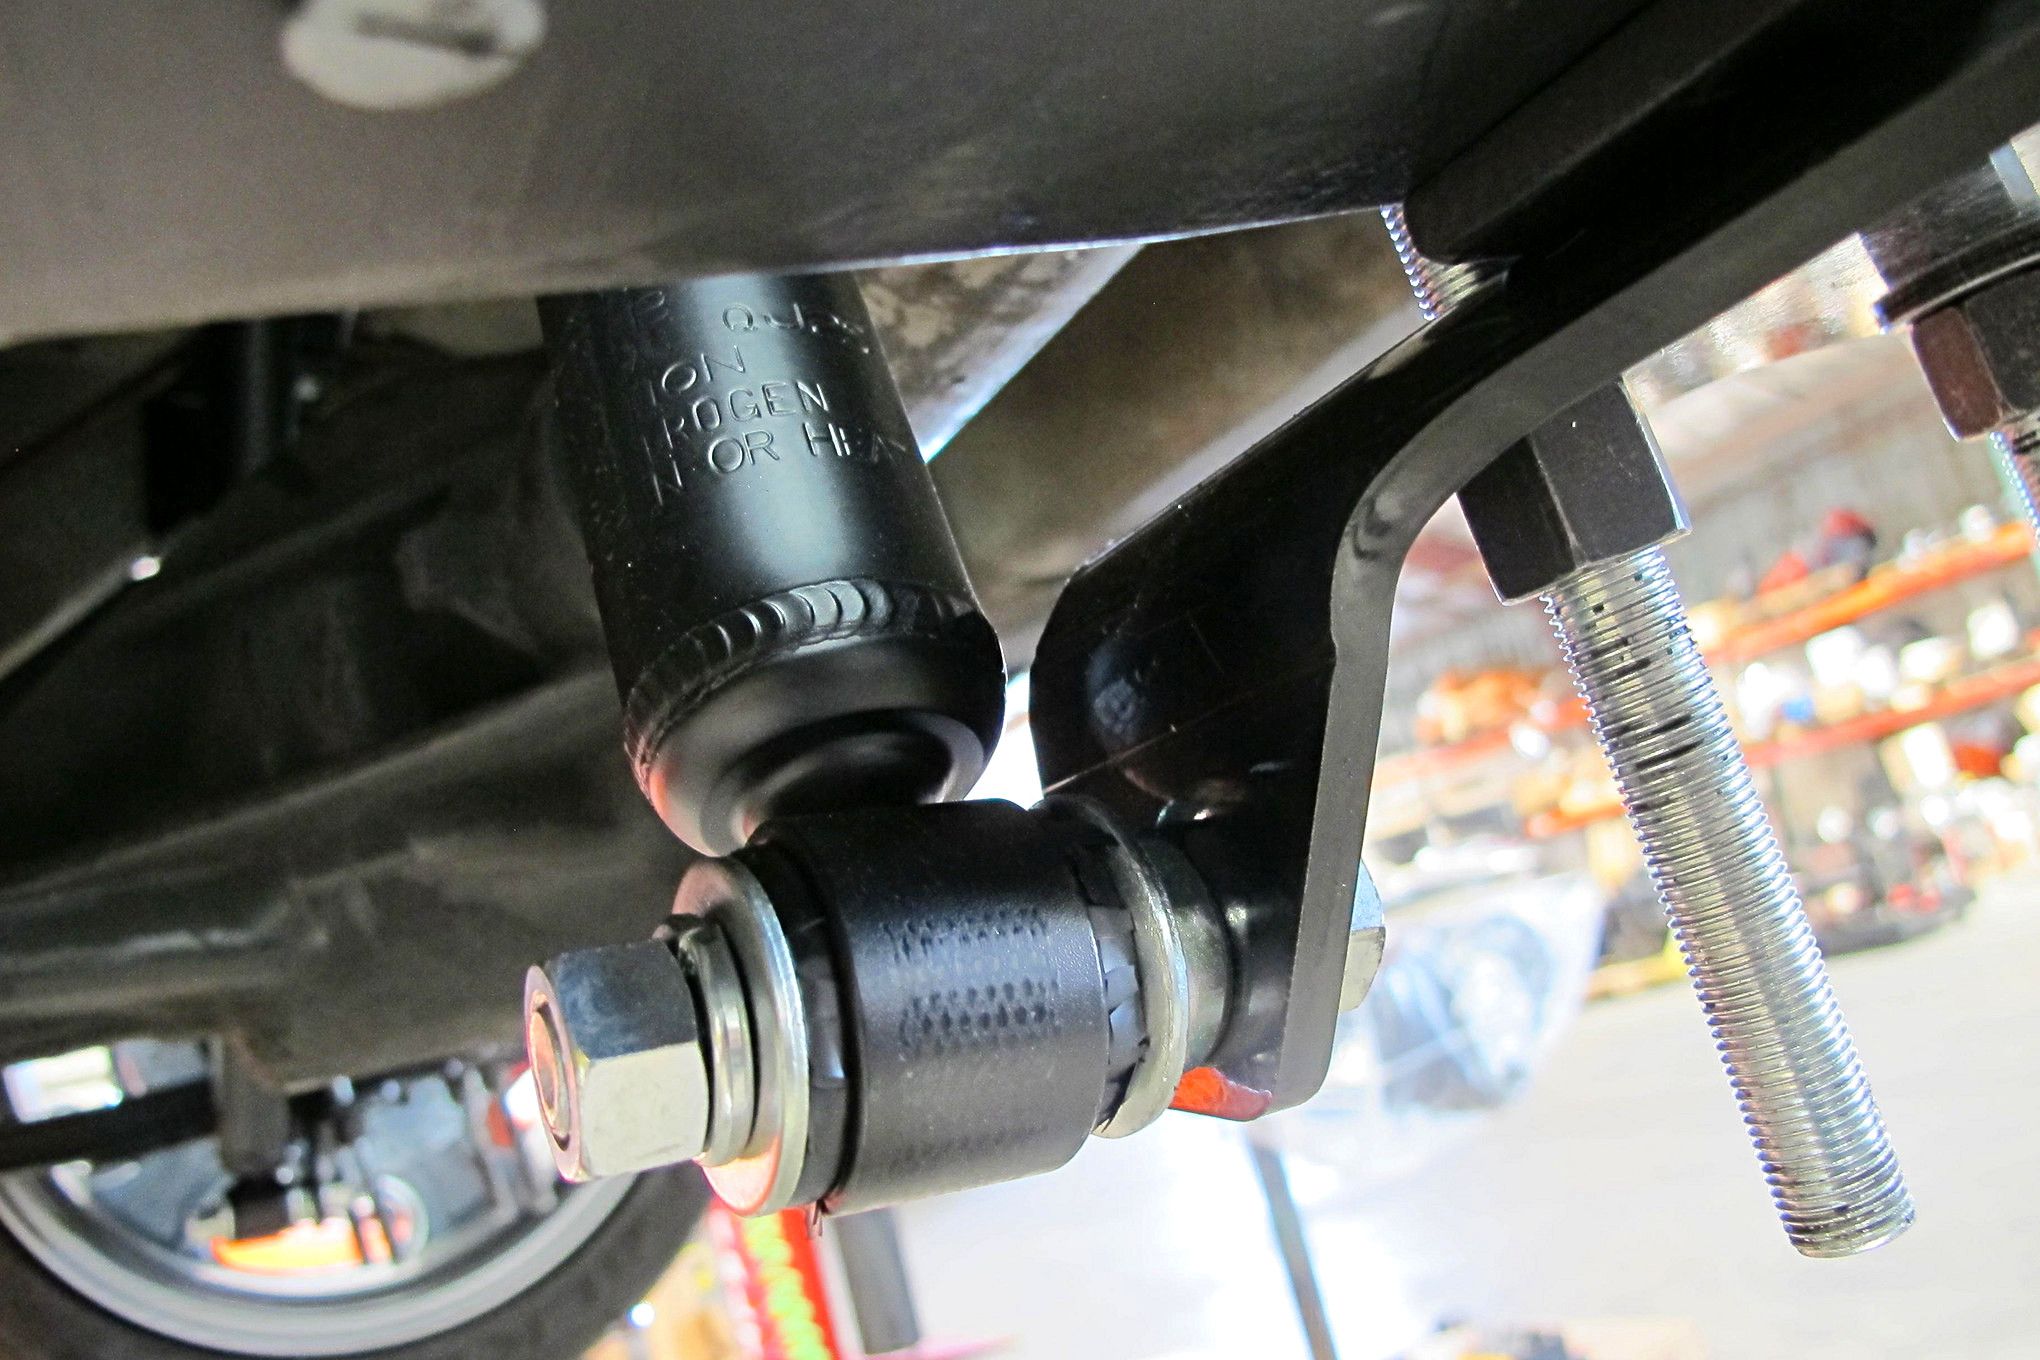
- The upper shock mount crossbrace bolted up under the Camaro between the factory framerails as shown. In addition to giving the shocks a new place to mount, the bar also adds a bit more chassis stiffness. This bar eliminates the stock upper shock mounts
-
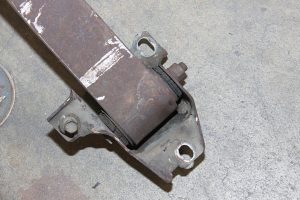
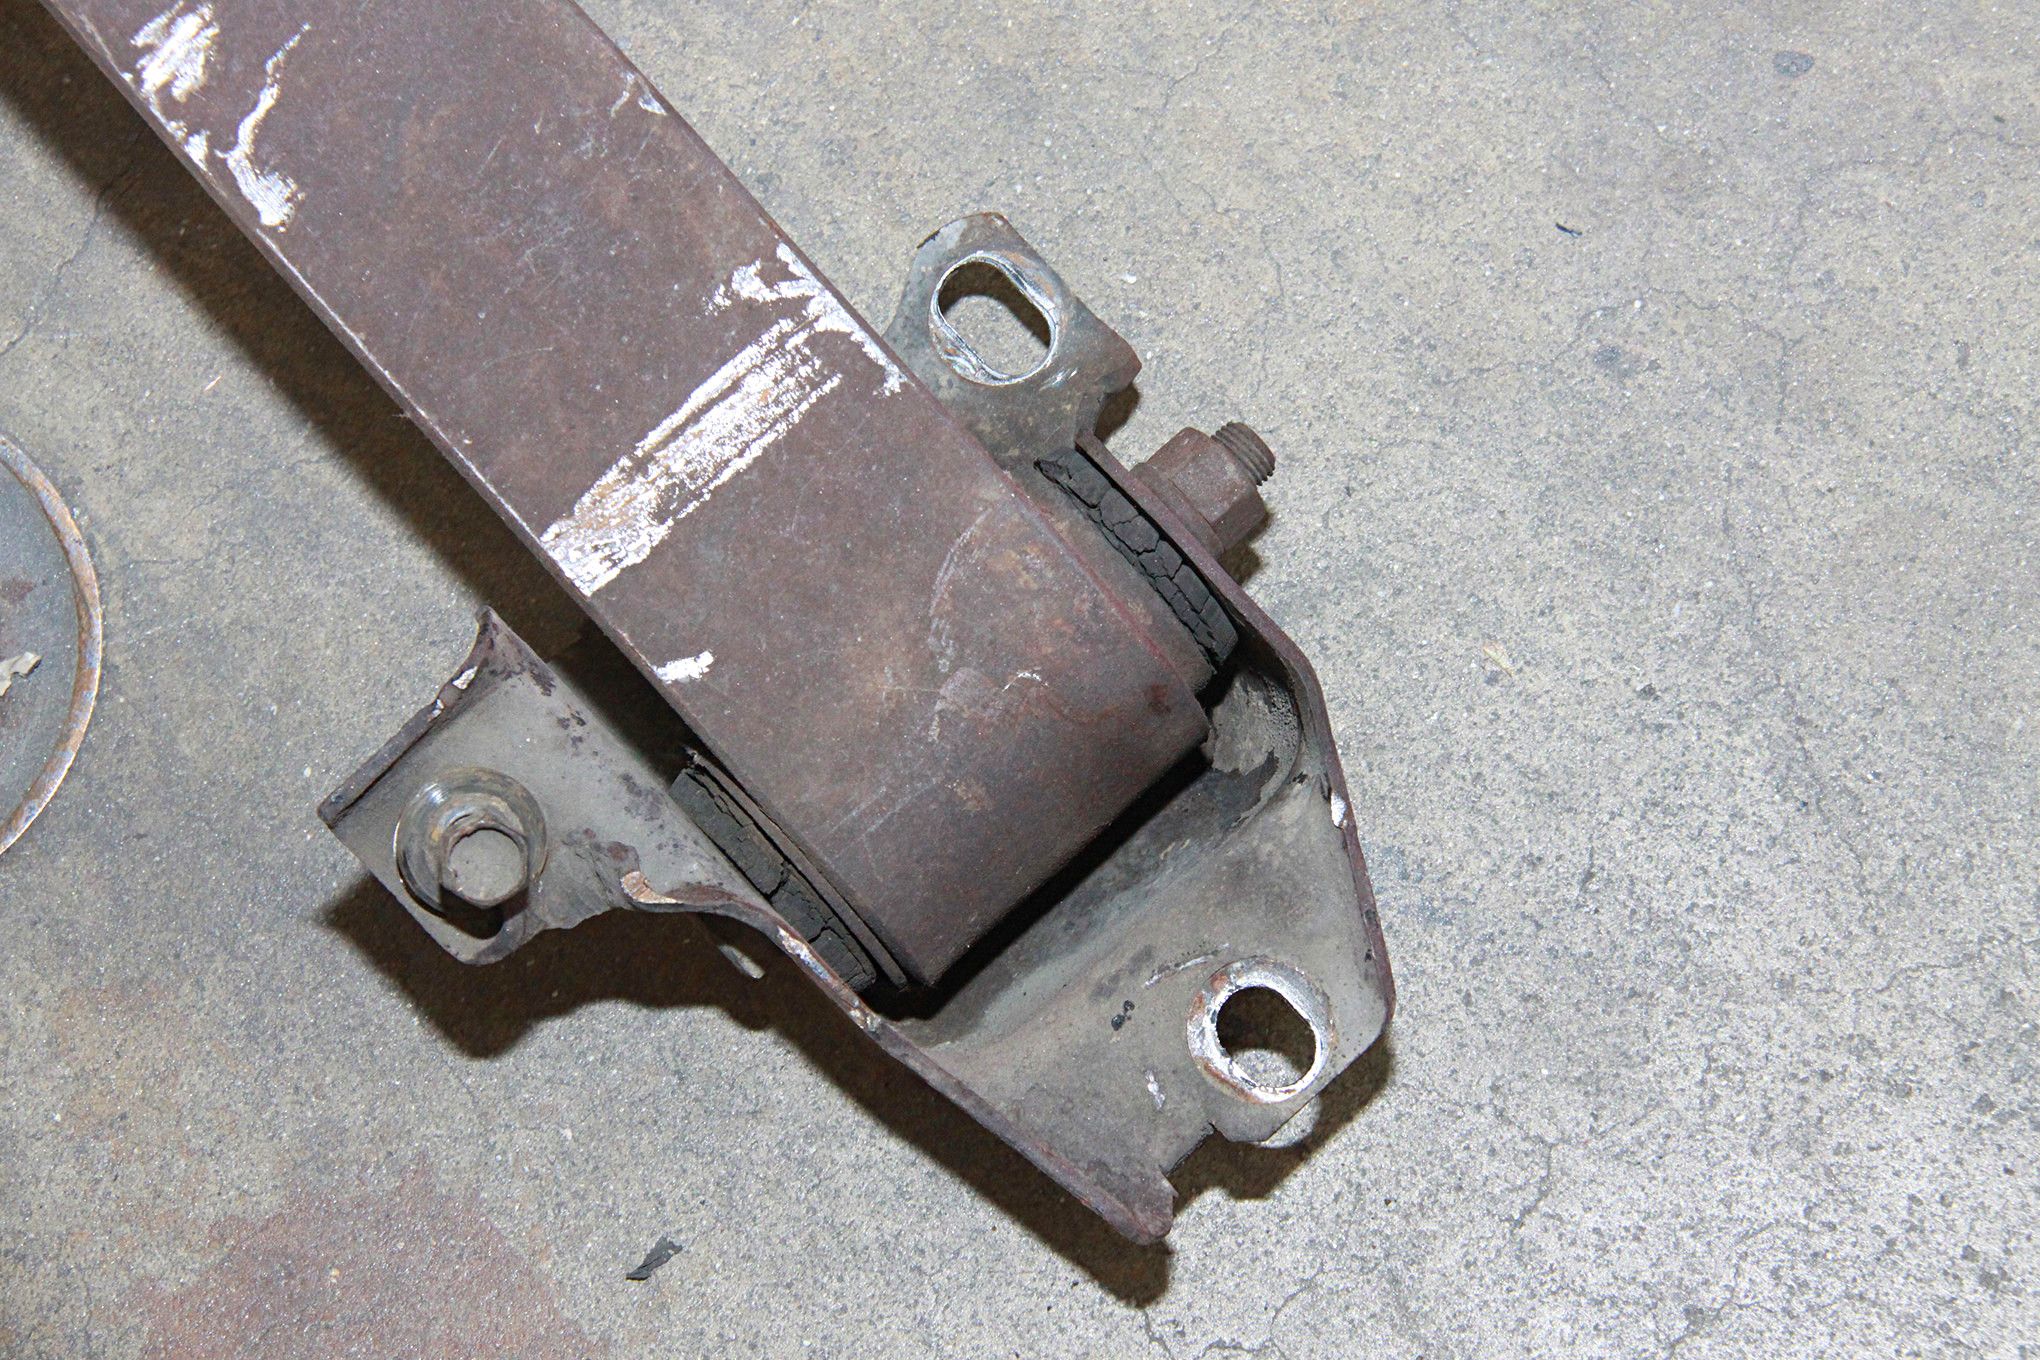
- Three bolts secure the leaf spring eyelets in front, which makes them easier to remove than most applications. It’s best to do one complete leaf spring at a time, supporting that side while making the switch. This is the front mounting plate, which we reused. Like the rest of the old the suspension, the leaf spring bushings were pretty shot
-
- The new POL multileafs are installed as shown. Joel Rode of Hot Rod Specialties has lubed the pivot points with chassis grease. Ride height depends on which leaf springs you have ordered. Lower is better as long as you don’t get into tire and wheelwell interference

-
- The bottom shock and leaf spring mounts are installed using new U-bolts. U-bolt length is an important consideration. Keep length conservative at no more than 1-inch of stud exposed. We left extra just in case we decide to drop the rear down a bit more with some lowering blocks
-

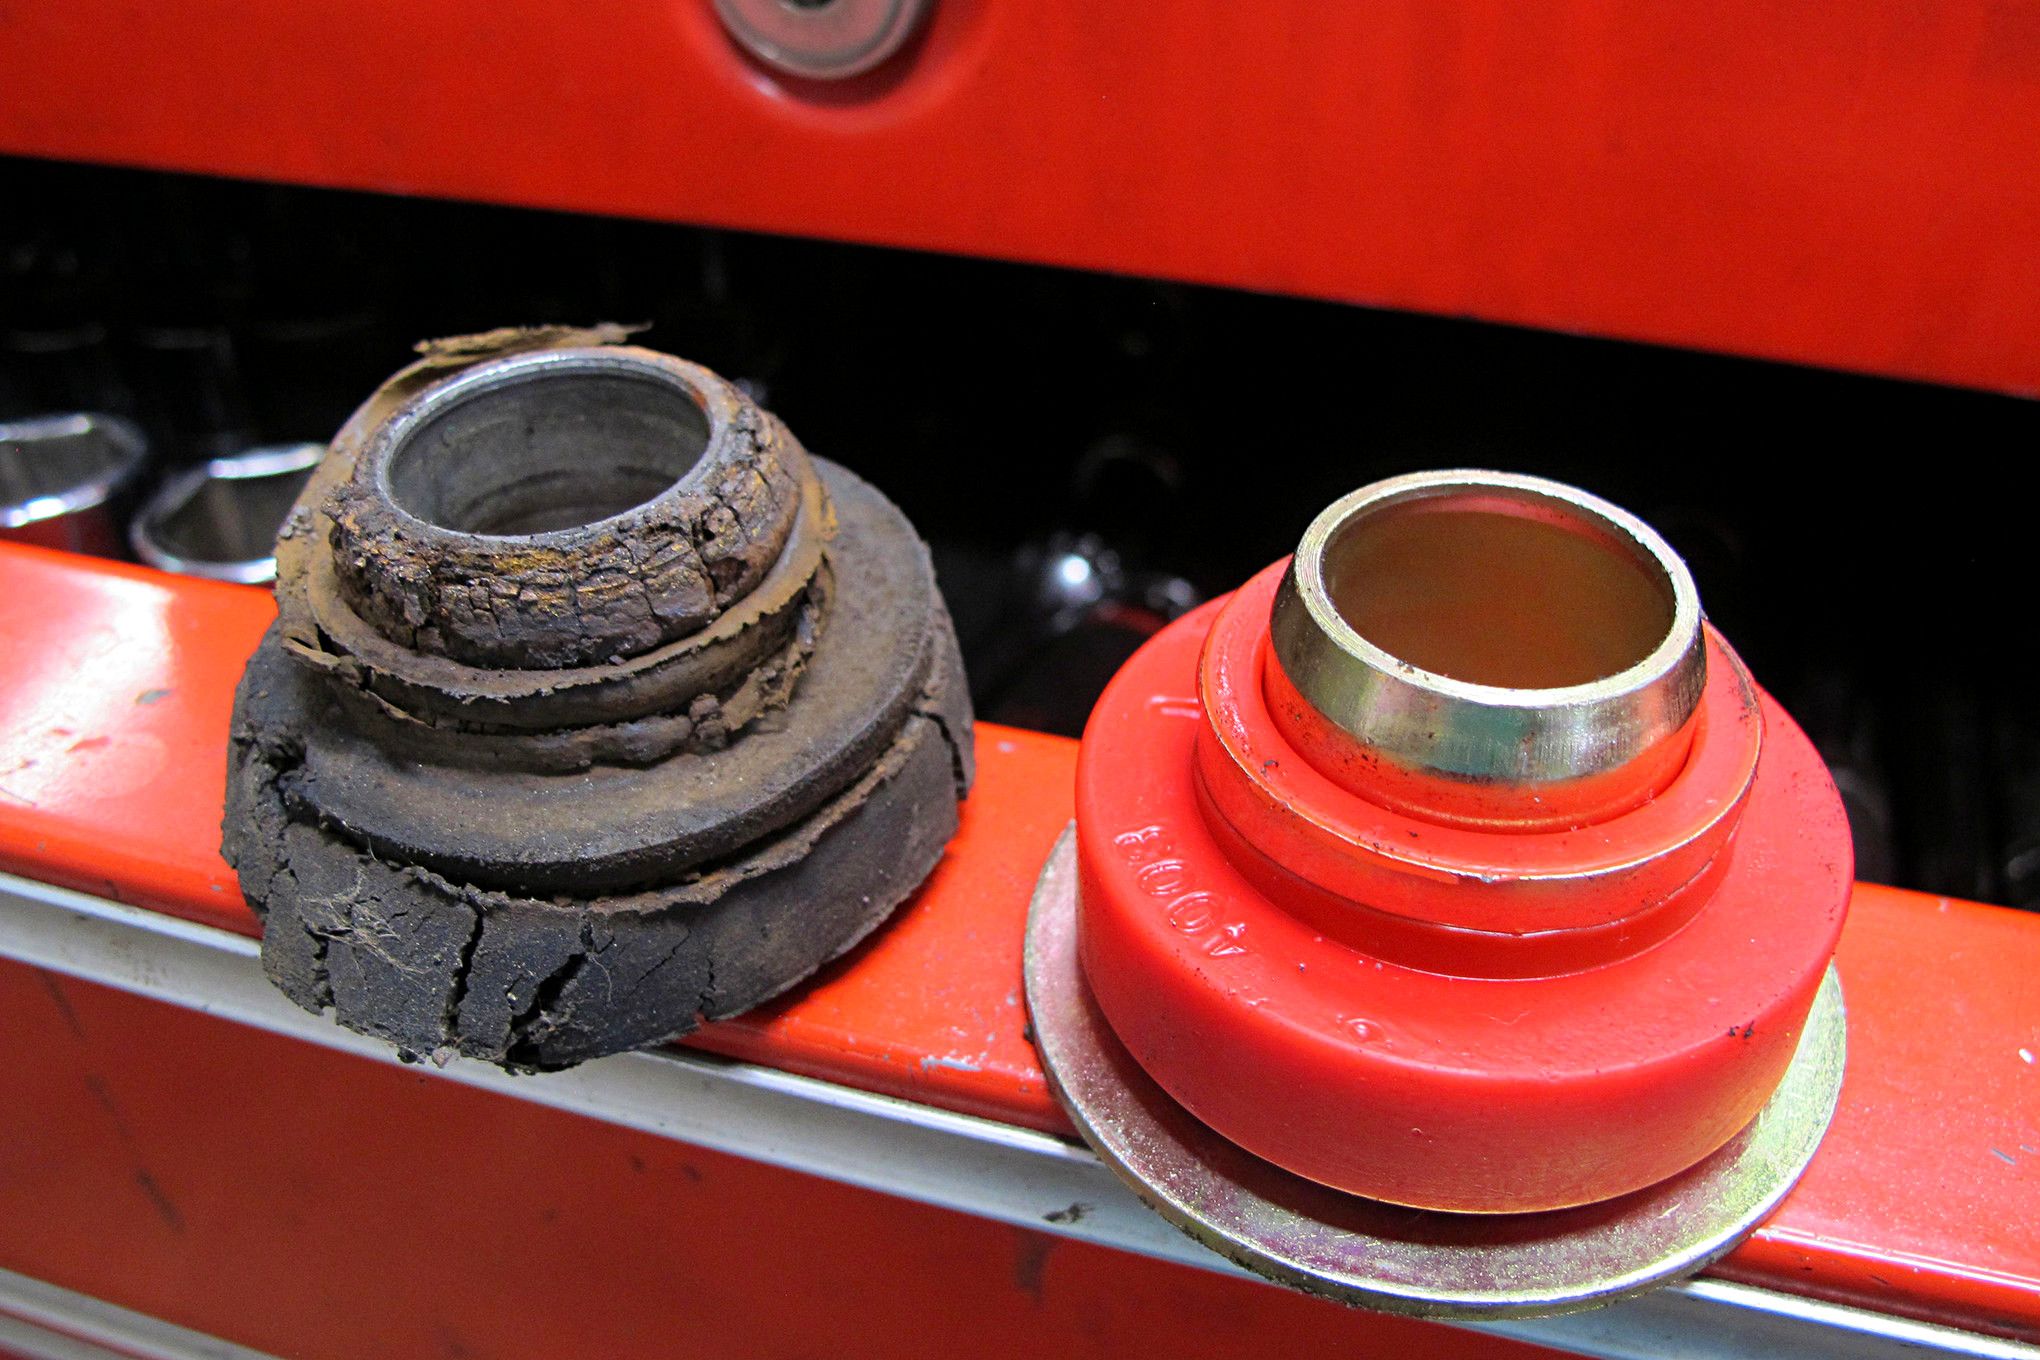
- While under the Camaro to do the suspension upgrades we noticed the front subframe bushings were shot. How shot? Well, let’s just say they weren’t doing much besides taking up space. The answer was to grab a set of better polyurethane pieces from Energy Suspension
-
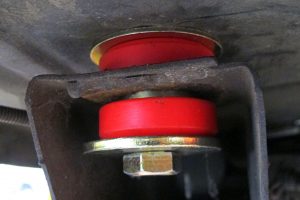
- The new bushings were pretty easy to install. To keep the subframe aligned we did the rears first and then the pair near the firewall and finally the ones on the front core support

-
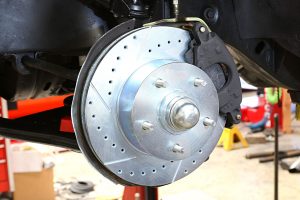
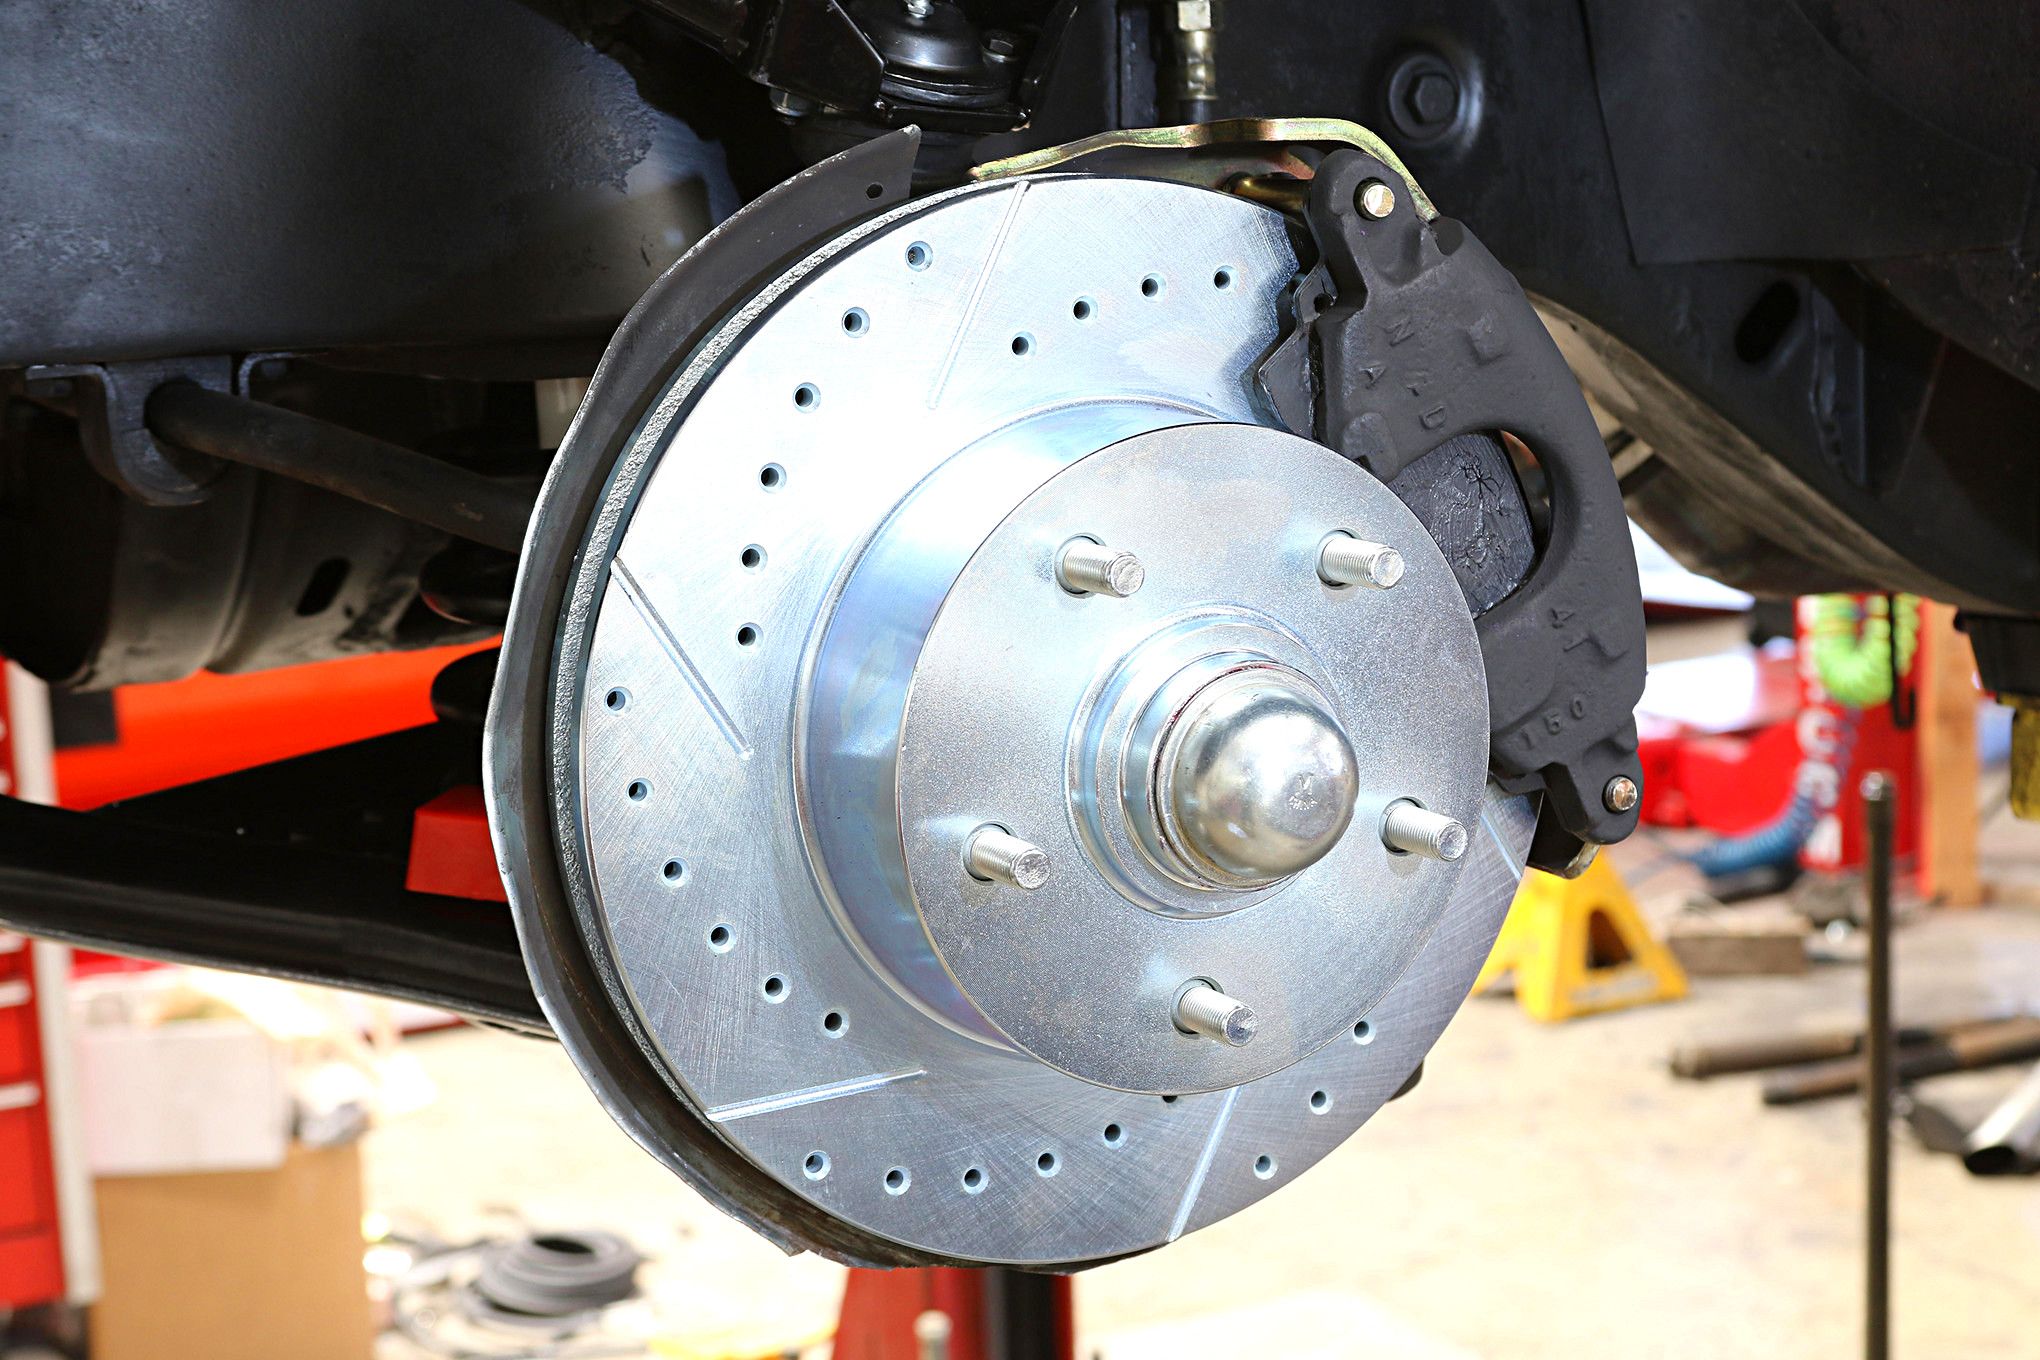
- Our small-block Camaro is fitted with box-stock single-piston front disc brakes, which do an adequate job of stopping in daily driving. We’re going to fit these binders with slotted and vented POL rotors in an effort to improve performance. As a bonus, the zinc washed rotors look a ton better
-

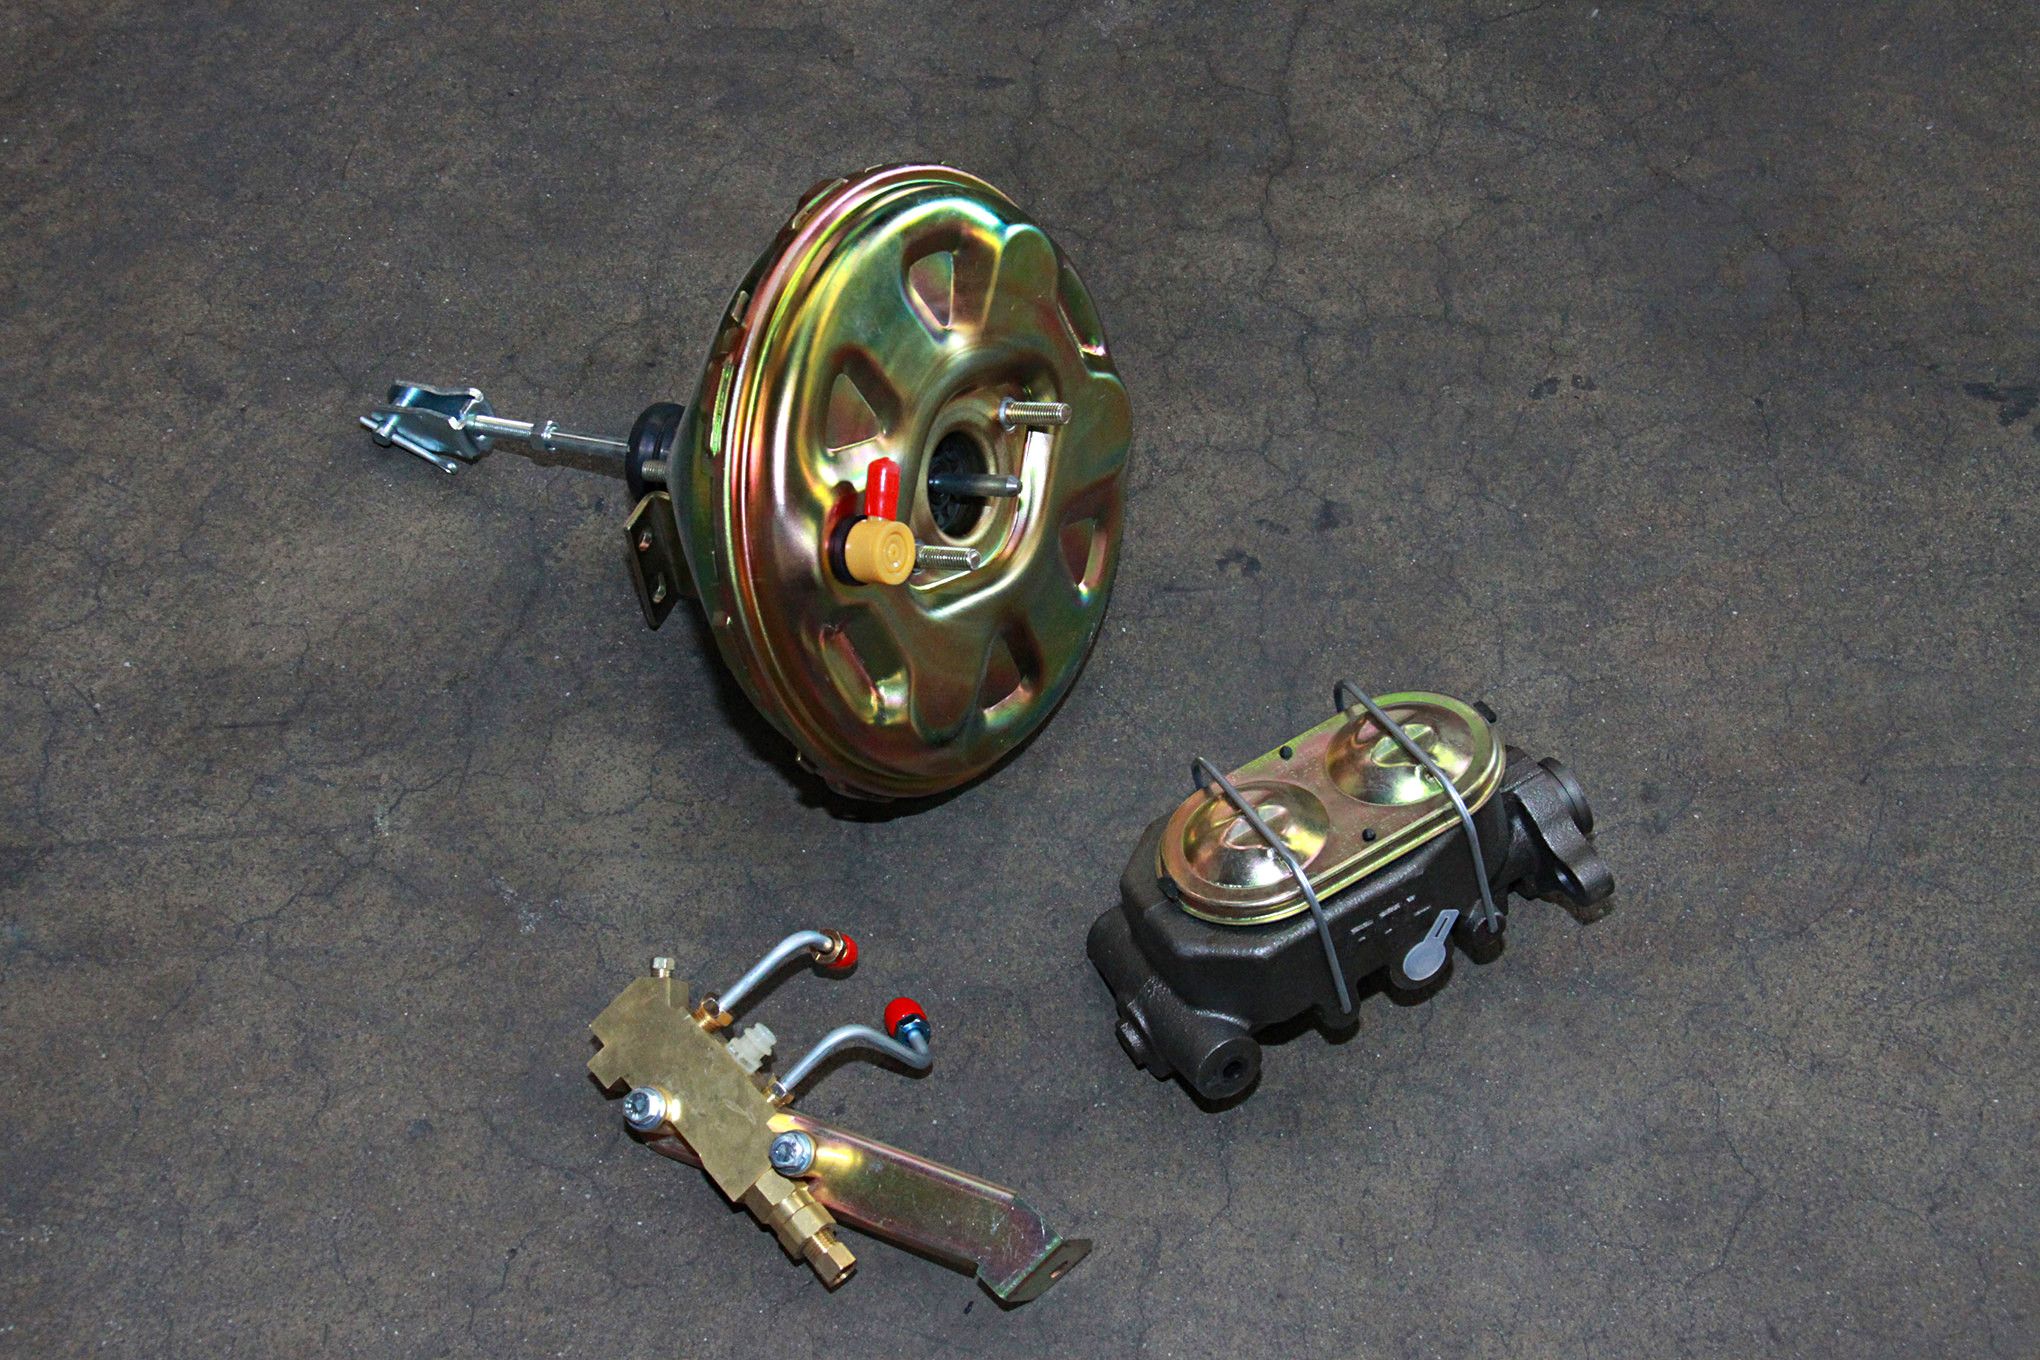
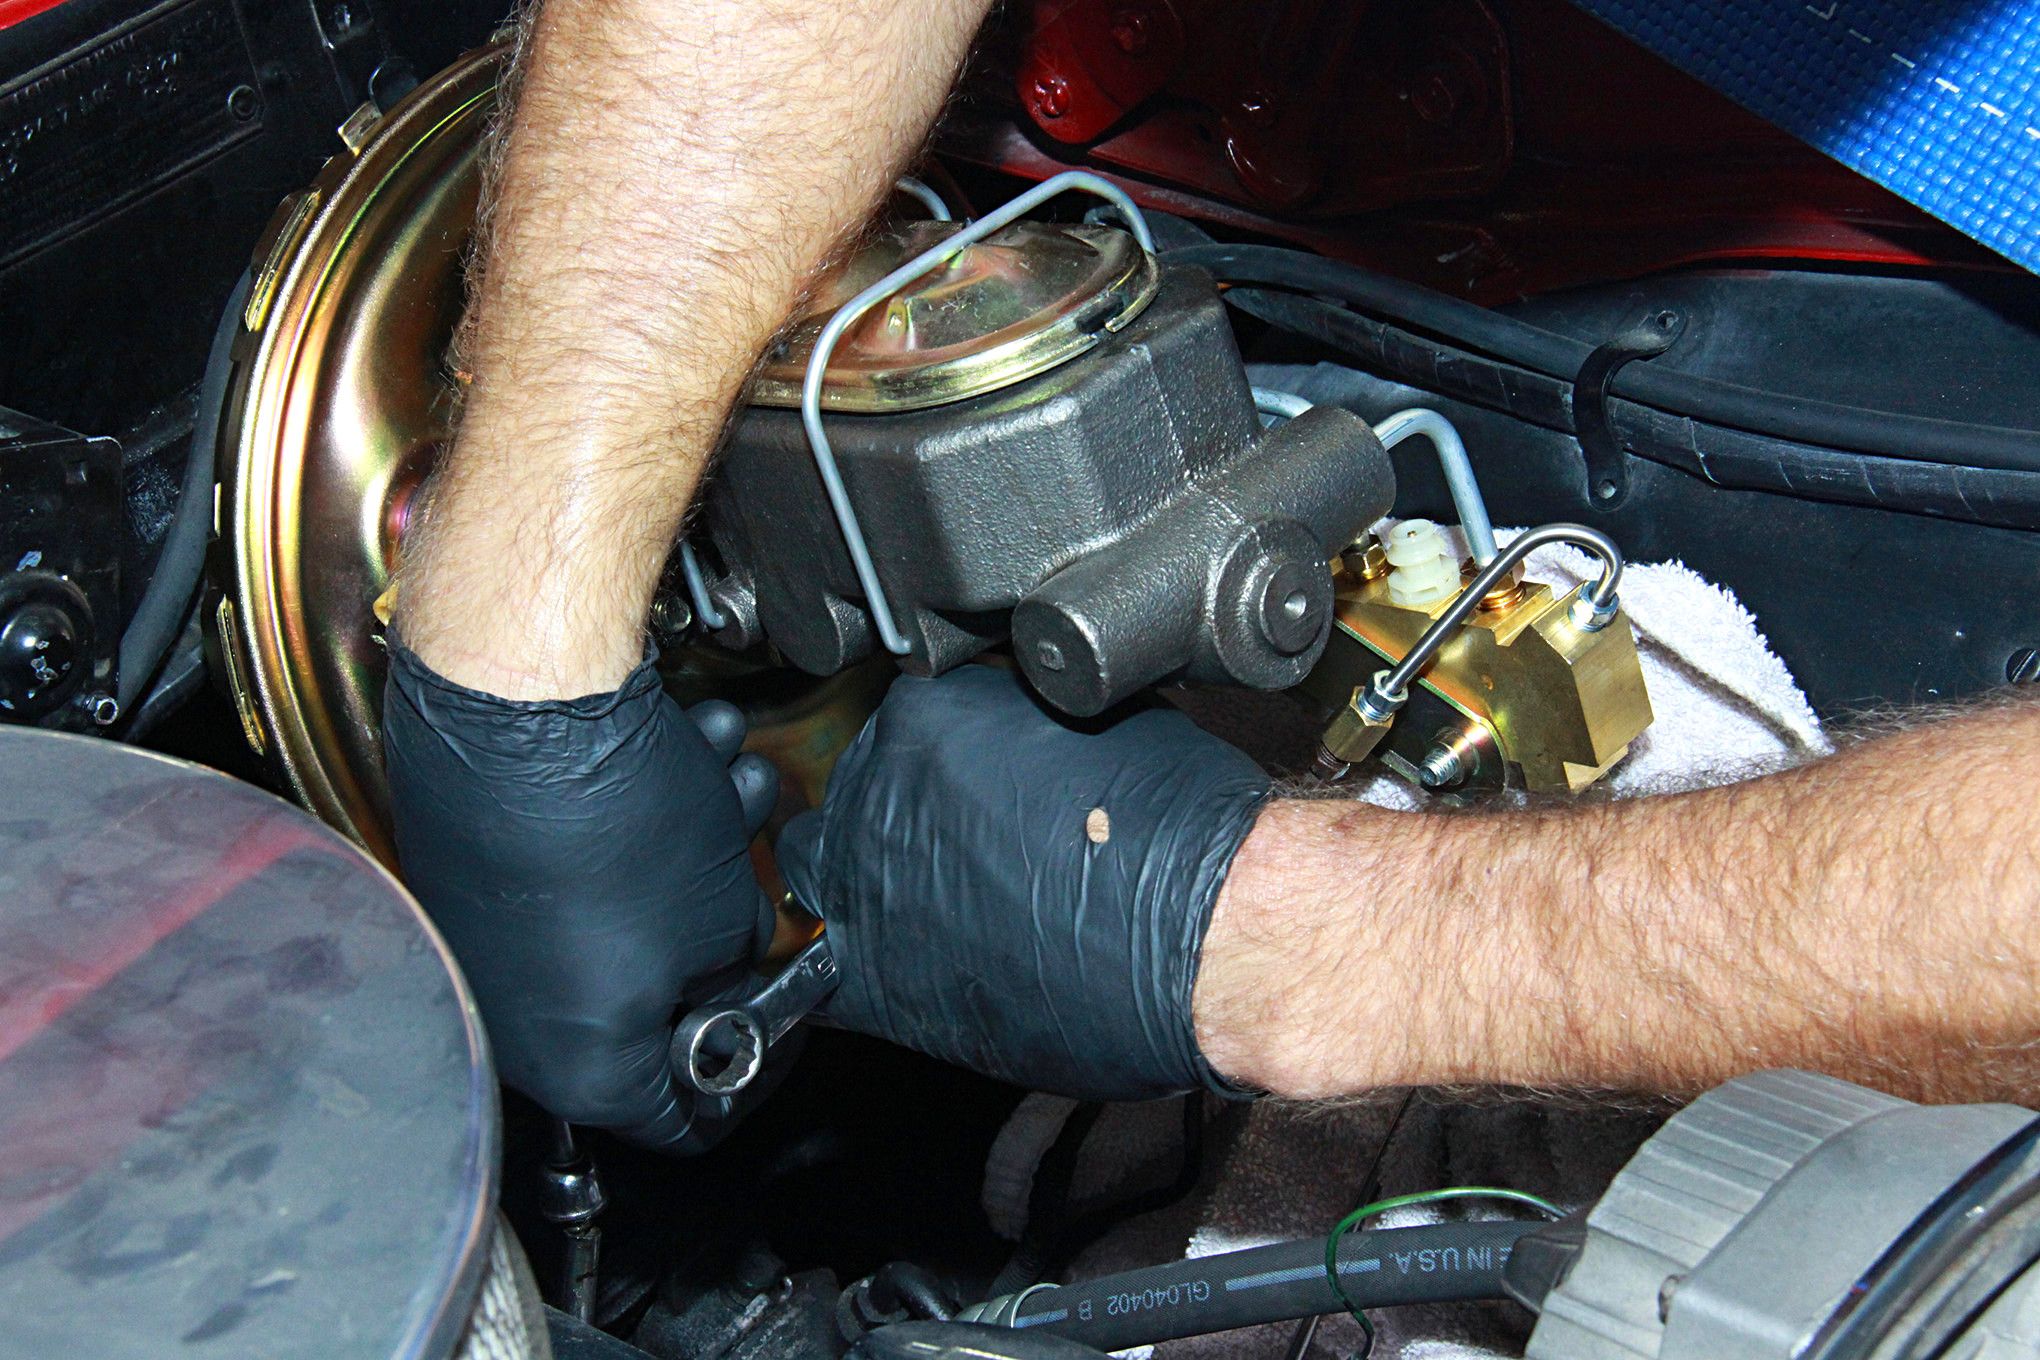
- POL has provided us with a new power booster, master cylinder, and disc brake distribution block to fully complement our upgraded and refreshed braking system. These components are all drop-in replacements without the need for any modifications
-
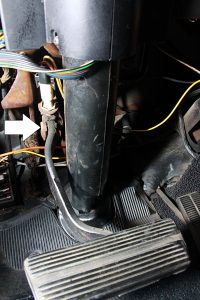
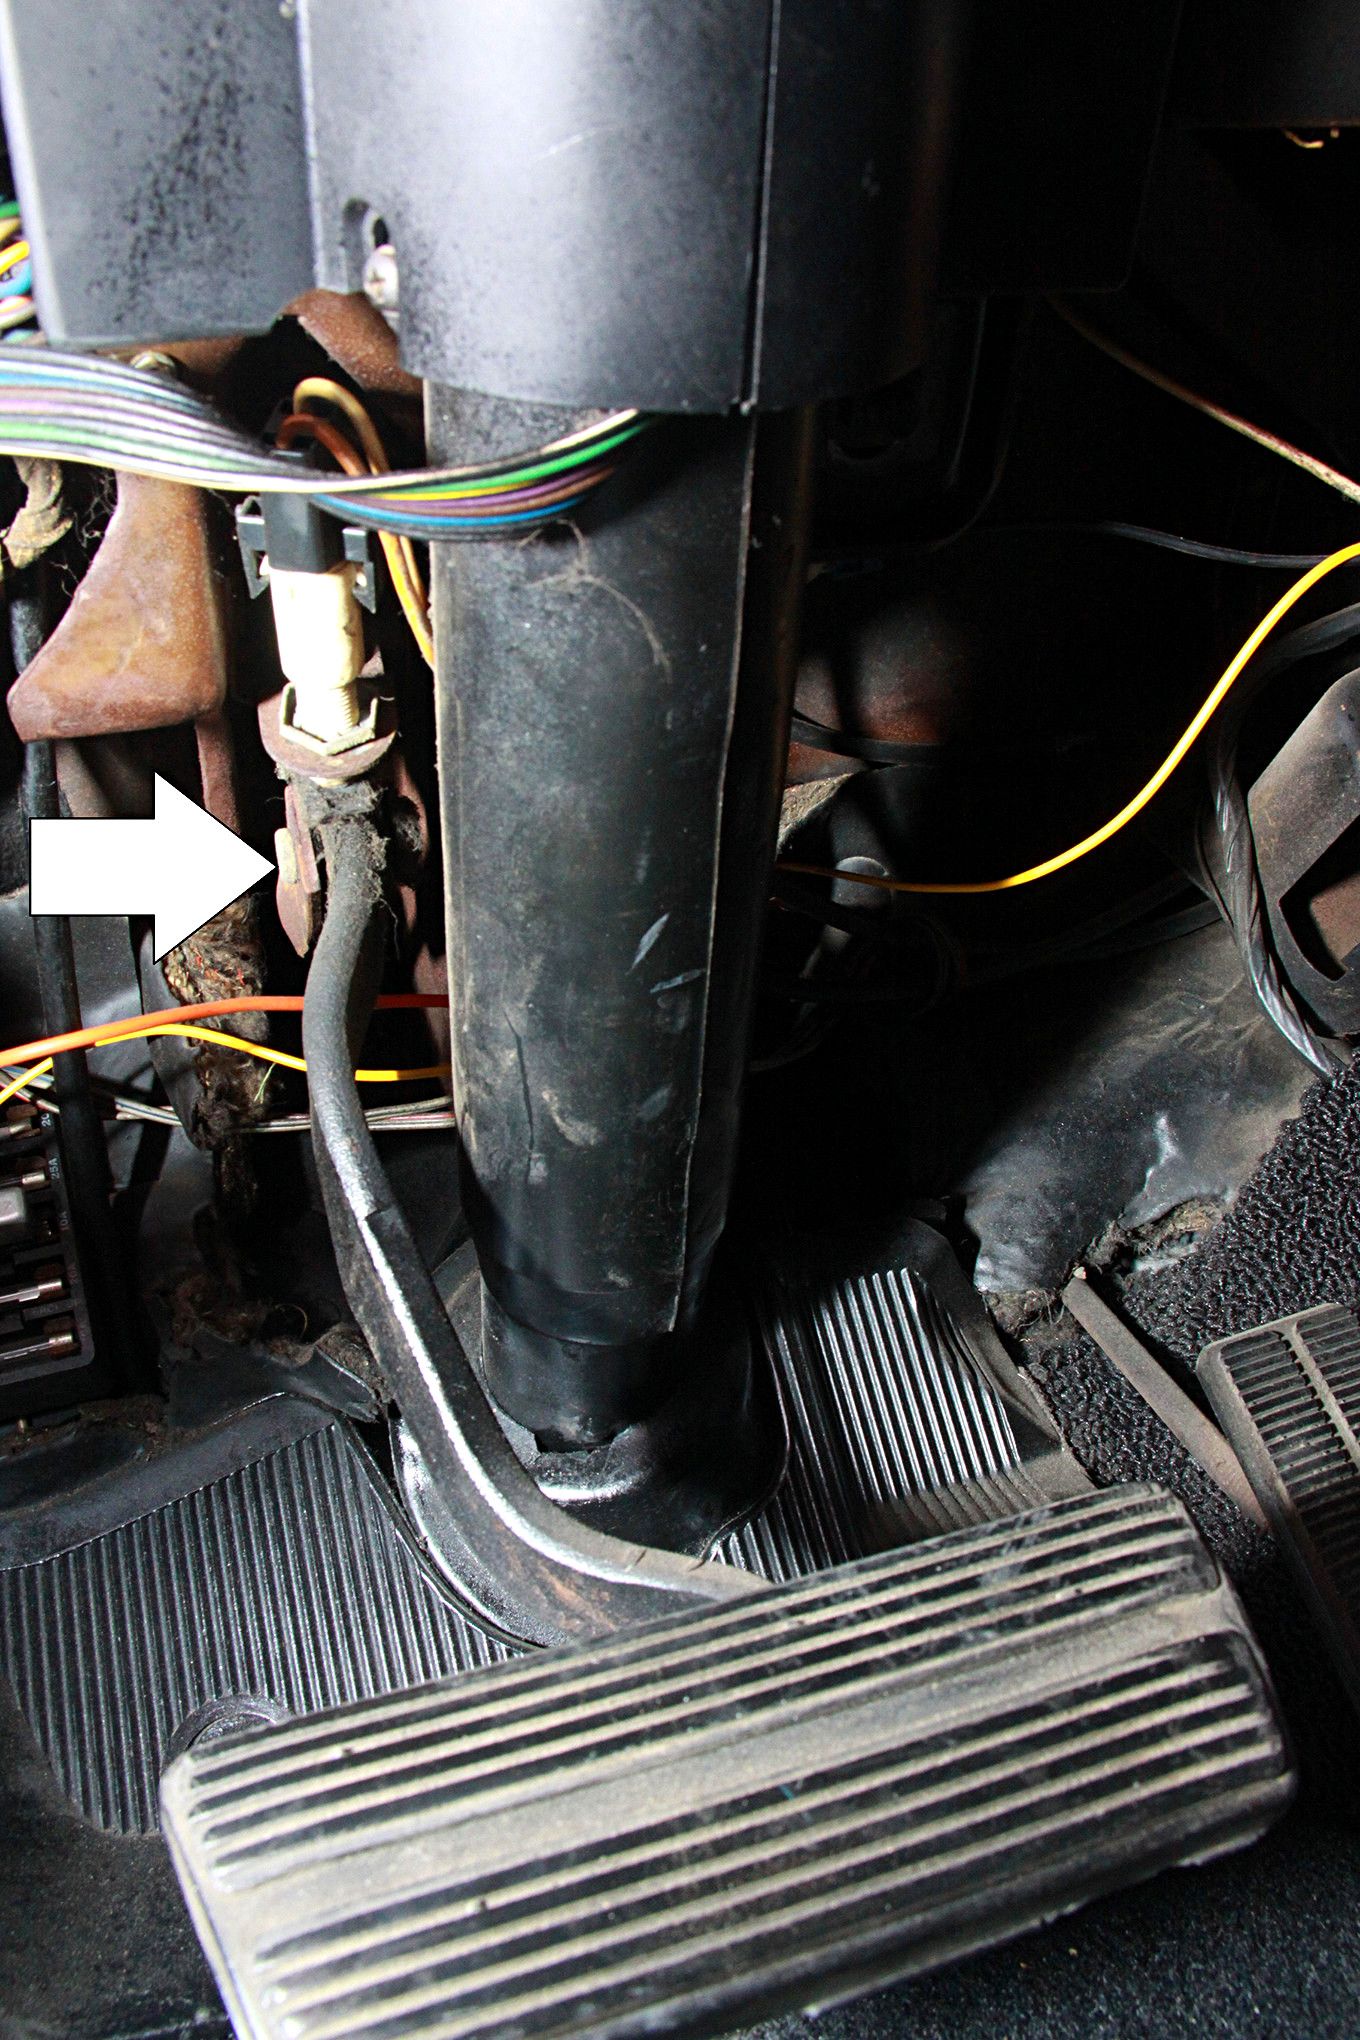
- The power brake booster pedal pushrod is secured here at the brake light switch and pedal. Pull the pin and the booster is disconnected
-
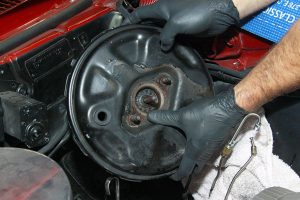
- Joel removes the original power brake booster. If this was a full restoration we would have had this one rebuilt
-

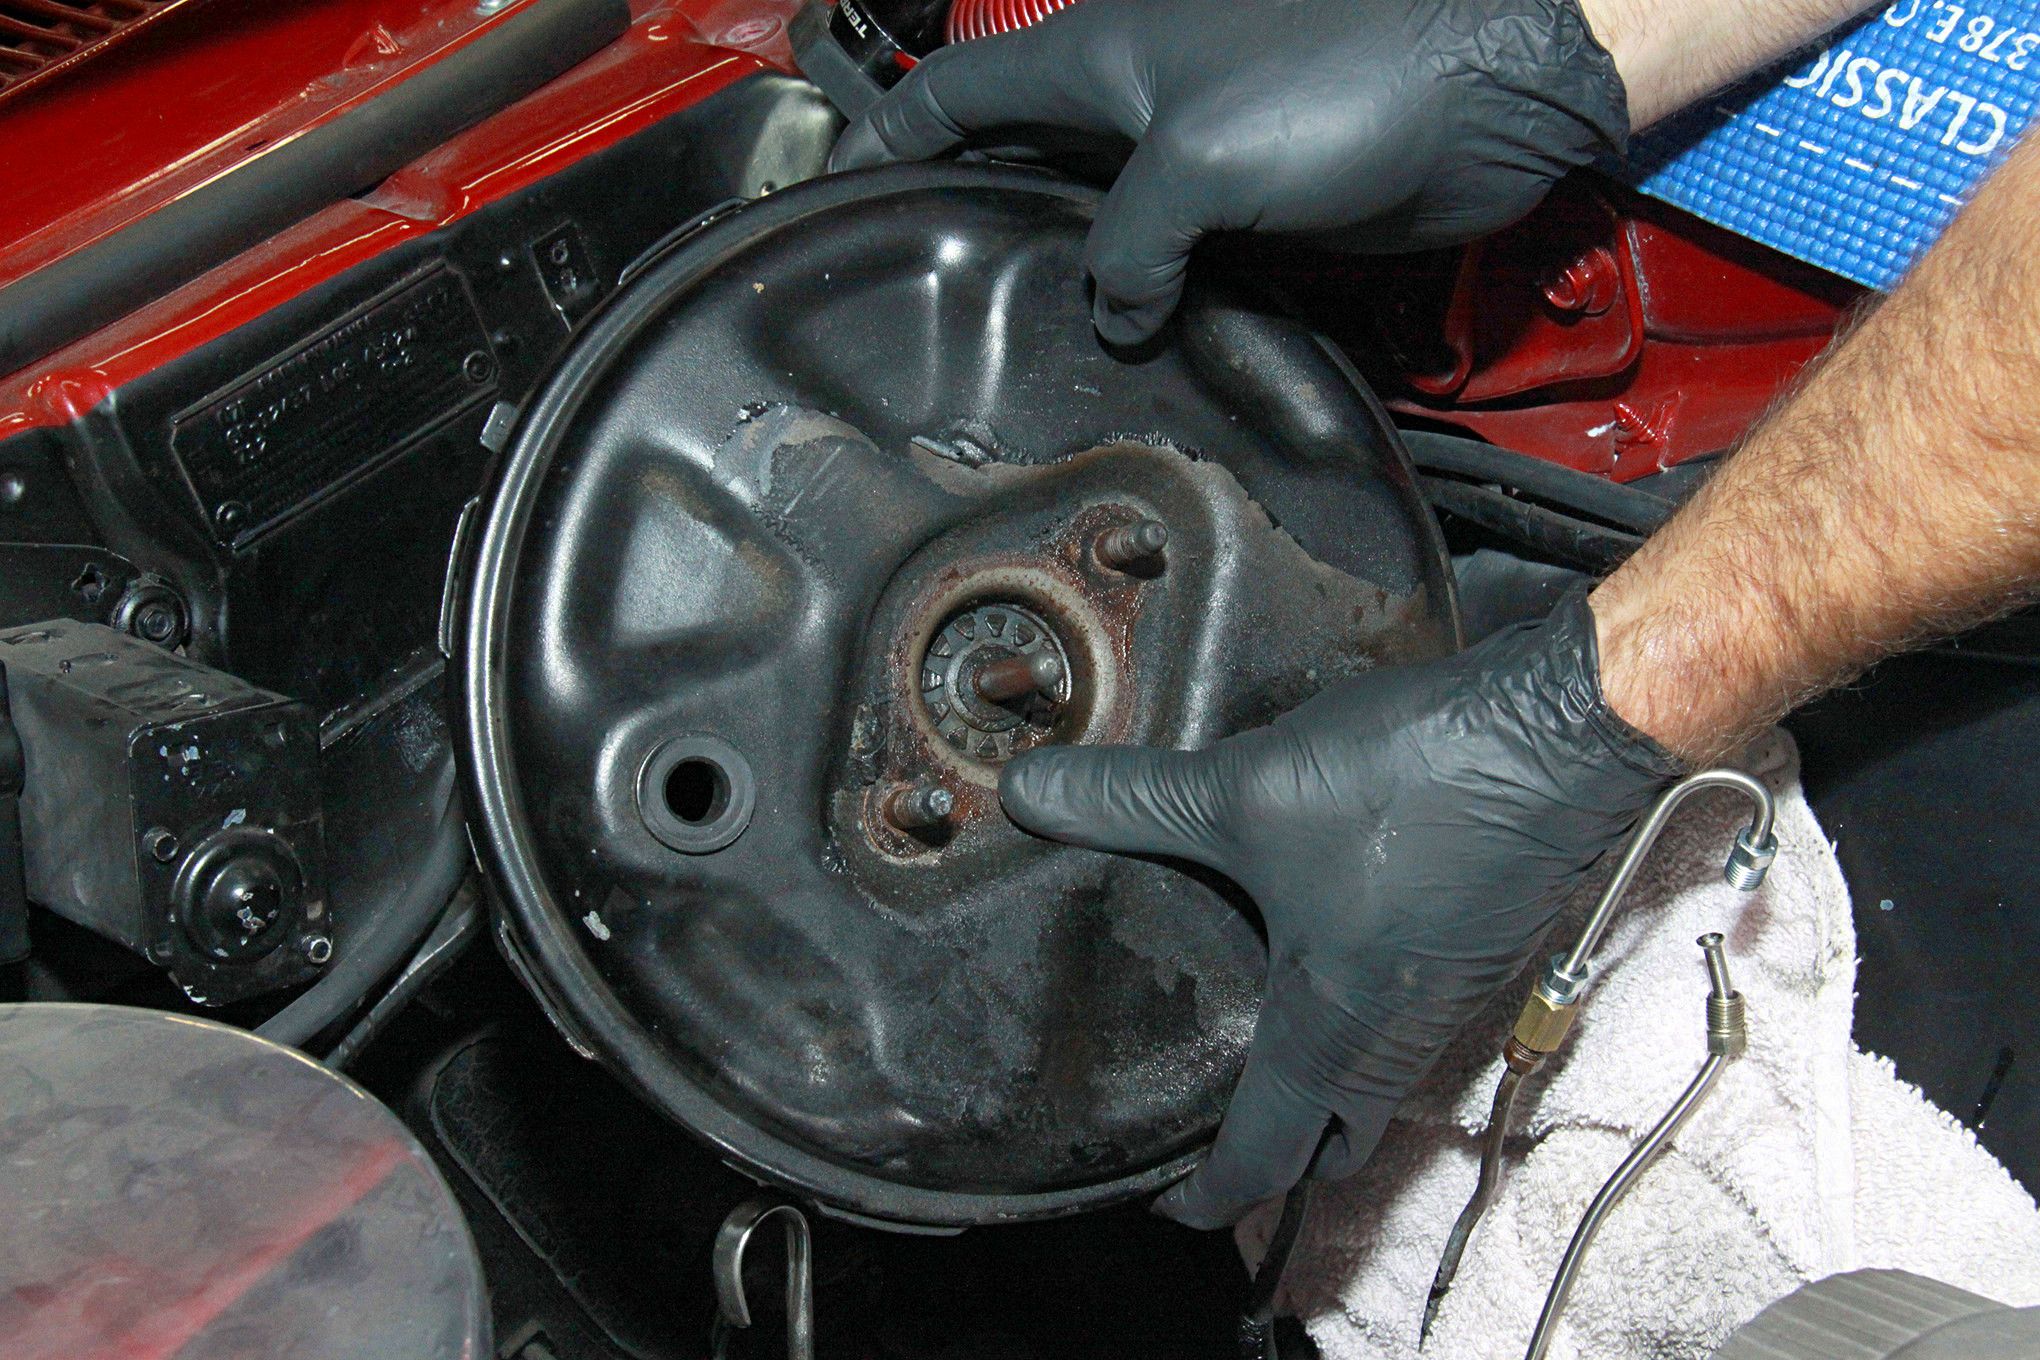
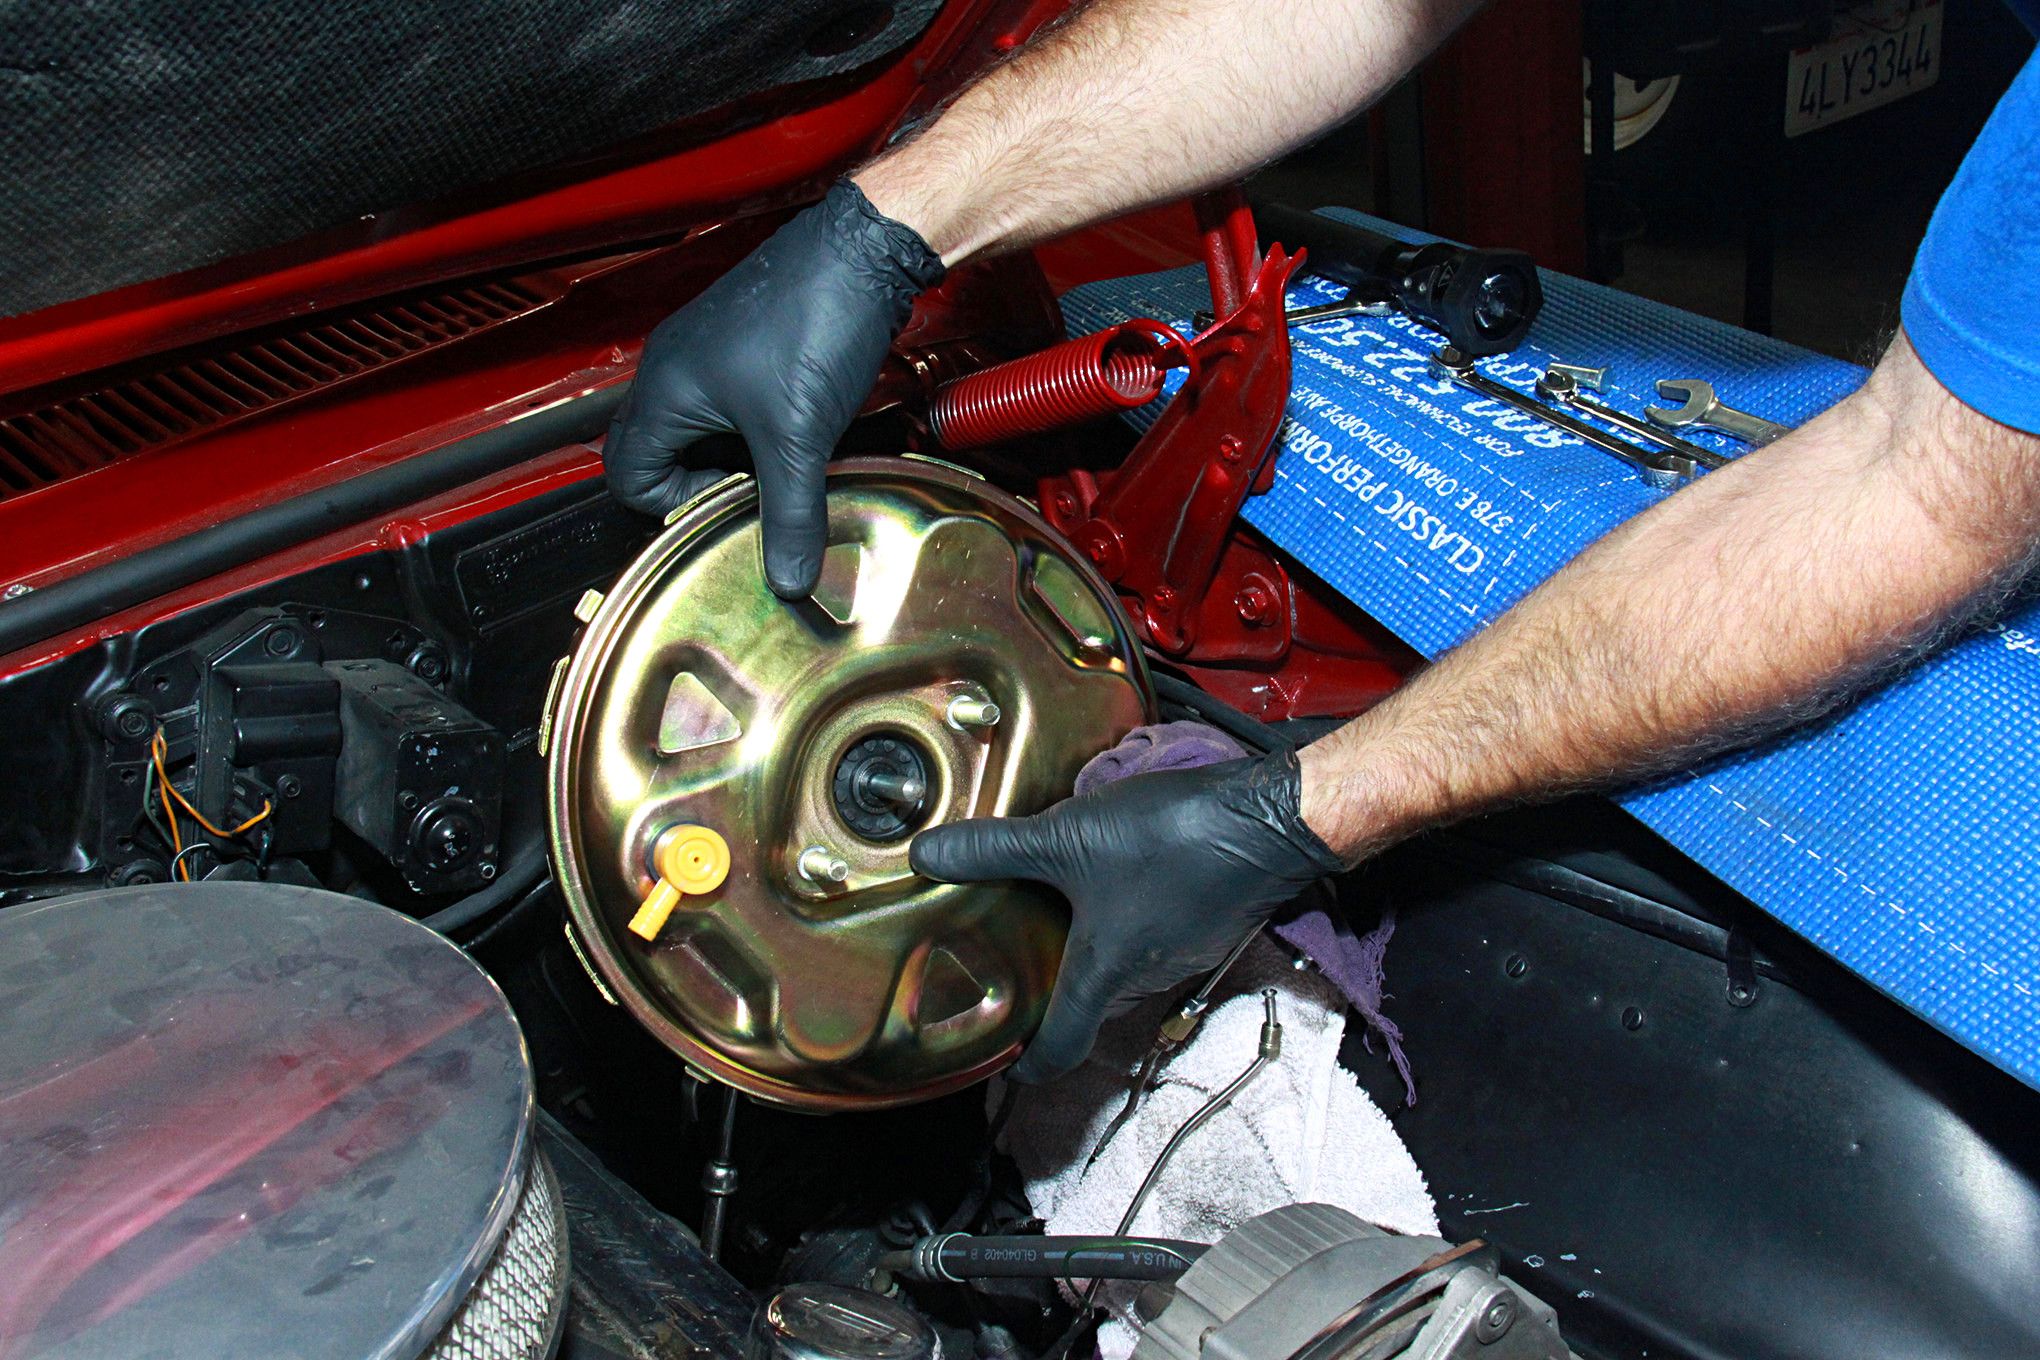
- The POL power brake booster slips right into place without modifications or frustration. Four pedal support studs protruding through the firewall support the booster. Once bolted to the firewall we went back under the dash and attached the clevis to the brake pedal
-

- Joel performs a bench bleed before installing the dual master cylinder from POL. This ensures the master is free of air prior to installation. It keeps us from introducing a bunch of air into the brake hydraulic system. Joel installs the POL master cylinder, which offers greater capacity than original equipment. The brake proportioning/pressure differential valve is a direct replacement for original equipment and is valved for rear disc brakes
-
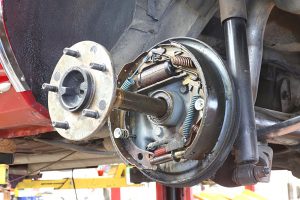
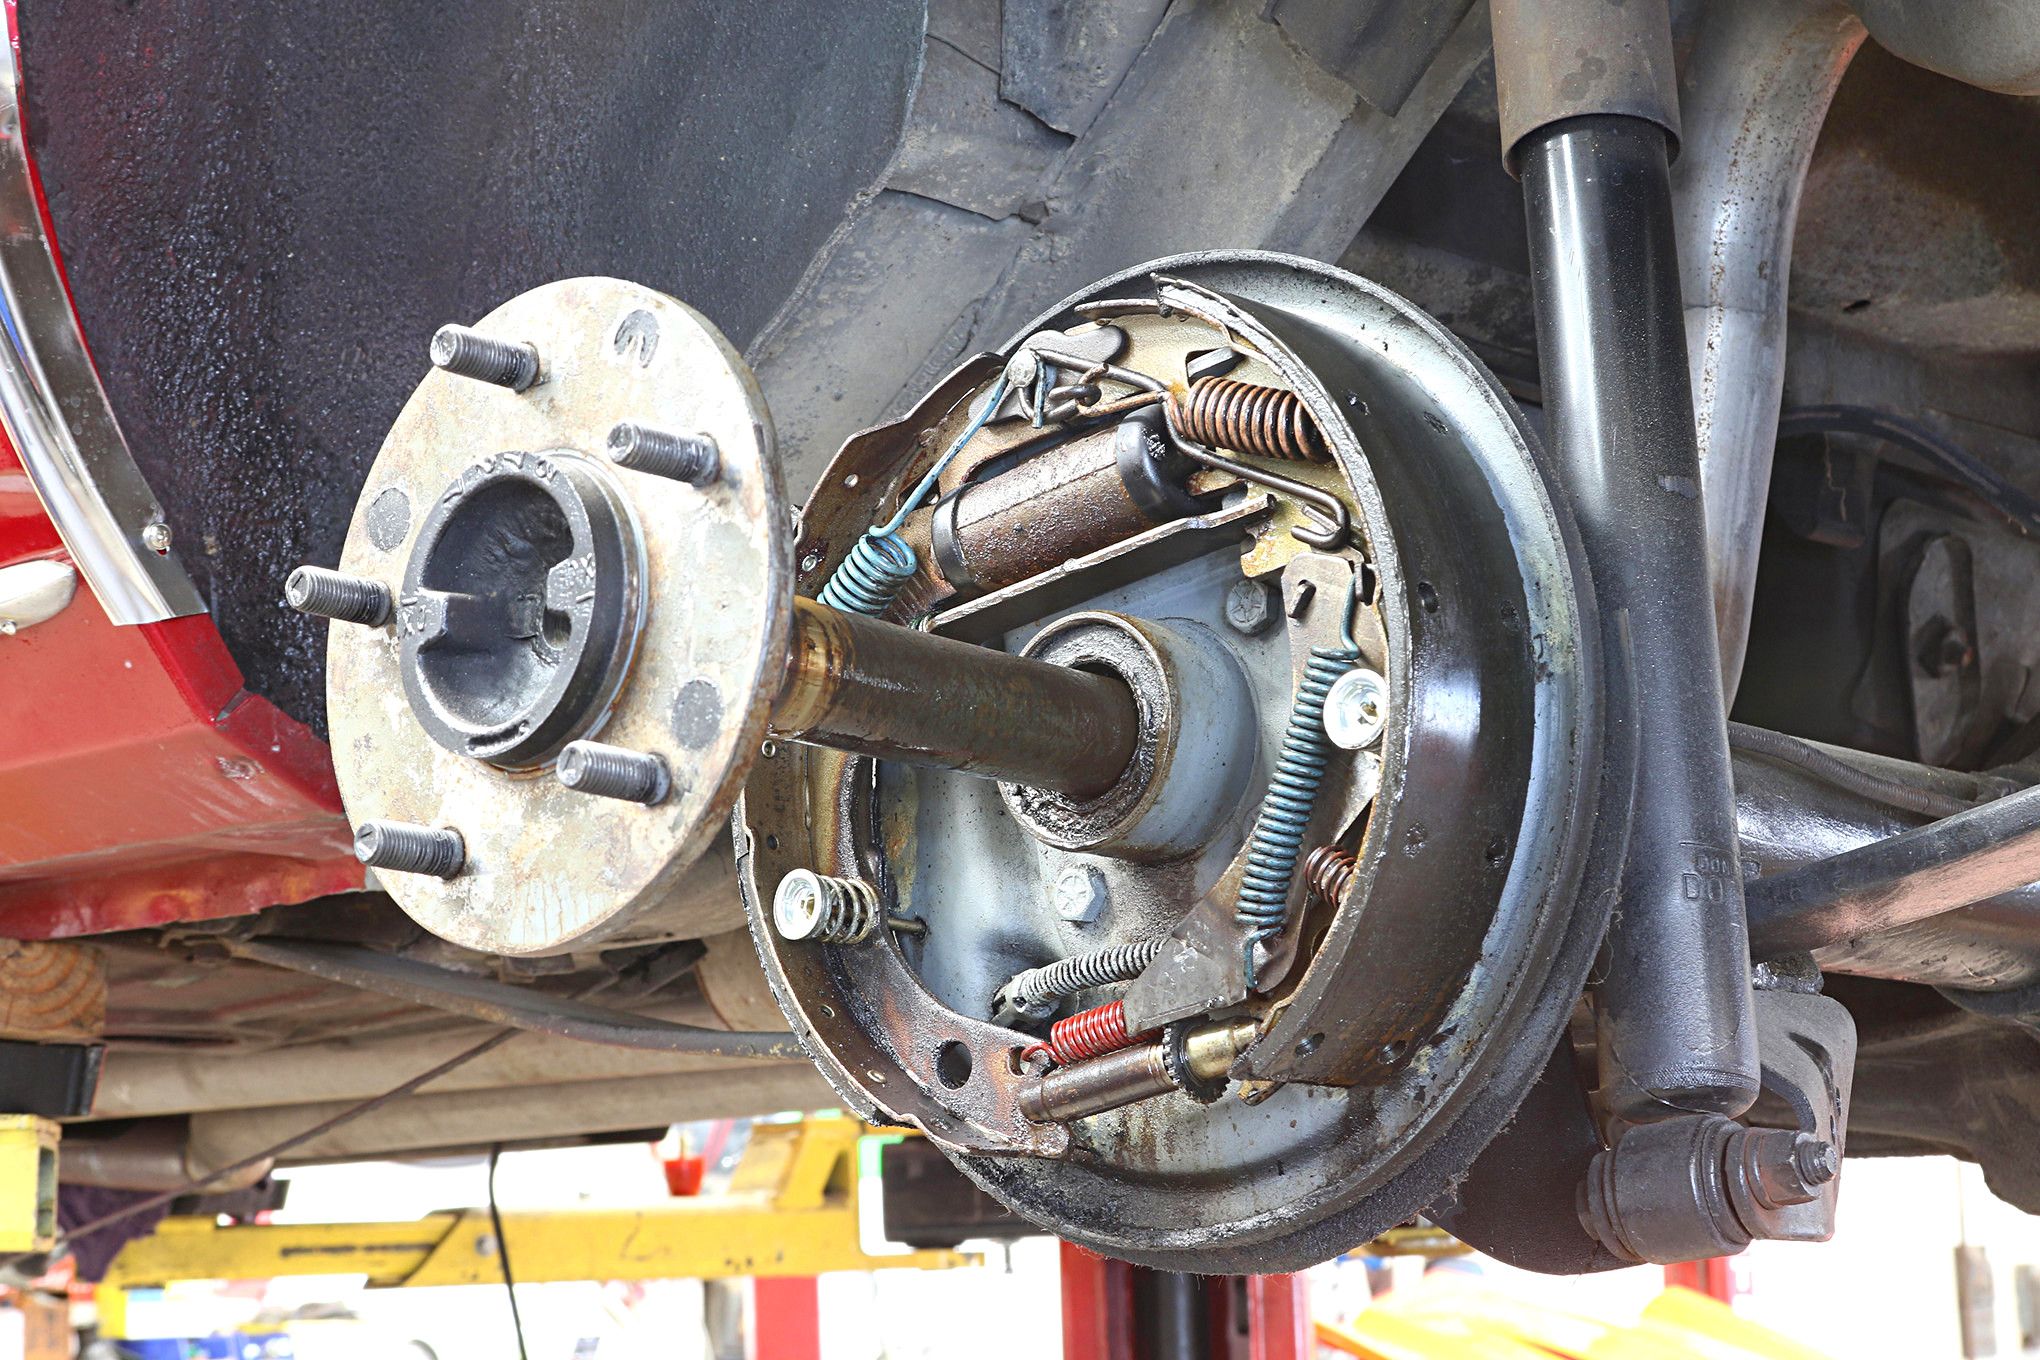
- This Camaro has a 10-bolt differential. You have to pull the cover and pop the C-clips in order to remove the axleshafts so that the drum brake assembly can be removed. This is the best time to replace axle bearings and seals
-
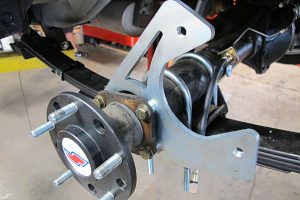
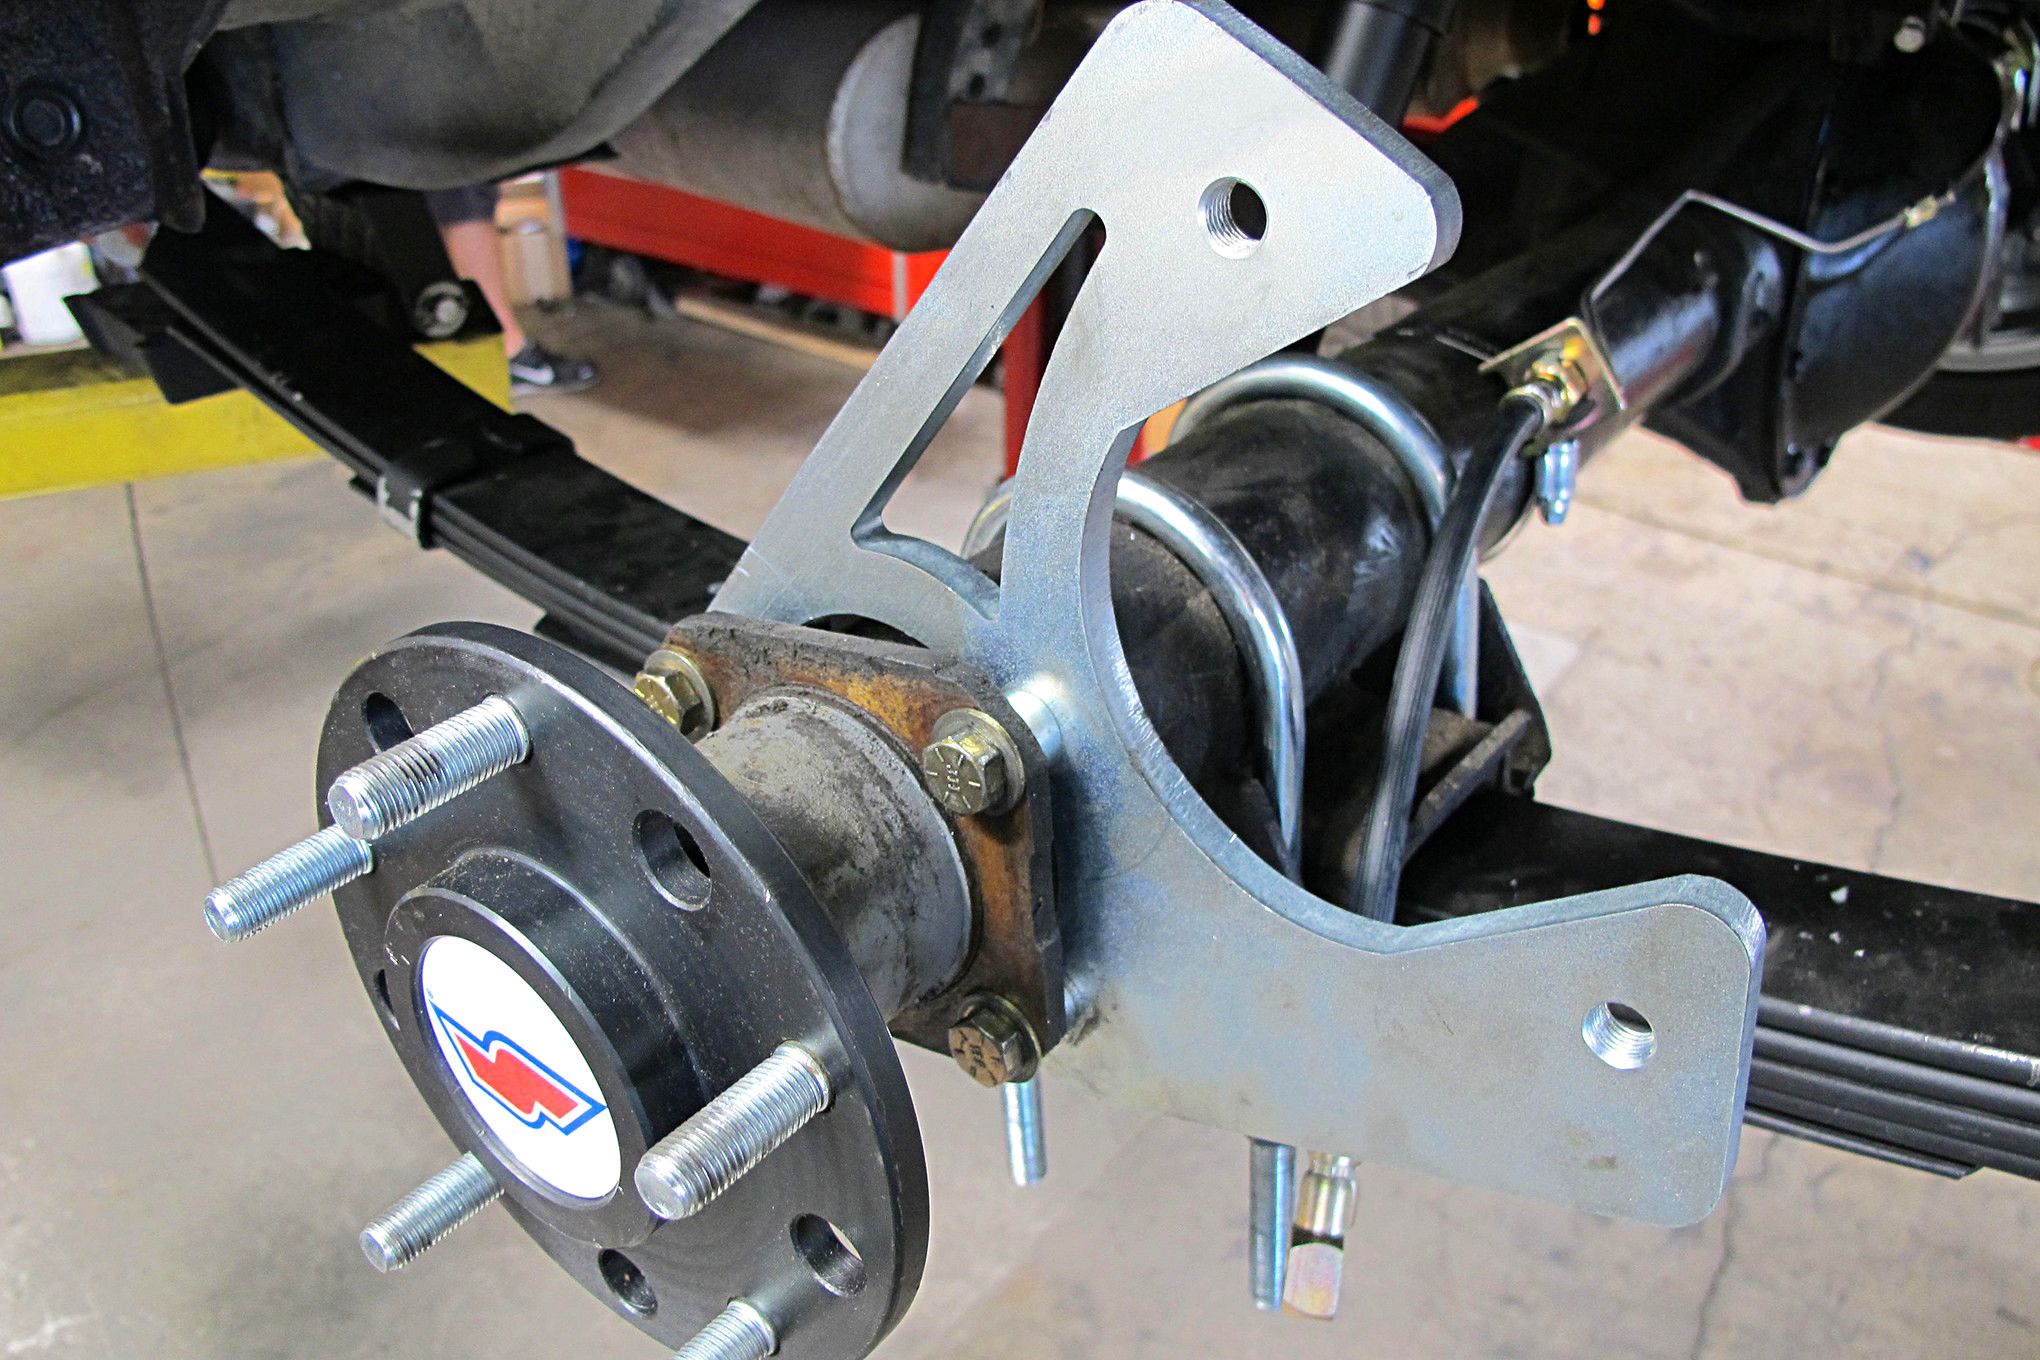
- The original axles were badly worn and if we had kept them the seals would have certainly leaked. So we installed a pair of affordable Summit axles to complement our rear disc brake upgrade. The disc brake caliper bracket has been installed using a thread locker and proper bolt torque
-
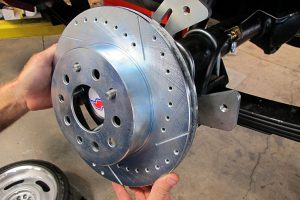
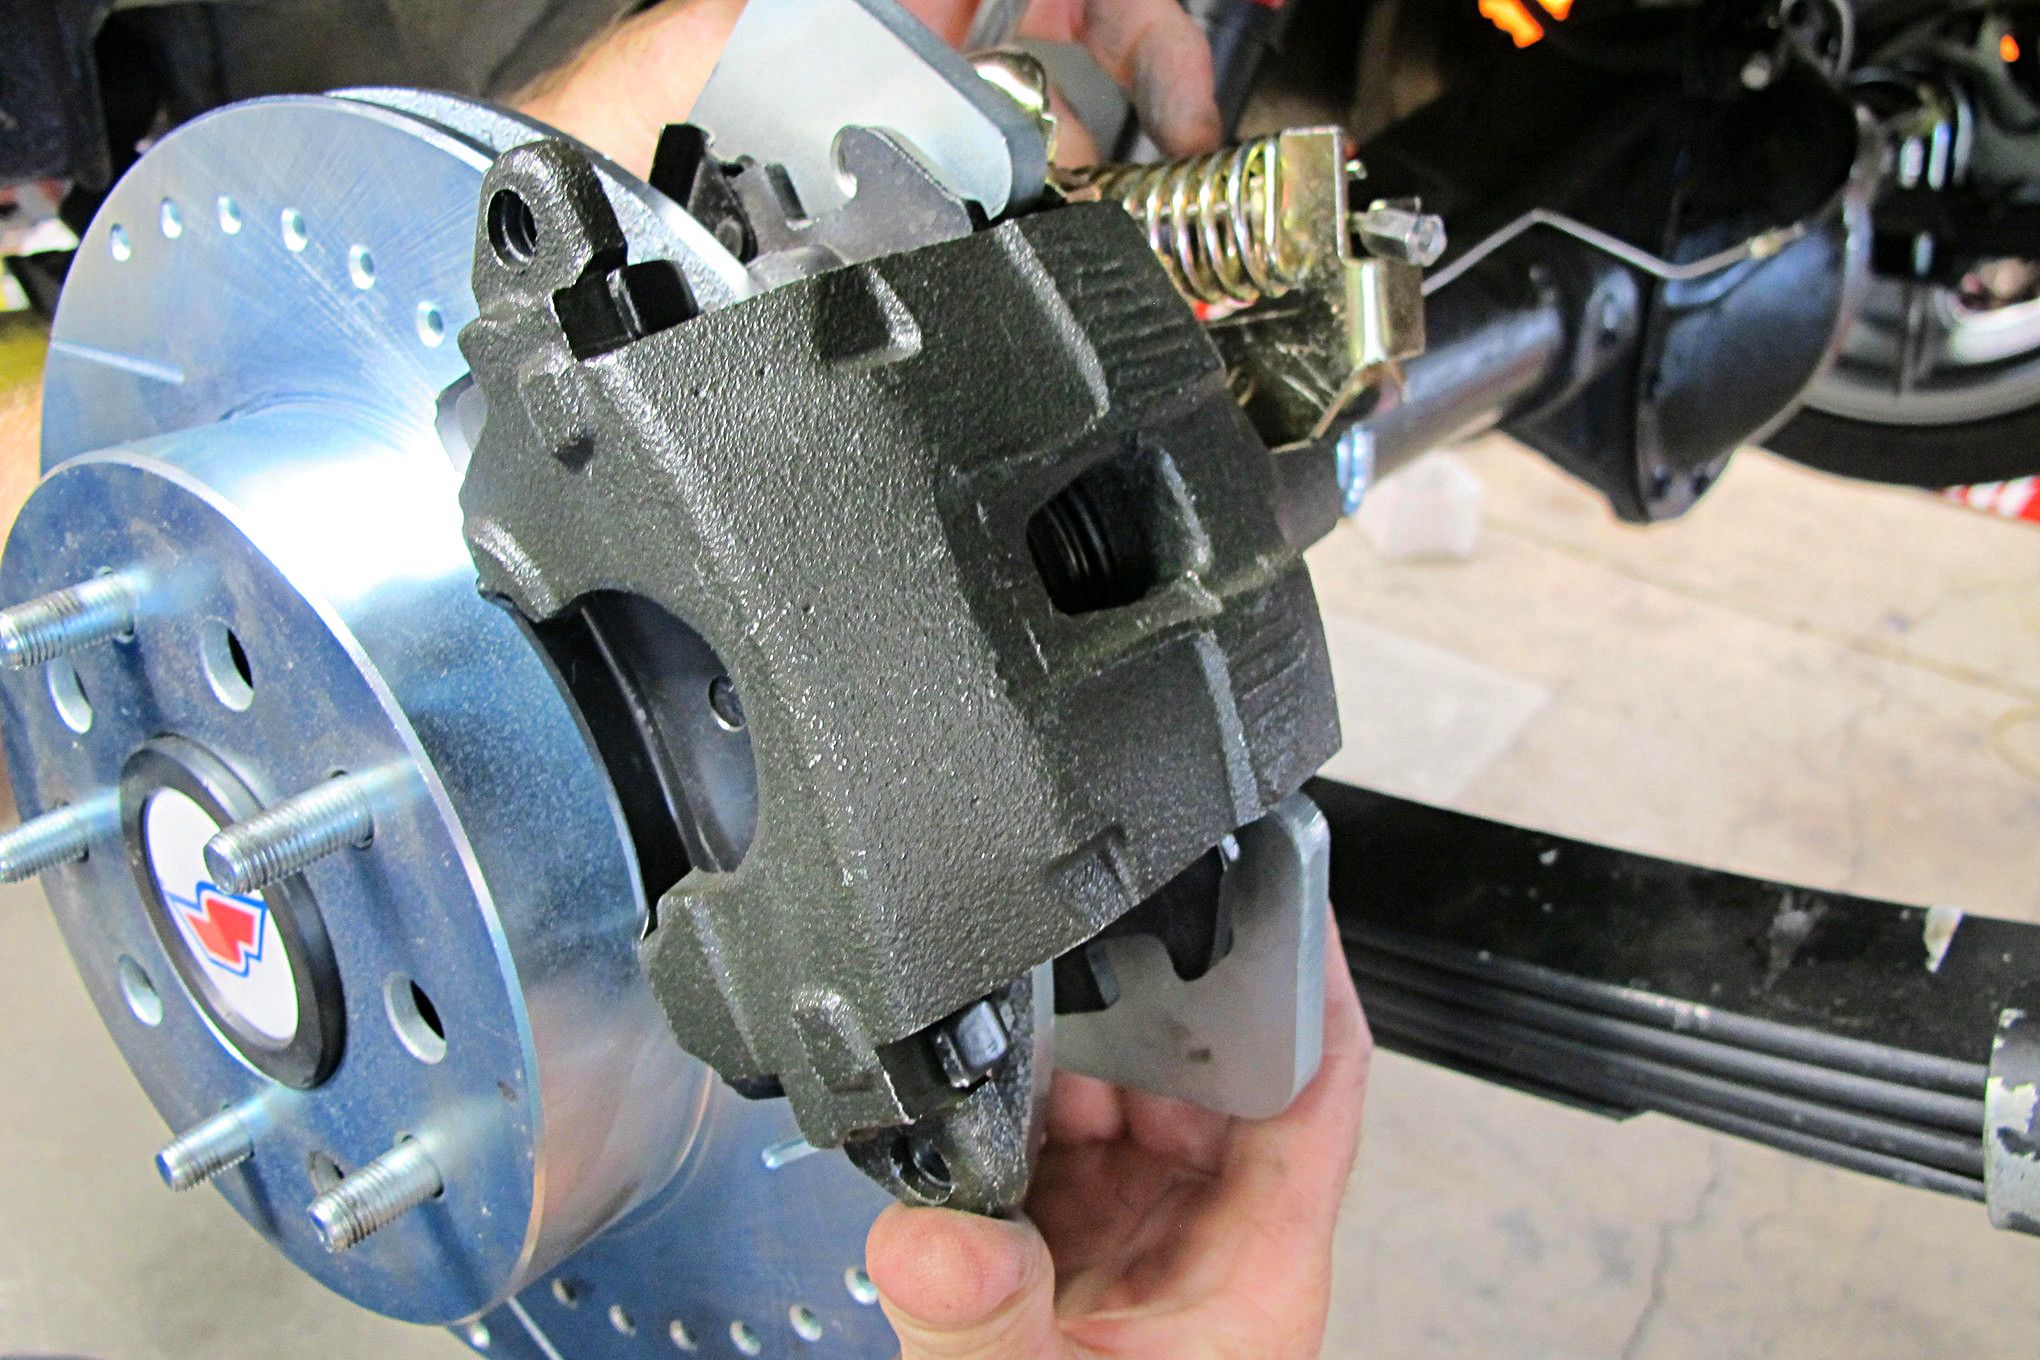
- The POL slotted and vented rear disc brake rotors are installed for the same reason we used them in front. Slotted and vented rotors get rid of heat better and allow for an improved pad-to-rotor relationship. In short, they offer better braking while being better looking

-

- We have secured the rear brake calipers and installed the parking brake cables. A complete brake system bleed begins at the right-rear caliper, then the left-rear. The right-front is next, and finally the left-front, which is closest to the master cylinder. Expect to go through this routine two or three times to get all the air out. With each bleeding exercise and a good shakedown with hard braking, the pedal will become harder and more predictable
-

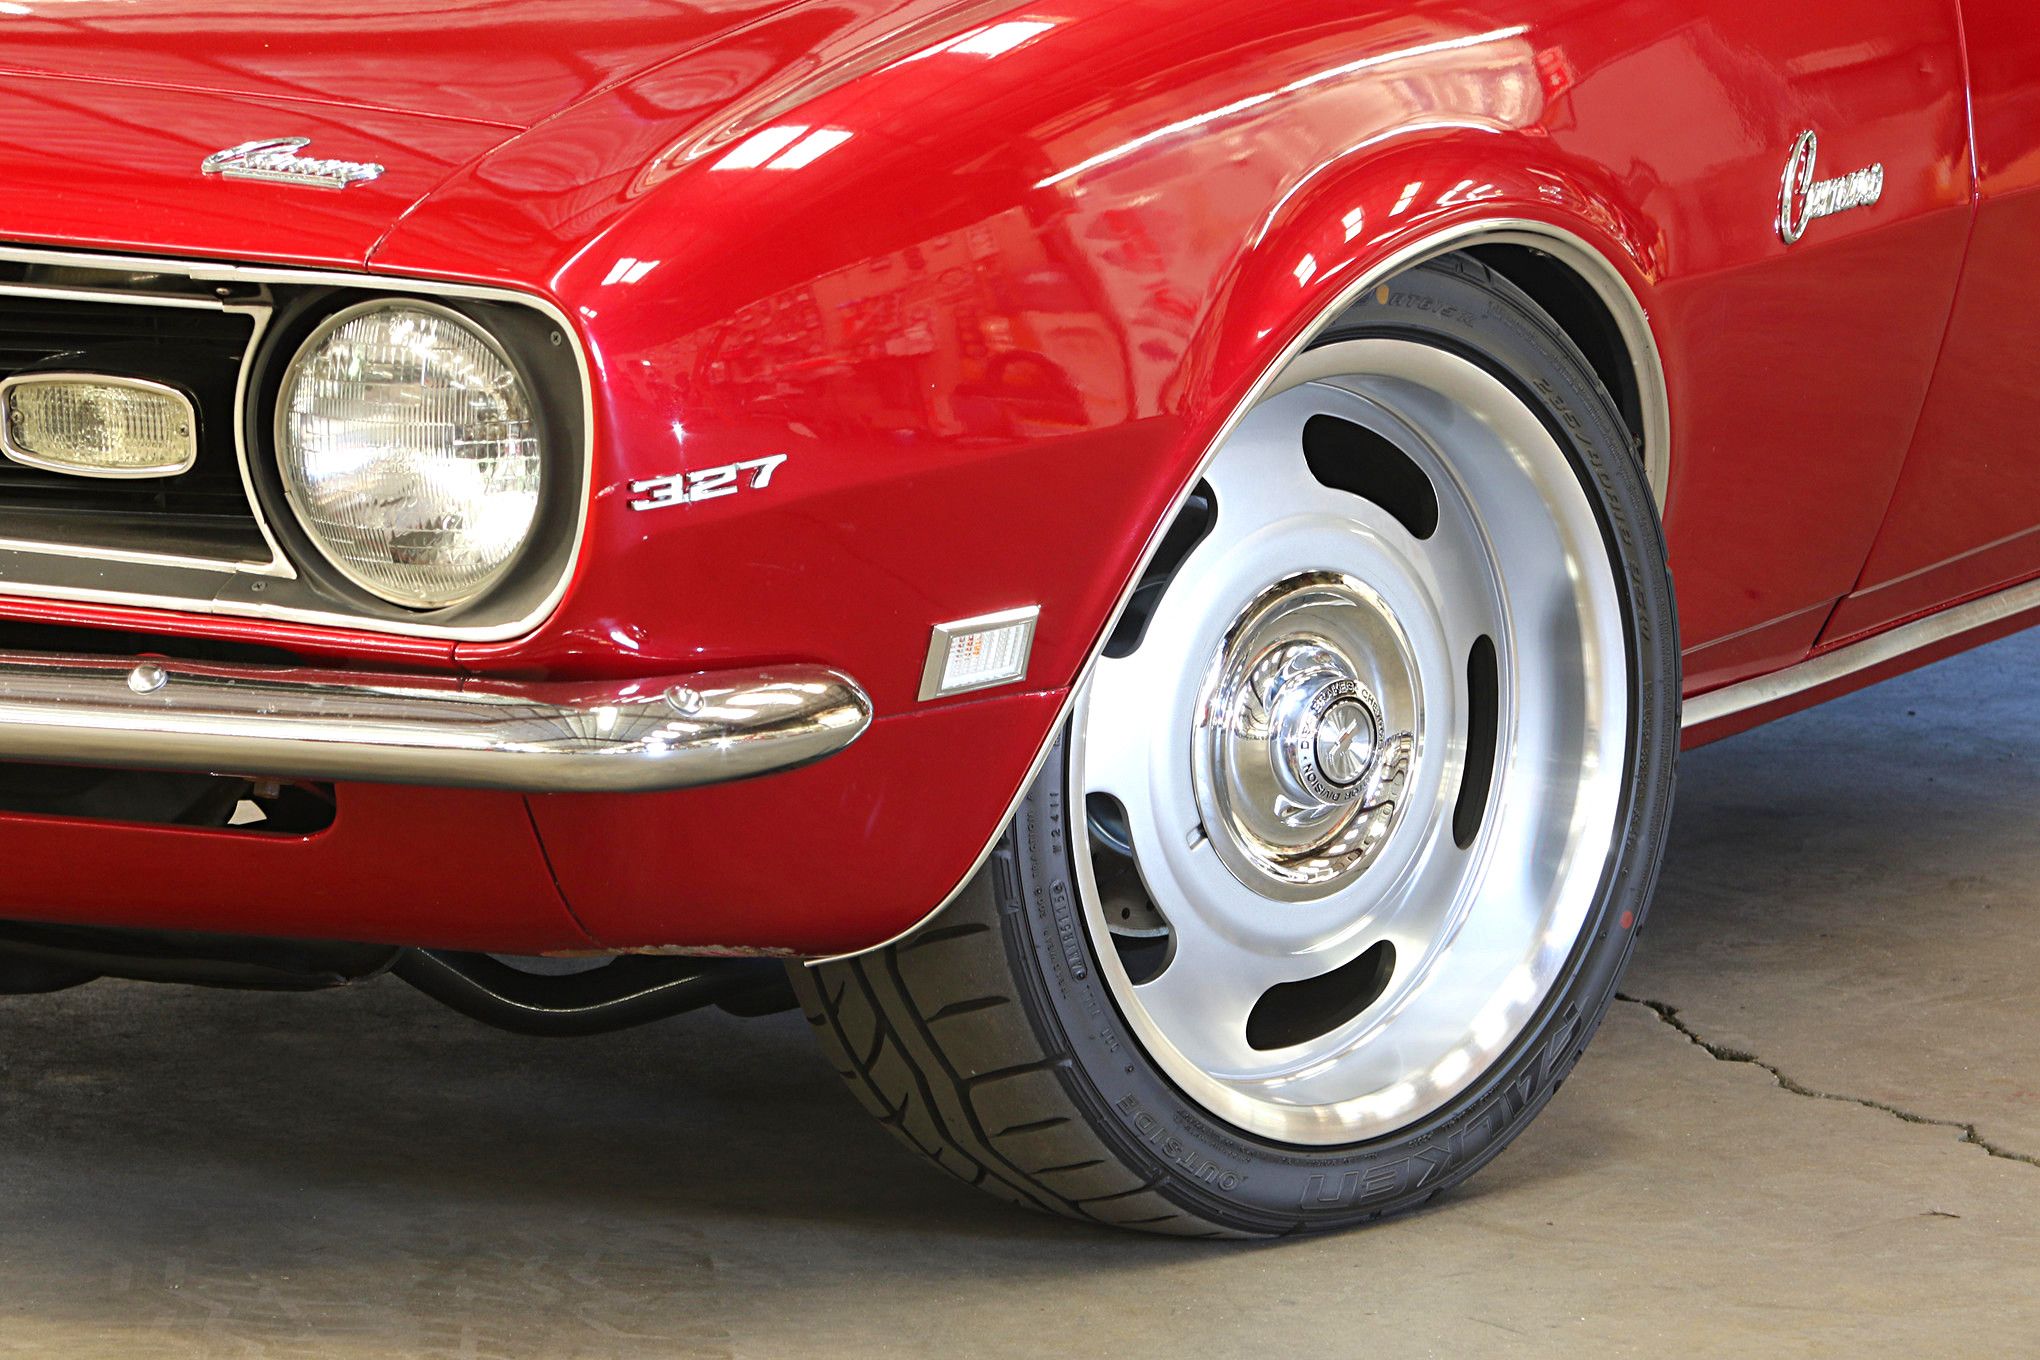
- Outfitted with a new wheel & tire combo.
-

- For tires they chose 235/40R18 front and 275/35R18 rear Falken RT615K tires.