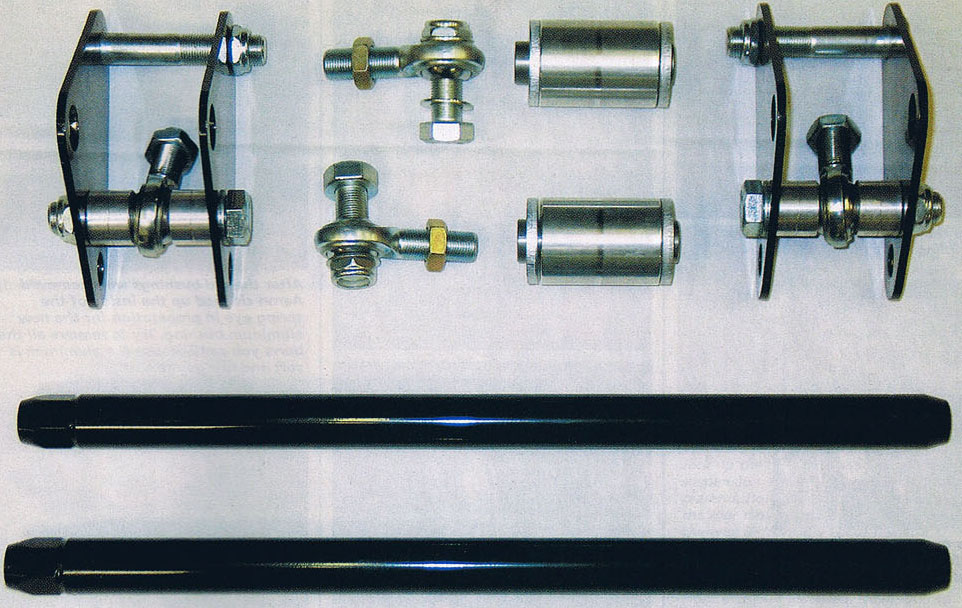
Here are the basic components from Performance Online minus the rear mount/spring plates that I already installed when the car got the new rearend. It comes with all the necessary hardware and the steel parts are powdercoated black.
Traction bars, slapper bars, traction masters. All of these names conjure up images of bulky and obtrusive attempts at keeping power on the pavement. In the past they’ve helped, but leaf-spring cars still suffered from wheelhop and spring or axle wrap-up upon hard acceleration. Having a four-link set up in the rear was about the only way to get rid of these problems. Now you can have your cake and eat it, too. For much less cost than upgrading to a four-link, without having to cut up your car, you can hook up with the best of’em with Performance Online’s Traction Bar System. These traction bars aren’t like their lackluster predecessors; these work, are simple, and are very easy to install.
They work by changing the pushing point on the car. Redirecting the turning action (spring wrap-up) of the rear axle through what Performance Online designates as the Force Transfer Link into the Front Pivot, which then resists this tuning motion and also controls the bending of the leaf spring at its thinnest section. The push into the Front Pivot helps thae car’s weight shift towards the rear of the car, because of new directed angle of force toward the front of the vehicle. (The “Instant Center” moves further forward). This is where the system emulates a four-link system. The pinion angle is also maintained. Read it a couple of times and you’ll get it. You can also tune this system for your street/strip needs by adding preload or controlling any wrap, if needed.
I won’t beat a dead horse here, so read through and see what you think, then call or click Performance Online to see what they have to suit your needs. For the price you can’t beat it.
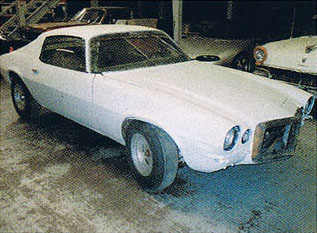
This Second-Gen Camaro was the recipient of a New Moser 12-bolt and Hotchkis springs. Now we’ll finish up the rear suspension upgrades with Performance Online’s Traction Bar System.
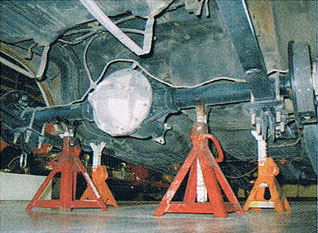
Get the car up on jackstands both on the body and supporting the rear end. Also support the pinion with either a floor jack or jackstand so it doesn’t roll forward when the leaf springs are removed.
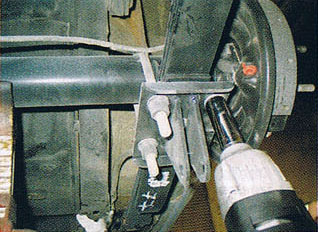
Here are the rear mount/spring plates that I already had installed. Remove your shocks and then the plates.
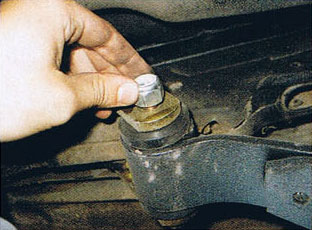
Drop the rear of the leaf springs down by sliding them out of the rear shackles.
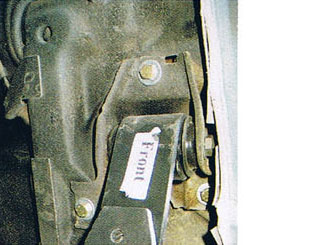
Now remove the three bolts that hold the front spring pocket to the body. Be careful with the spring, it’s heavy.
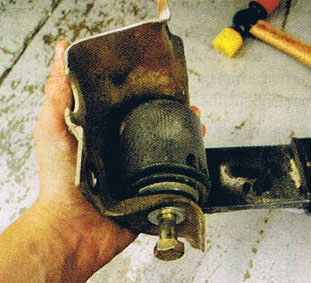
Take the front spring mount bolt out and separate the pocket from the spring eye.
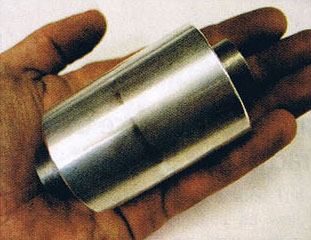
Here are the new spring eye bushings that are used with the Traction Bars. The stock bushings need to be pressed out and these pressed in. This is a little more complicated than it sounds because there is a ridge around one side of the stock bushings that needs to be dealt with to get them out.

As it happens, Performance Online is literally around the corner from our Tech Center where I’m doing the install. So I loaded the springs up in my truck and went over there to see Aaron for some help. He promptly started attacking that ridge I told you bout with the air hammer to fold it over so it would fit inside a big socket or piece of tube so the old bushing would have some where to go while being pressed out. Don’t try this at home if you do not have the right tools and ability. If you do decide to try it, wear safety glasses and mechanics gloves.
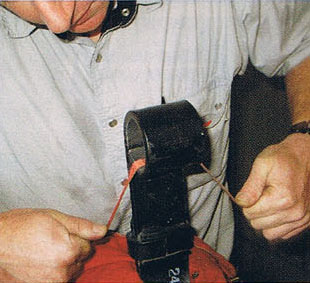
After the old bushings were removed Aaron cleaned up the inside of the spring eye in preparation for the new aluminum bushing. Try to remove all the burrs you can because the aluminum is soft and can gouge easily.
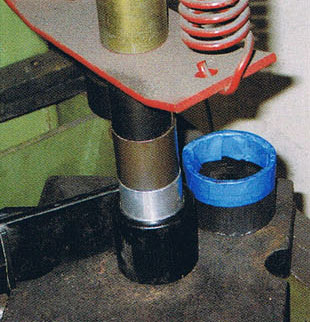
Put a little bit of grease on the new bushing and get it started. After starting it, release the tension and then continue to keep it going in as straight as possible.
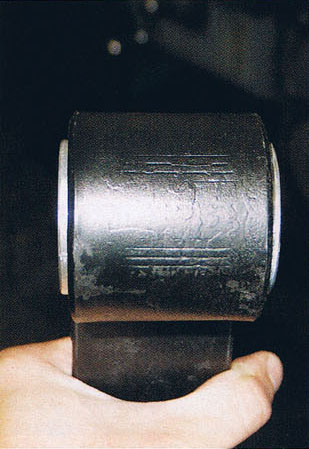
The bushings are about a 1/4 inch wider than the spring eye so have an 1/8 inch out on both sides.
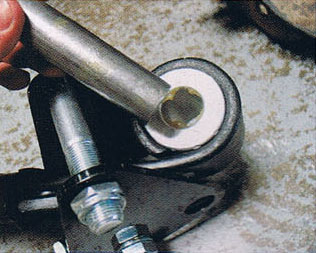
Back at the tech center. Grease the I.D. of the bushing and put a little on the steel insert.
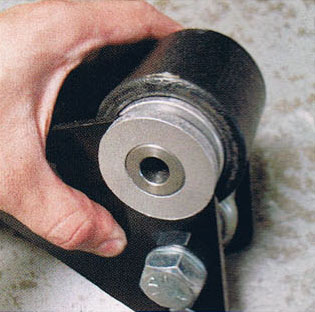
Install the front of the spring into the Front Pivot Mount assembly and slide the steel insert into place and place the aluminum spacers on the outside and then reinstall the spring pocket on the spring.
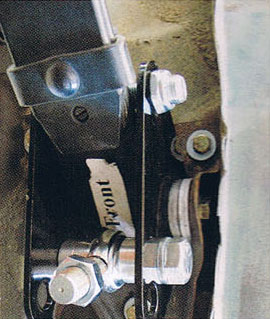
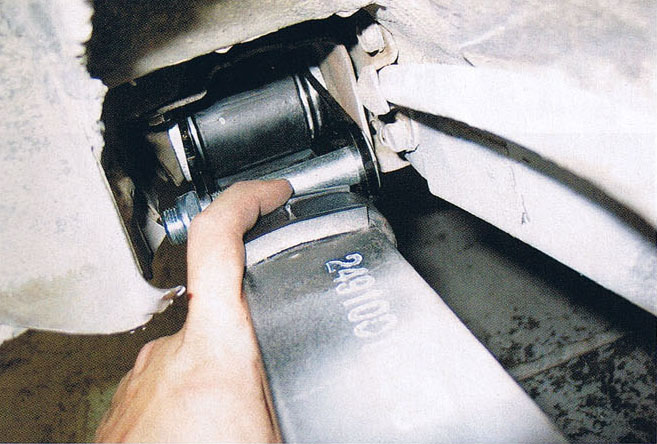
Here is the whole front assembly back on the car. Don’t tighten up the pocket mount bolts all the way until the rear of the spring is back in the rear shackle to avoid any binding. Notice the Spring Stop Bolt to the left and above the spring; make sure yours is installed with that bolt in the same position.
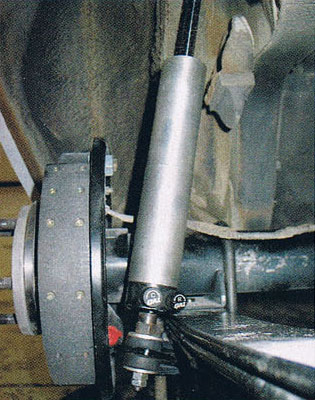
Reinstall the shocks.
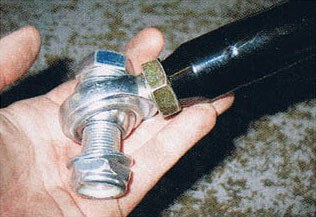
The rod end from the rear mount is lefthand thread; lightly grease those threads and turn it all the way into the Force Transfer Link. Do the same with the front rod end, but leave it installed on the Front Pivot.
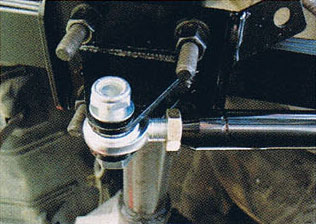
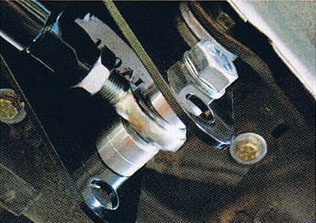
Jack up the car so its weight is on the rear suspension and place jackstands under the rearend. Hold the Force Transfer Link up to the rear mount and with both rod ends all the way in, turn the Force Transfer Link out until the eye of the rear rod end matches the hole in the rear mount and install the hardware. Here is a look at the front and rear installed. Now you can reinstall the rear tires and set the car on the ground. For the initial setting, have the driver in the car and turn the Force Transfer Link until the spring stop bolt that goes over the top of the spring just touches the spring and tighten the jam nuts, then test drive. This will be your zero point of reference, from here you can add preload or create an air gap.

How do the shocks mount on a 57 Chevy with a caltrack system? Does the rear bottom leaf spring support have shock mounts?
Hello Scott,
The Cal Trac system includes the lower shock mounts as required. This should be a simple setup for you to install.
Ordered a kit for my Mopar a while back and finally installing now, was wondering if the kit came with shock bolts or do I provide my own, the originals are welded to the bottom leaf spring paltes, shoulder type studs.
Thanks
Pete
The Mopar kits do include the shock bolts. They are gold in color and would be in with the pivot assembly. Thanks