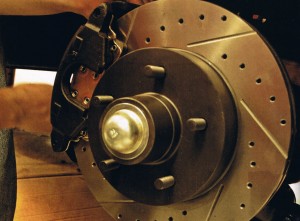
So far, things are going pretty quick and smooth on Project Get Shorty. The frame is down to its rightful length, and the Air Ride Technologies suspension, sans electric work, is installed. It only seems logical to keep things moving in the forward direction. Without missing a beat, the next step is to finish up at each corner.
Now sure, the suspension has been brought up to par, but the truck is still missing one key component – brakes. Granted, the truck did come stock with discs up front and drums out back, which really aren’t too shabby, but in the roundabout world of Los Angeles, I think I’d rather bet on four-wheel discs to keep my truck from looking like Stromboli’s accordion. On top of that, by the time I rebuilt the factory brakes, I’d still be looking at a solid chunk of man-hours and a stack of cash. On the other hand, I could install four-wheel discs, which will take about the same amount of time, won’t cost a whole heck of a lot more, and will be a much better setup. Therefore, I might as well ante up and bring Shorty to the level of modern-day vehicles.
In the world of Chevy trucks, there are more aftermarket companies than there are options at a Vegas buffet. One company you are sure to stumble across when looking for aftermarket performance parts and accessories is Performance Online (POL) in Fullerton, California. One could say POL is a one-stop shop when it comes to rebuilding a classic Chevy truck, which made them the perfect candidate for this install.
POL offers an assortment of braking components for ’67-72 Chevy trucks, and we chose a package that covers everything needed and more. Starting at all four corners, the package we chose comes with four 12-inch rotors with GM ratcheting calipers and performance brake pads. For some added performance and looks, we also chose to go with the optional crossdrilled and slotted rotors. The front rotors come complete with new bearings and seals. By the way, POL offers packages for either five-lug or six-lug vehicles; we went with a five-lug set. We bought the deluxe kit, which comes with the option of stock replacement spindles or 2.5-inch drop spindles, which we ordered. Another benefit to running the new POL drop spindles is their later-model ’73-87 control arm ball joints and outer tie rod ends, which make future replacement easy and simple. The kit also comes complete with inner tie rods and adjusting sleeves.
Another item included is rubber flex hoses, but instead of using rubber hoses, Project Get Shorty is going to receive the 10mm stianless brake hoses, which not only look cool, but also add to the performance of the brake system due to the fact that the hoses won’t flex and pulse. In back, we also ordered new emergency brake cables to hook up the GM calipers to the ’71 factory e-brake setup.
One other area that also needs to be upgraded when doing a four-wheel disc setup is the master cylinder and booster. Whenever you use a four-wheel setup, you need to use a dual master cylinder. Another necessarey upgrade is the booster. the proper booster needs to be used to ensure that all four corners get the adequate amount of psi to operate the brakes at their fullest potential. For our setup, POL provided us with a dual master cylinder and a dual-diaphragm 8-inch power booster. Besides the fact that the setup is more than enough to stop the truck, it also converts the truck from manual brakes to power brakes. On top of that, Shorty is also going to utilize a self-proportioning valve, which will provide a sufficient amount of braking to keep the rear brakes from locking up.
Well until next month, it’s off to the tech center to get rockin’ on installing these parts. CTT
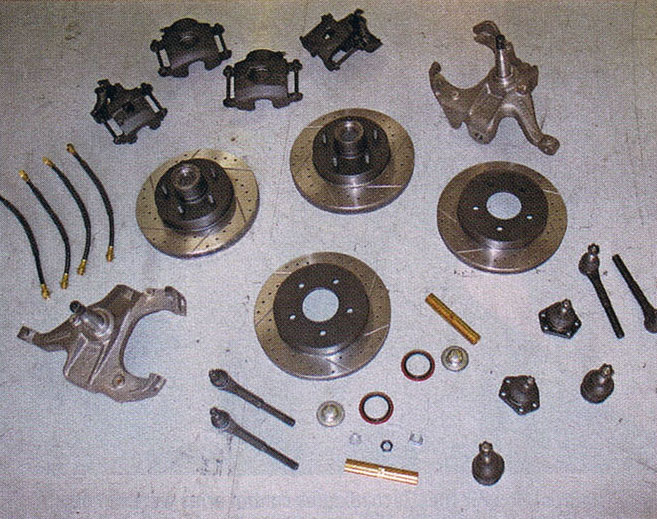
The key to stopping, the Performance Online four-wheel disc deluxe brake kit.
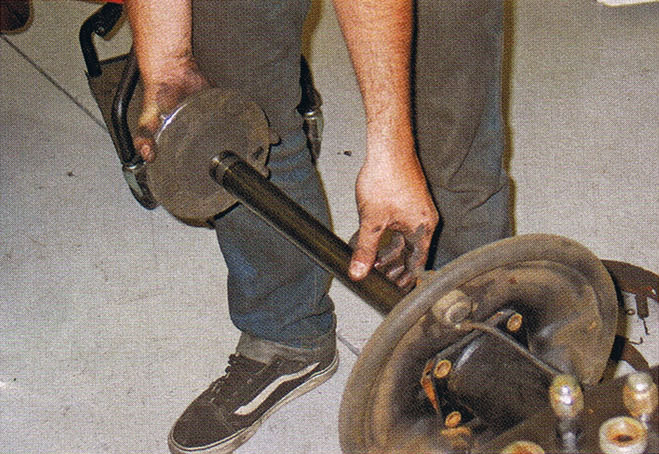
I decided to strart the install at the truck’s rear. The new POL rear disc brake kit comes with its own mount brackets for the calipers, therefore the factory drum backing plates need to be removed. In order to do this, the axles must be pulled from the rearend by removing the C-clips in the rearend.
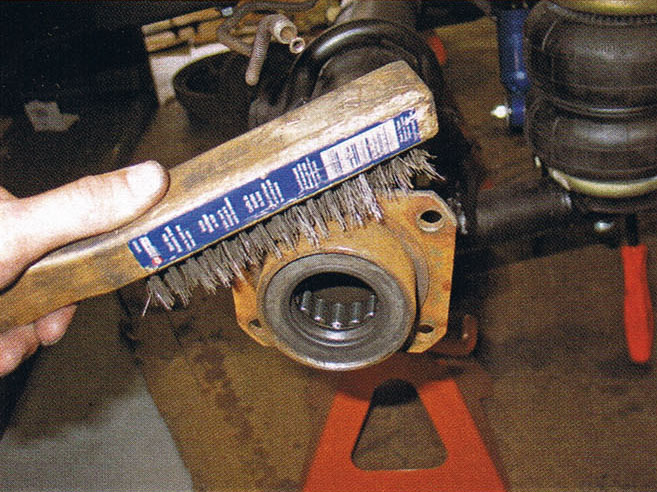
With the backing plates removed, I then took a wire brush and cleaned up the area. Once clean, I rattle-canned the flanges black to match the rest of the rearend.
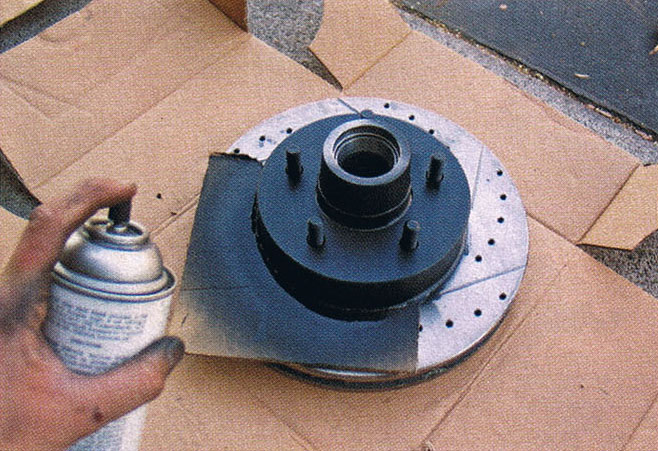
Before I installed the brakes, I decided to spruce things up a bit. Using a can of hi-temp semi-gloss black spray paint and a quickie cardboard stencil, I cut out the shape of the rotor hat and painted the rotor hats and calipers. The new look of the rotors gives off a hi-tech road race feel, which is way cool.
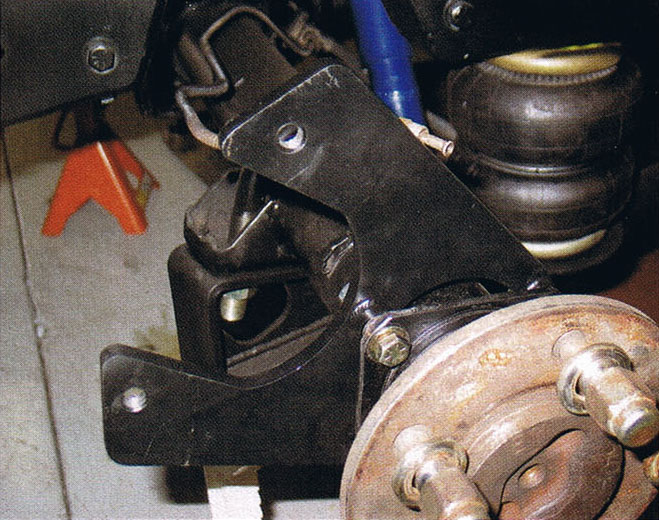
The next step was to bolt up the POL caliper bracket to the rearend flange.
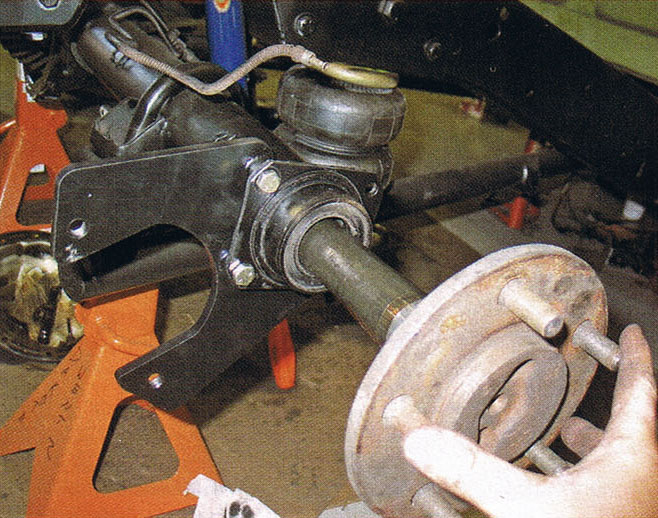
With the brackets on, I could then slide the axles back into place and reassemble the rear differential.
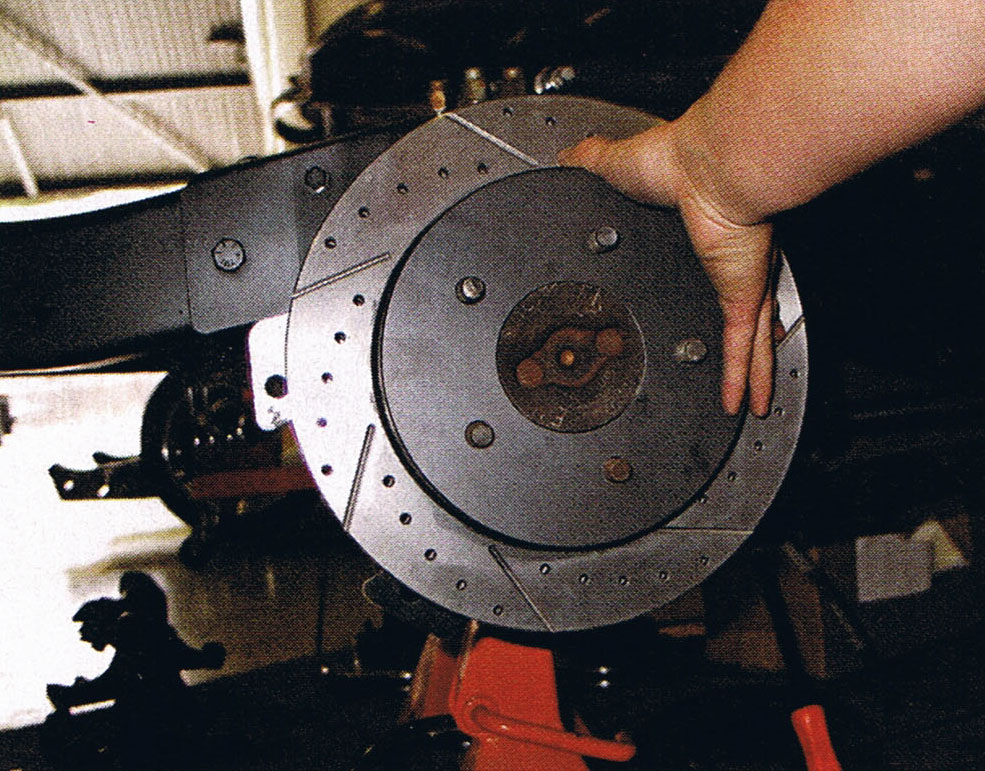
Next up, I slid the new cross-drilled and slotted rotor on the axle.
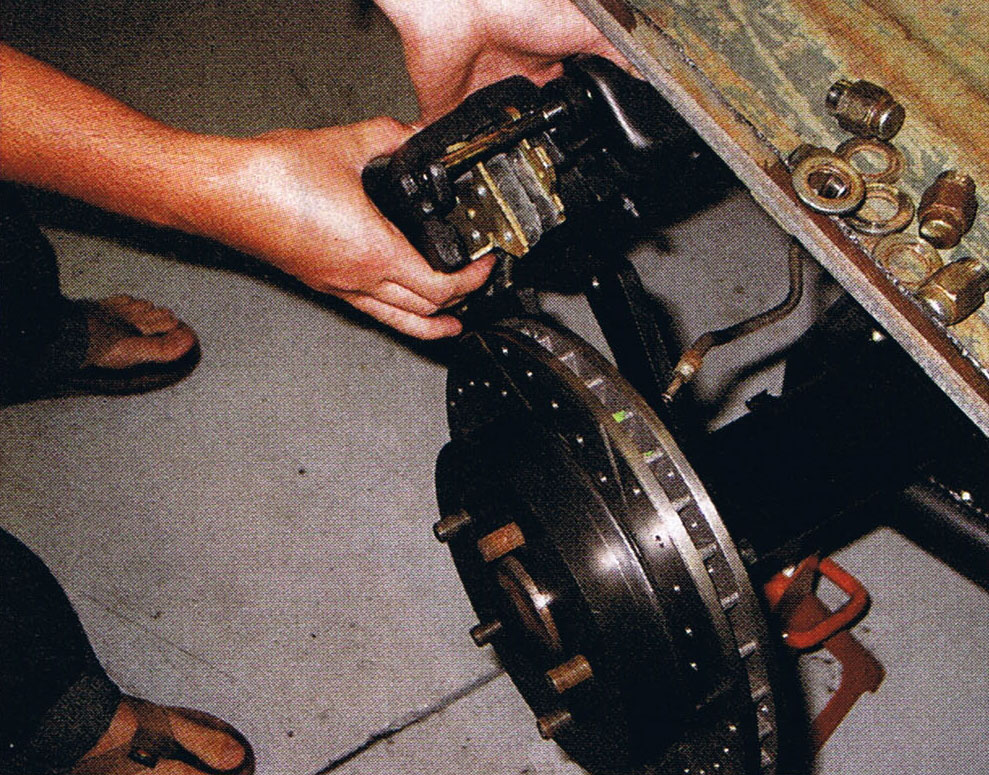
POL makes things easy when bolting up the calipers to the bracket due to the fact that only two bolts are used.
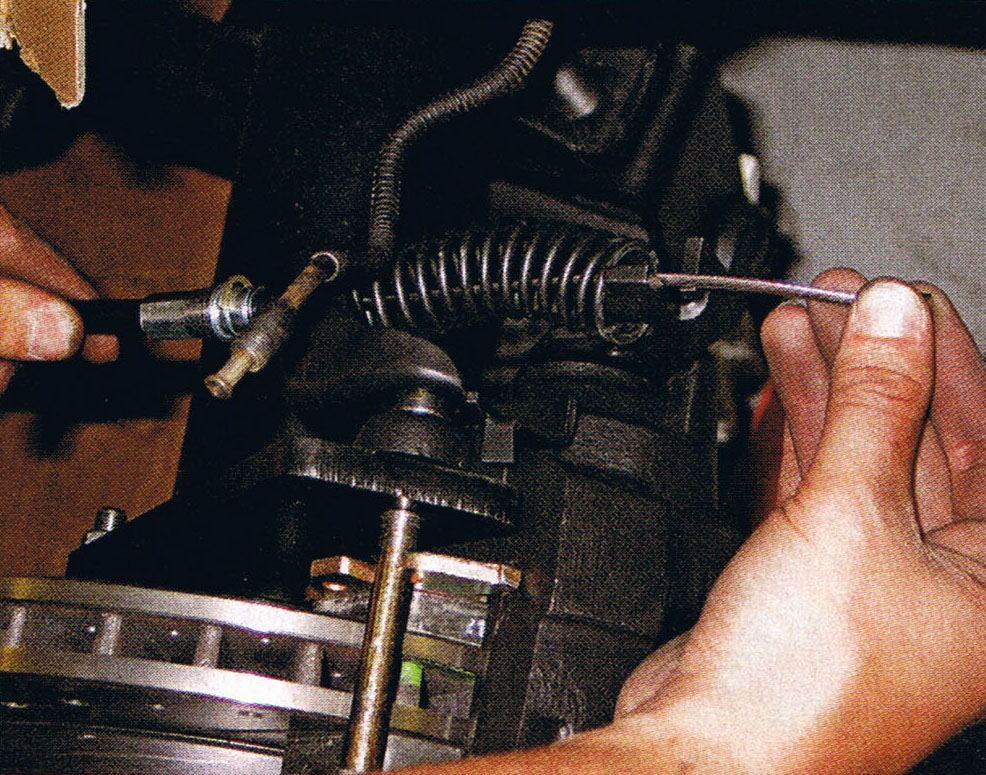
Once the calipers are bolted up, I could then install the new POL e-brake cables to the calipers.
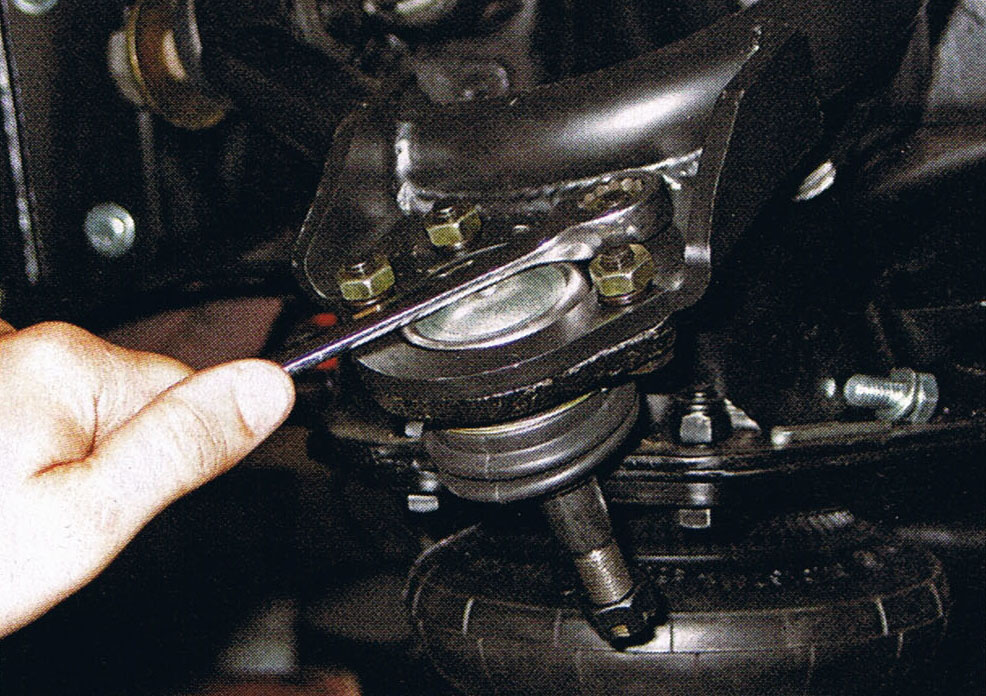
Up front, the Air Ride Technologies control arms were already installed. However, the ART arms utilize the old -style ball joints, so I had to take them off and head down to have the new ball joints pressed in.
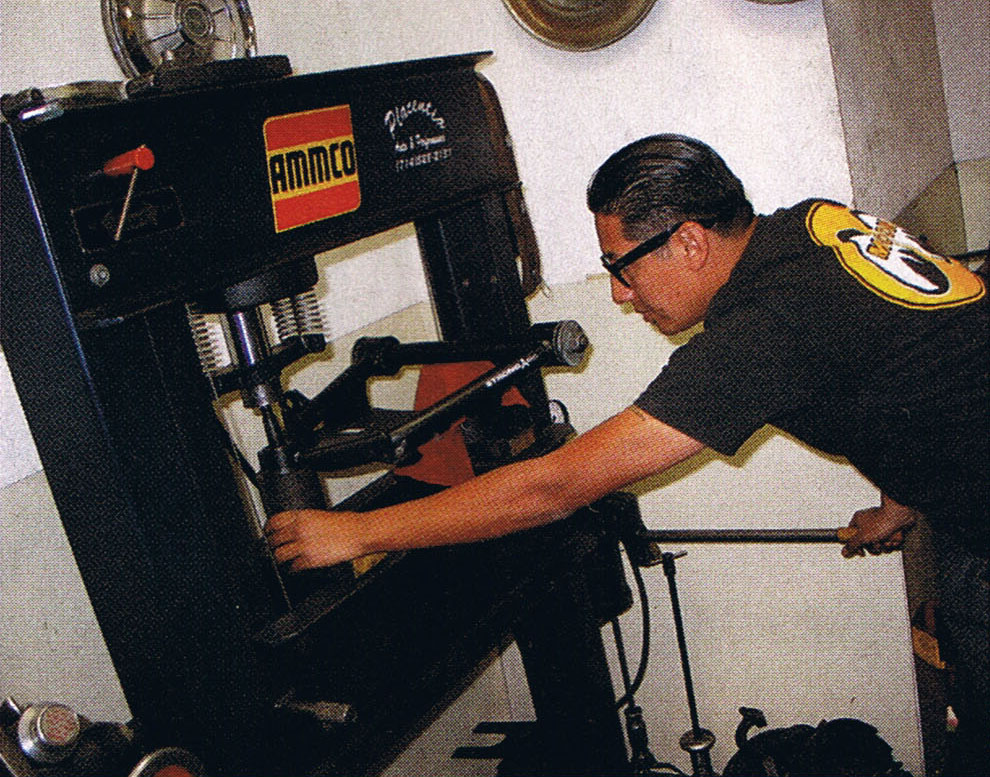
Placentia Auto in Placentia, CA, helped us out by pressing the new POL ball joints into the arms.
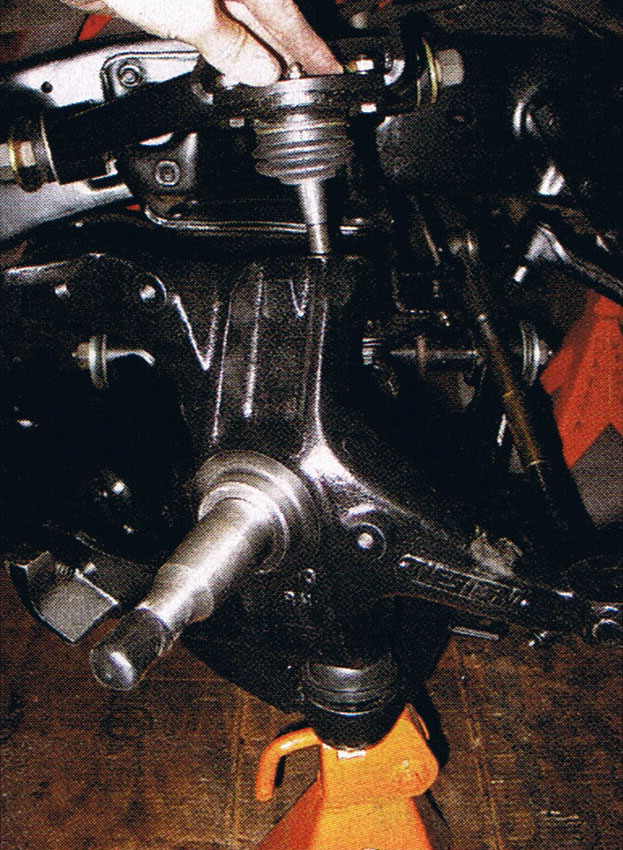
Once back at the tech center, I reinstalled the arms and dropped the new POL drop spindle into place, which was also spray painted black for a clean look.
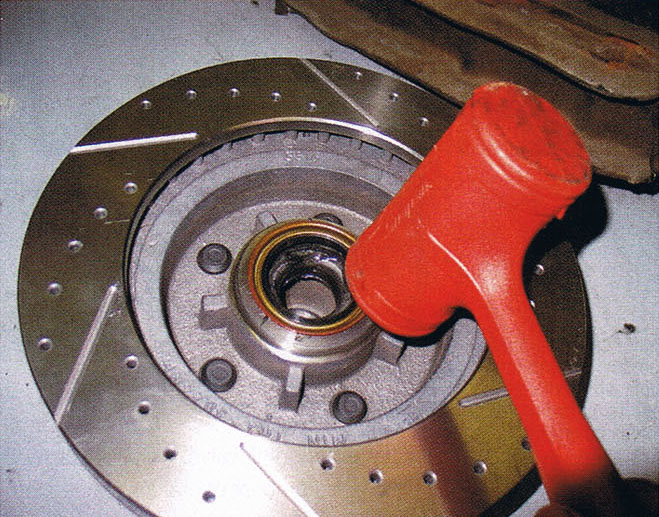
Before the front rotors can be installed, I had to grease the new bearings and install them using the new seals as well.
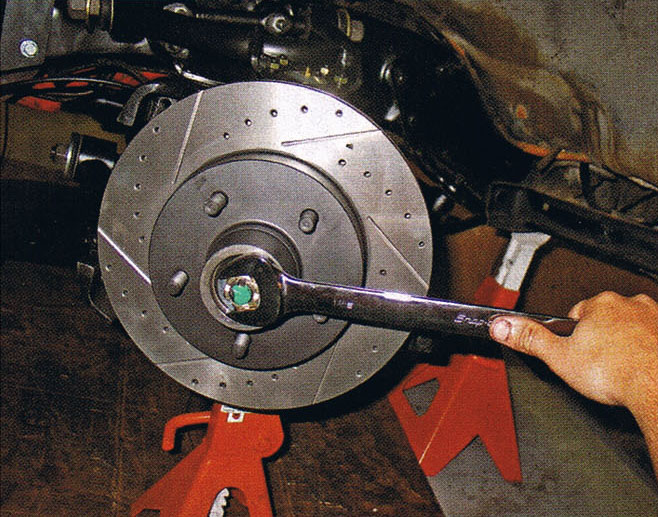
POL gives you all the necessary hardware to mount the new front rotors, so it was a breeze mounting everything up.
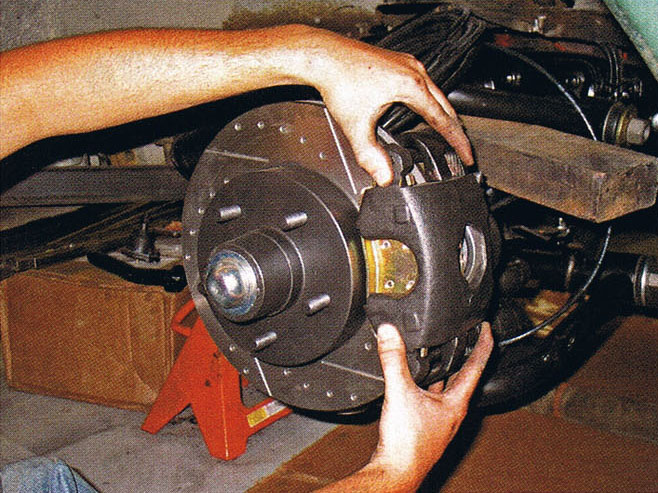
The new calipers bolt directly to the spindles instead of using a separate mounting plate. My next step was to bolt the calipers to the spindles.
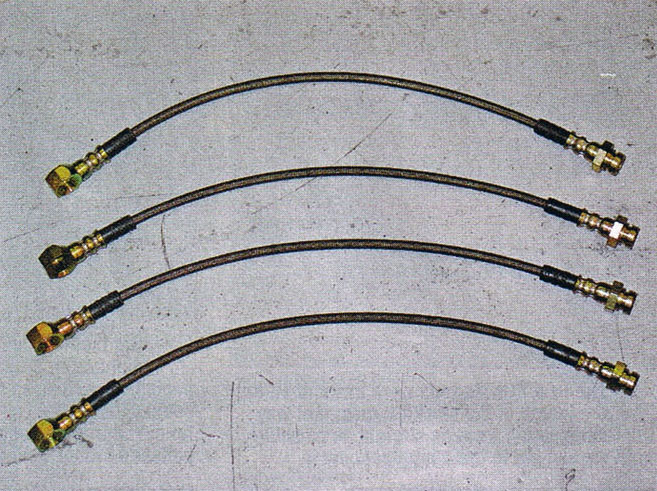
Instead of using rubber flex hoses, we are going to use these sick looking stainless hoses that will also add some performance to the system.
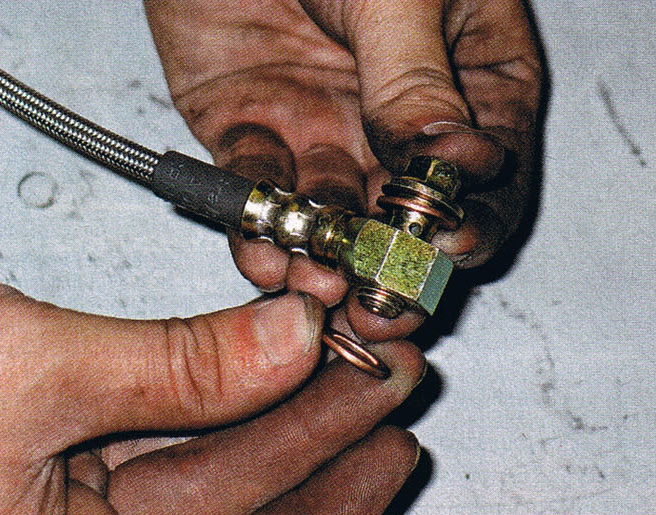
When bolting the stainless hoses to the calipers, be sure to use the provided copper washers for a secure fit.
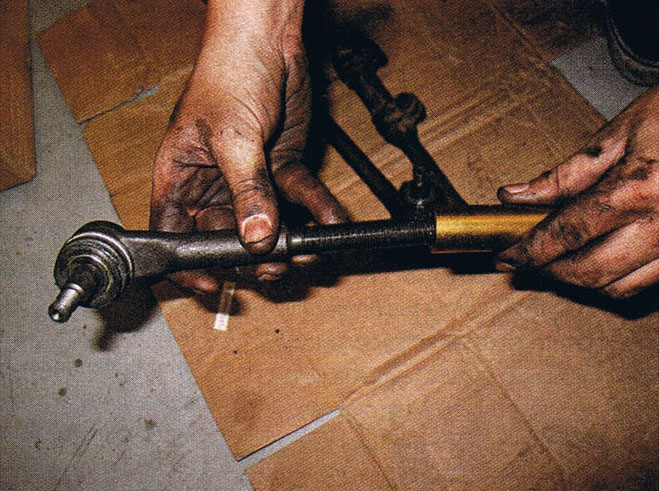
The deluxe kit comes with an entire tie rod setup. Using the appropriate jamb nuts, the tie rod ends were screwed into the POL adjusting sleeves.
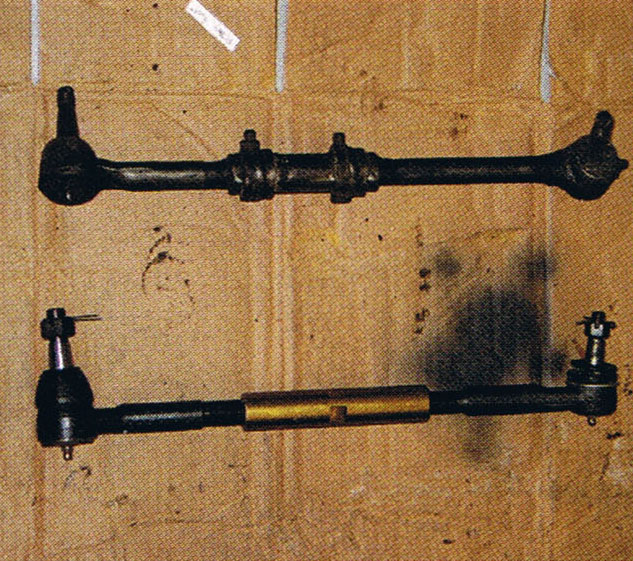
The new POL tie rods were assembled to the length of the stock tie rods; that way the front end will track as straight as possible until we can get to the alignment center.
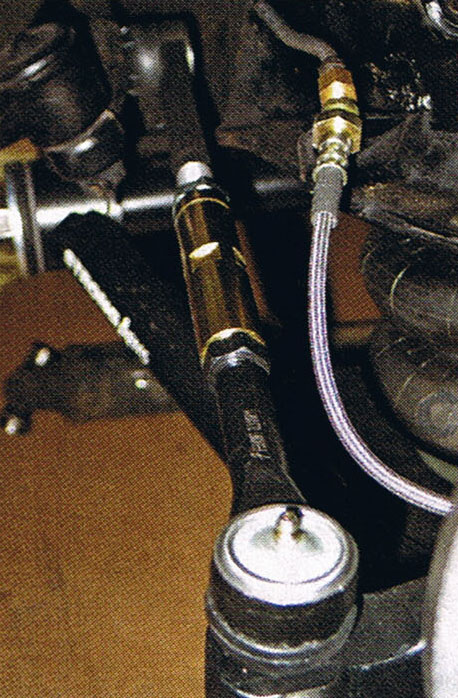
Then we installed the tie rod to the spindle and center link.
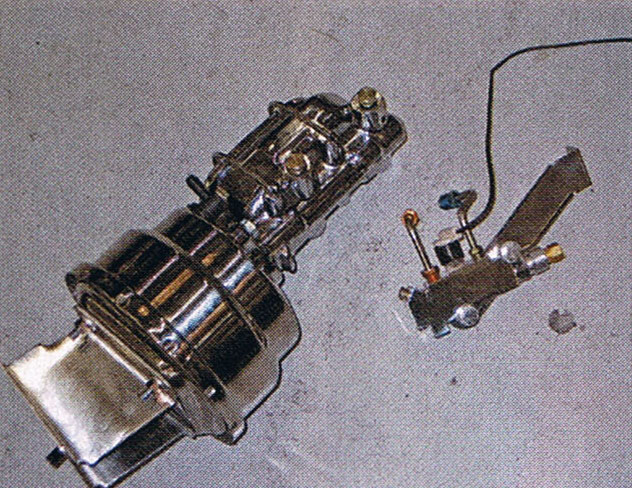
Dig the new dual master cylinder, dual diaphragm 8-inch booster, and proportioning valve. Instead of going with a zinc-plated setup, POL hooked us up with a chromed master cylinder, polished stainless booster, and polished proportiong vlave.
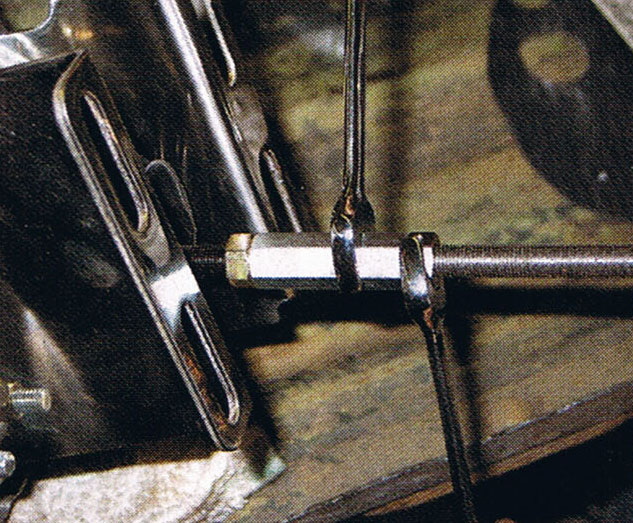
Before I installed the setup on the fiewall, I had to determine the proper length for the power booster push rod, which attaches to the brake pedal. Once I determined the correct length, I tightened the jamb nuts.
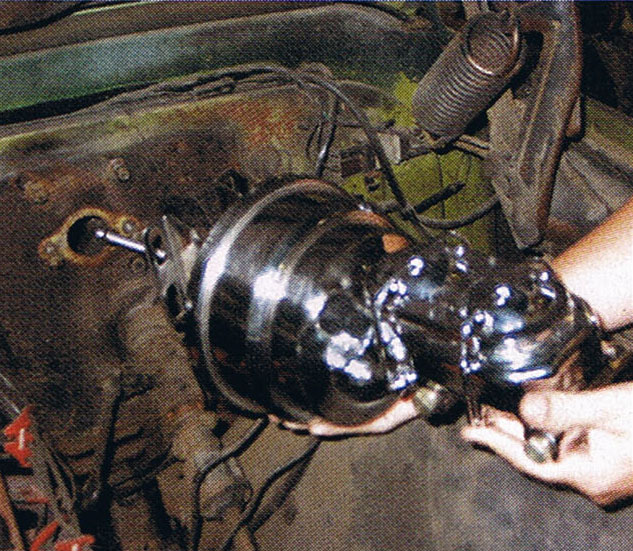
The last step for now was to install the setup on the firewall.

I was looking at this tech article to see which position the caliper bracket should be in for the rear kit, but from the pictures you had the bracket in one position in one picture and another position in the second picture?
We are to assume you are talking about the rear disc caliper bracket? This was installed by Classic Trucks magazine.
The first photo looks correct and the second photo looks like they clocked it so it was pointing down. Then the rest look
okay! It is supposed to be sitting at the 10 o’clock position to the rear of the vehicle.
Hope this answers your question?
Please include me in on your online sales and info. thanks .
the three bolt that I asume hold the old drum on are just spinning ,are they necessary ?to hold the drum in place or willl the lugs do the same job
Please contact us at 800-638-1703